
12 Back Corner Yard Ideas to Make Use of Forgotten Space
The back corner is usually where a yard goes to die — hose reel, spare pavers, a sad pile of pots. But that overlooked wedge is often the most private, most sheltered spot you own, tucked away from the neighbor’s kitchen window and blocked from wind on two sides. That makes it the best candidate for the feature you keep pinning and never building.
These 12 back corner yard ideas are sized for real corner dimensions — nothing that needs a half-acre to look right. You’ll get the measurements, base prep, materials and drainage details that separate a corner that works from one that turns into a mud pit by October. Shade, slope, narrow side yards and that weird spot behind the garage are all covered.
Every idea includes what it costs roughly, how much space it actually eats, and the one mistake that ruins it. Pick one, sketch it on graph paper this weekend, and that dead zone stops being the place you avoid looking at.
What You’ll Need Before You Start
- Tape measure and graph paper — sketch your corner’s true angles first
- Sun and shade check — note hours of light across a full day
- String line and stakes — mark the footprint before you dig
- Level and slope gauge — corner grades are rarely flat
- Drainage plan — where water goes when it leaves the corner
- Budget range — $150 DIY to $3,000 hired-out
1. A Corner Built for Slow Mornings

An L-shaped bench tucked into the fence line is the single best way to claim a back corner. Build each leg 5–6 ft long with a seat 17–18 in high and 16 in deep — deep enough to actually sit back on.
Face it inward toward the yard, not toward the fence, so you’re looking at your garden instead of boards. Paint the bench the same color as the fence and it reads as architecture, not clutter.
Two outdoor lumbar pillows and a small round bistro table finish it. Suits anyone who wants more seating without giving up lawn. Tip: make the corner where the two legs meet a 45-degree angled seat — it’s the most comfortable spot on the whole bench.
2. Fire Magic in the Tightest Spot
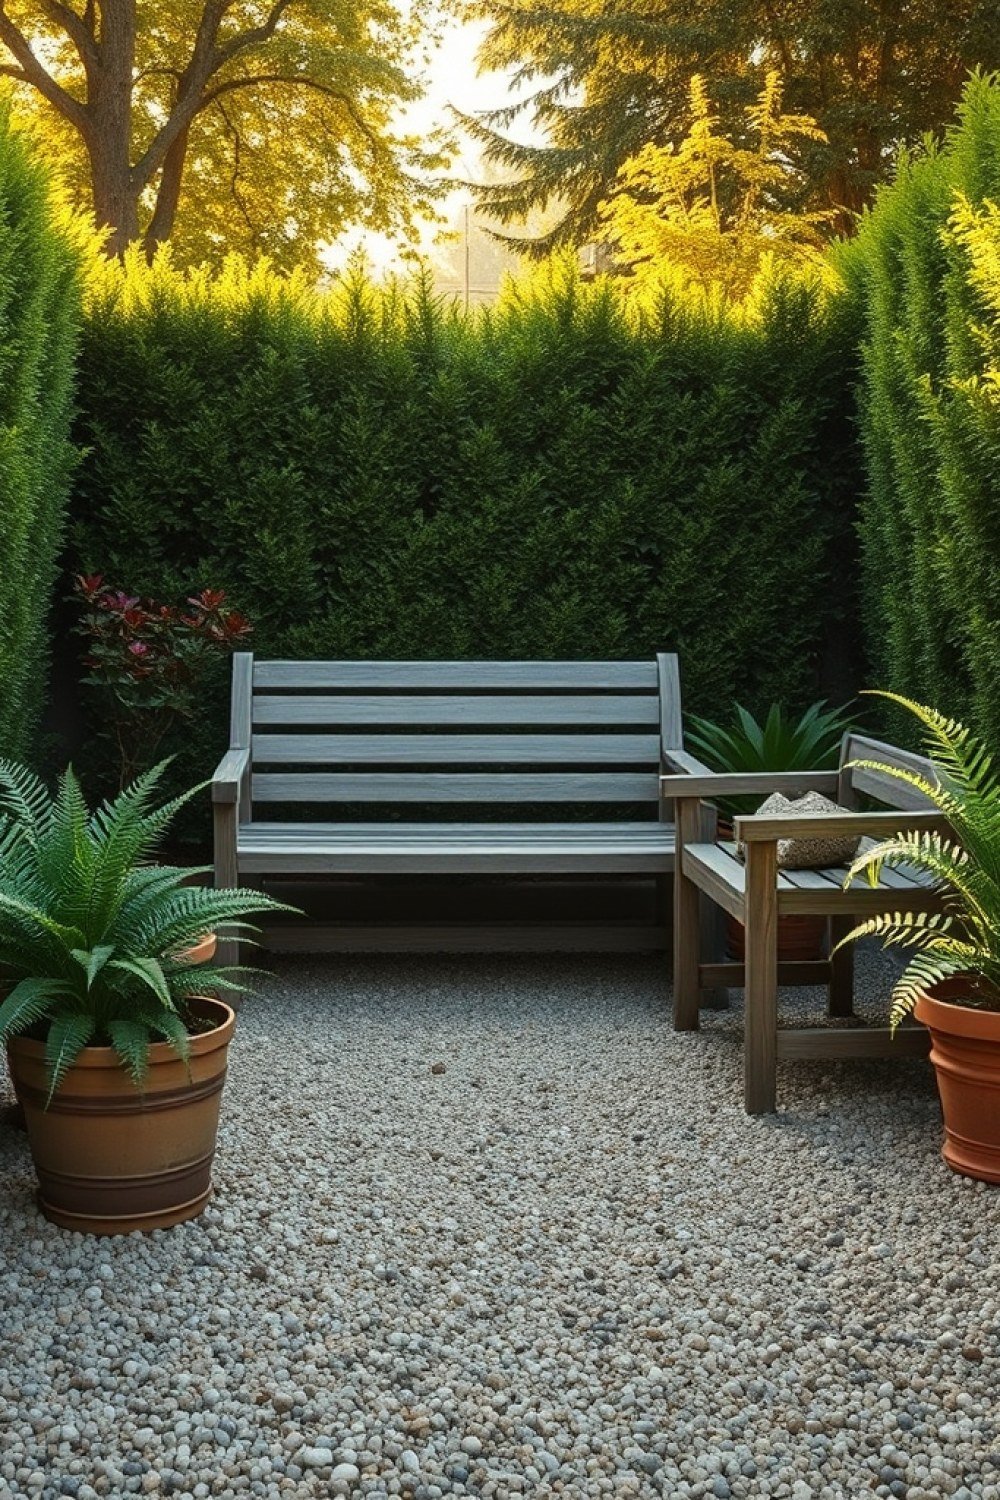
Corners are naturally wind-protected, which means a fire feature works here even when the rest of the yard is breezy. A 30–36 in fire bowl or low fire table is the sweet spot for a corner — big enough to gather around, small enough not to overwhelm.
Keep it a minimum of 10 ft from fences, house walls and low tree branches. Set it on a 6 ft square of decomposed granite or gravel so sparks land on stone, not mulch.
Place three Adirondack or barrel chairs in a curved arc rather than a square — an arc fits the angle of the corner and keeps everyone facing the flames. Tip: store the cover and a bucket of sand within arm’s reach, and never leave a fire unattended.
3. Your Own Secret Garden Nook
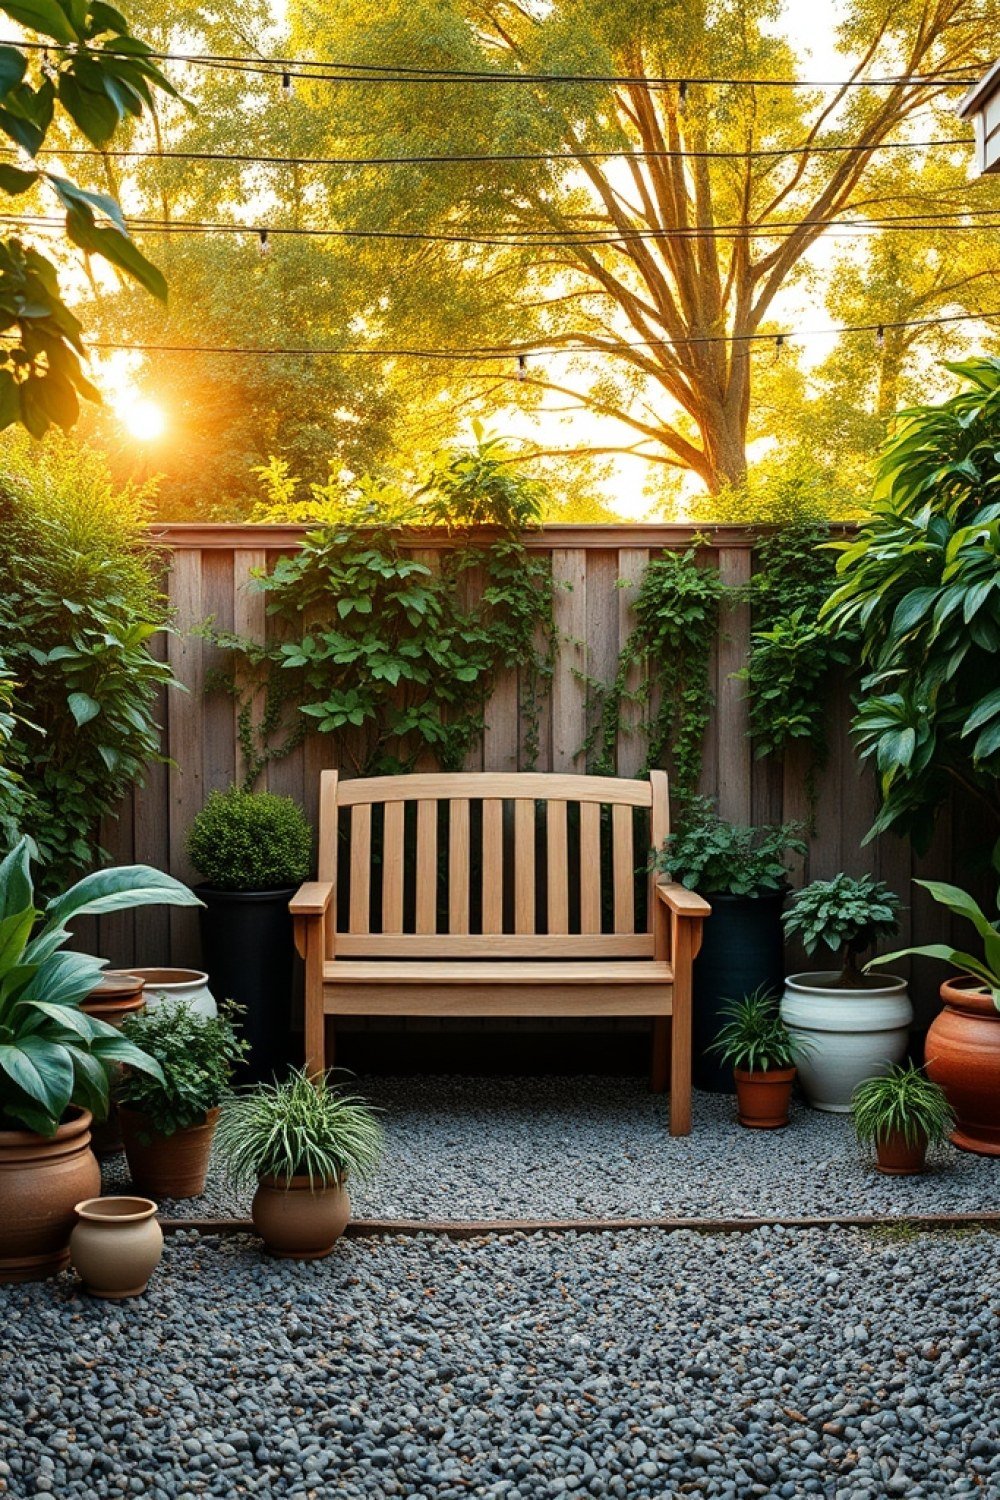
Use a pair of tall evergreens or a single trellis panel to visually close the corner, then layer in shade lovers: hosta, heuchera, Japanese forest grass, ferns and brunnera. These all thrive in the low light most back corners get.
Build a 4 ft wide mulched bed with a curved front edge — the curve hides the sharp 90-degree fence meeting and softens the whole yard. It’s a small change that makes the corner look intentional.
Tuck in one bistro chair and a small side table, and you’ve got the reading spot you’ll actually use. Suits shady, overlooked corners. Tip: group plants in threes of the same variety rather than one of everything — repetition is what makes a nook feel designed.
4. Put the Shed Where Nobody Looks

An 8×8 or 8×10 shed fits most back corners and de-clutters the garage the day it goes up. Set it on a gravel or concrete pad, and leave 2 ft of clearance from the fence for airflow and so you can paint the back wall later.
Check your local setback rules before you buy — many municipalities require 3–5 ft from the property line, and a shed that violates setback can mean a fine or a forced move.
Run power for a light and an outlet if the budget allows. A shed you can see inside at dusk gets used ten times more than a dark one. Suits anyone drowning in tools, bikes and seasonal gear. Tip: hang a motion-sensor LED inside the door — no wiring to the house needed.
5. A Potting Bench That Earns Its Keep
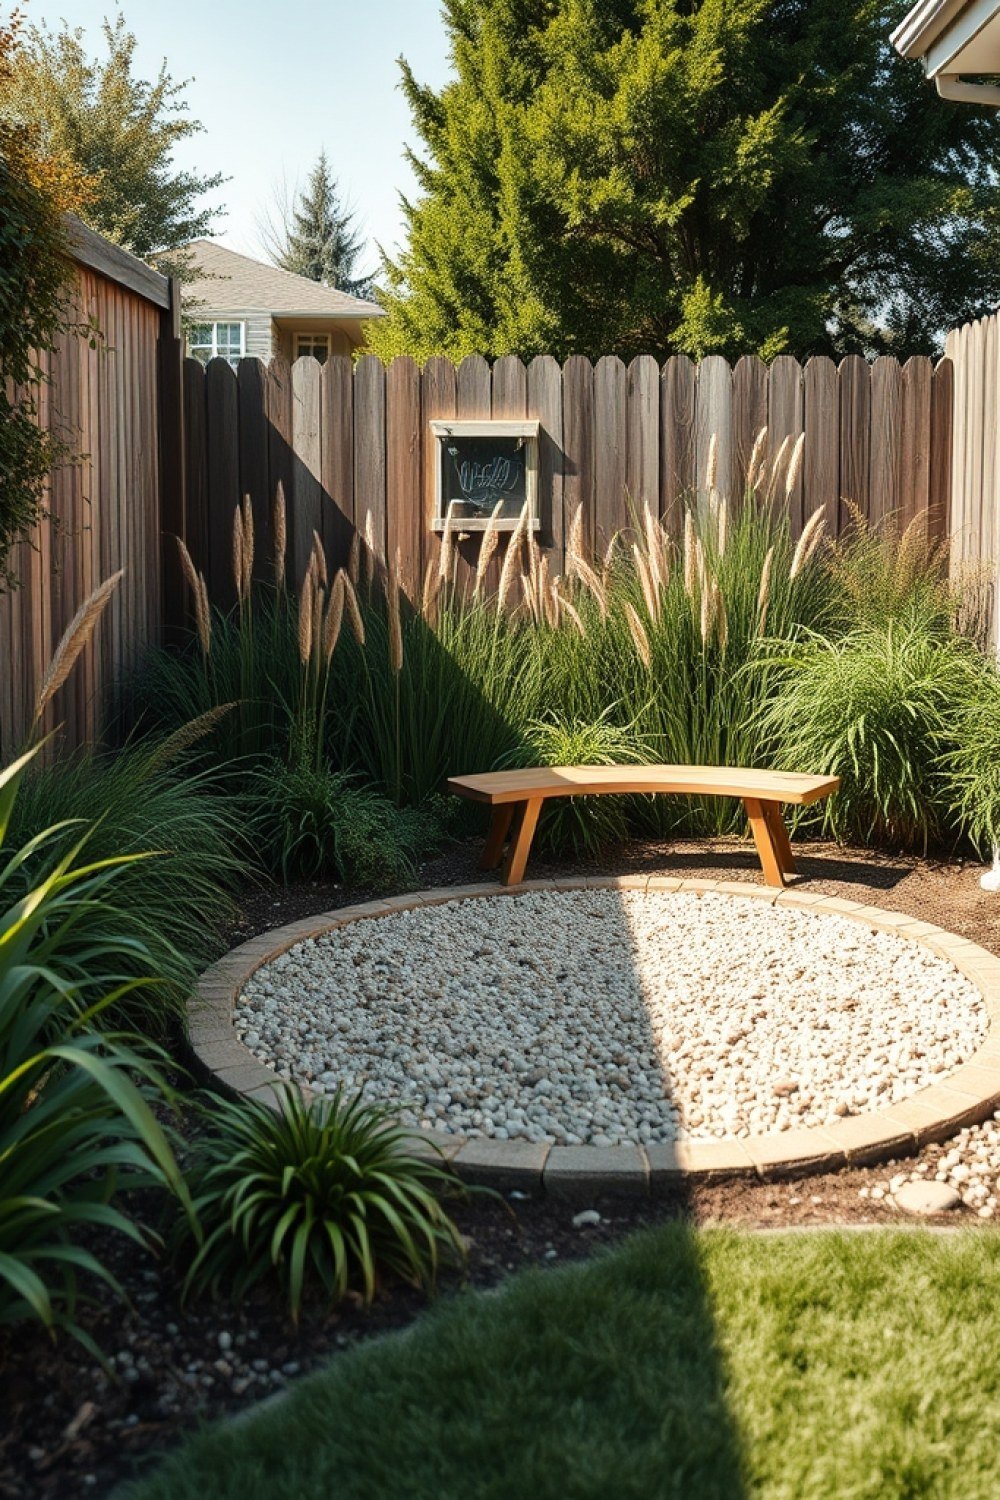
The shaded, out-of-the-way corner is ideal for a 4 ft potting bench. Look for one with a lower shelf for soil bins and a bin or tub for spent potting mix you can dump and refill.
Add a hose bib or a 20 ft coiled hose so you’re not hauling water across the yard, a galvanized tub for tools, and a wall-mounted hook rail for snips, twine and gloves. Everything within one step is what makes a bench get used.
Set it on pavers or gravel so spilled soil sweeps up instead of staining the patio. Suits gardeners who currently repot on the kitchen counter. Tip: mount a cheap magnetic knife strip above the bench to hold hand tools upright.
6. Screening That Makes the Corner Disappear

If the corner backs onto a neighbor’s window or an ugly utility box, plant a three-layer screen: a tall evergreen at the back, a mid-height shrub layer, and grasses or perennials in front. The front layer keeps it from looking like a green wall.
For a fast hedge, space arborvitae 3 ft apart on center — closer than most plant tags suggest, but it fills in within two seasons. Wax myrtle and podocarpus are good alternatives in warmer zones.
In narrow spots under 2 ft wide, skip the hedge and use a 6 ft cedar trellis with evergreen jasmine or climbing hydrangea. Suits tight city lots. Tip: water new evergreens deeply twice a week for the first summer — that’s what stops the hedge from thinning at the base.
7. A Tiny Deck That Feels Like a Room
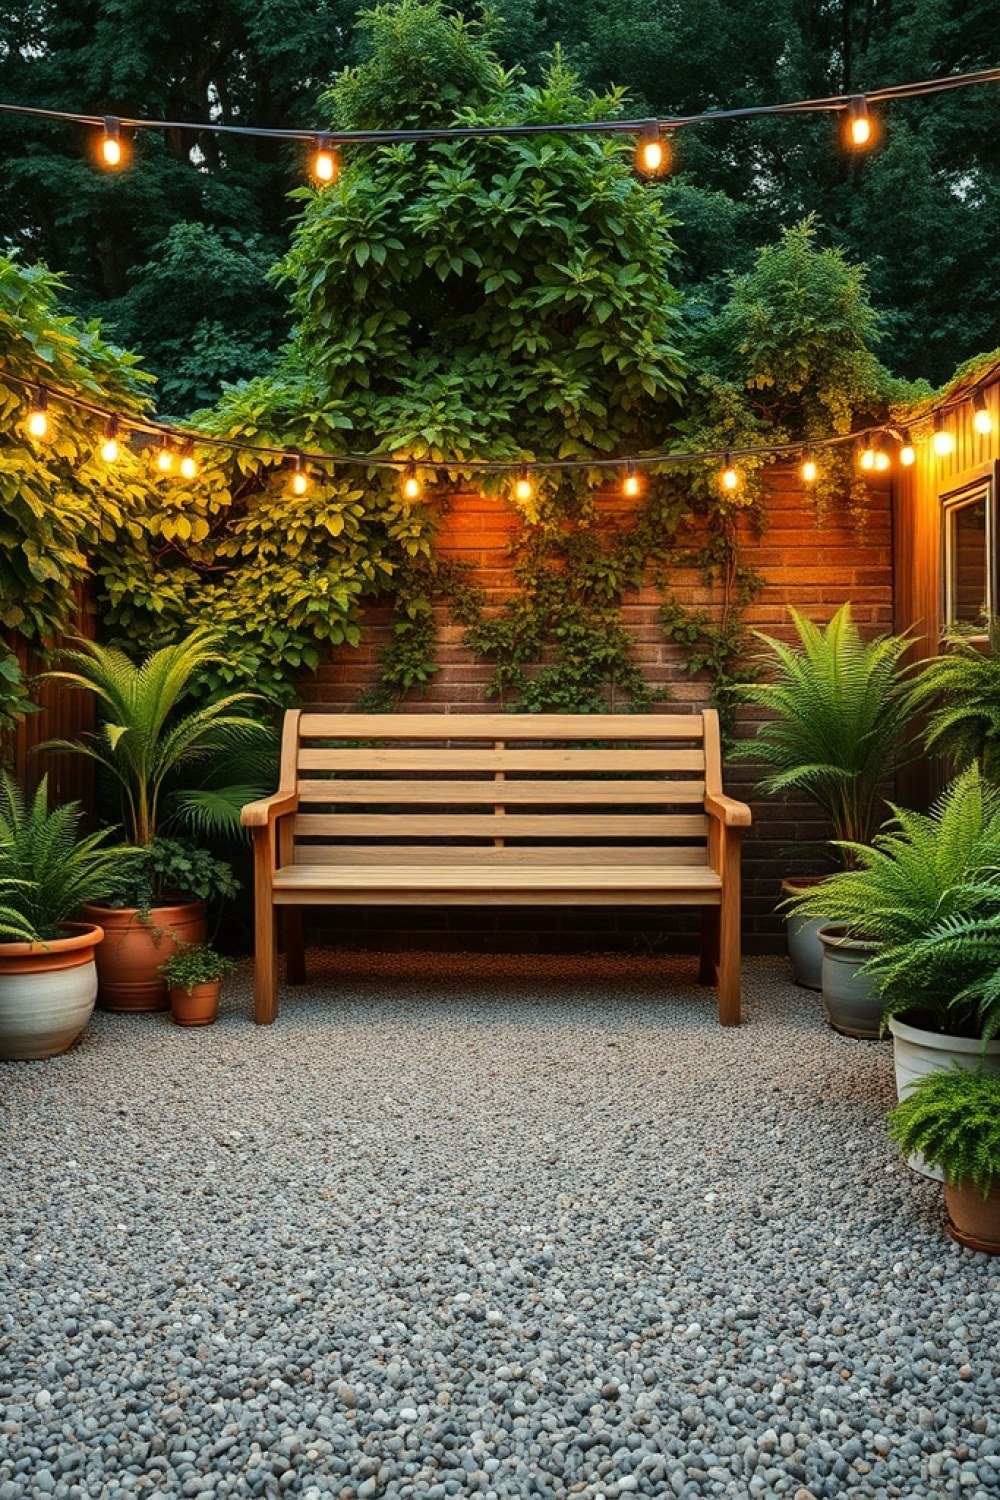
A floating deck is the simplest way to turn a lumpy, sloped back corner into level, usable floor. Because it rests on concrete footing blocks rather than posts set in the ground, you skip excavation, and the height lets you bridge a dip without hauling in fill dirt.
An 8×8 or 10×10 footprint fits most corners and still feels generous for two chairs and a side table. Keep the surface 6–12 in above grade, and if that corner stays damp, spend the extra on composite boards — they won’t rot, warp, or grow slippery algae the way wet wood does. Run skirting around all four sides to hide the gap and keep skunks and rats from moving in underneath. Two steps on the open side and a single 4×4 post for a shade sail, and you have a room.
Before you order lumber, set a 4 ft level across the corner and note the drop — if it’s more than 12 in, adjust your footing heights first rather than trying to shim later.
8. Grow Food in the Wasted Angle
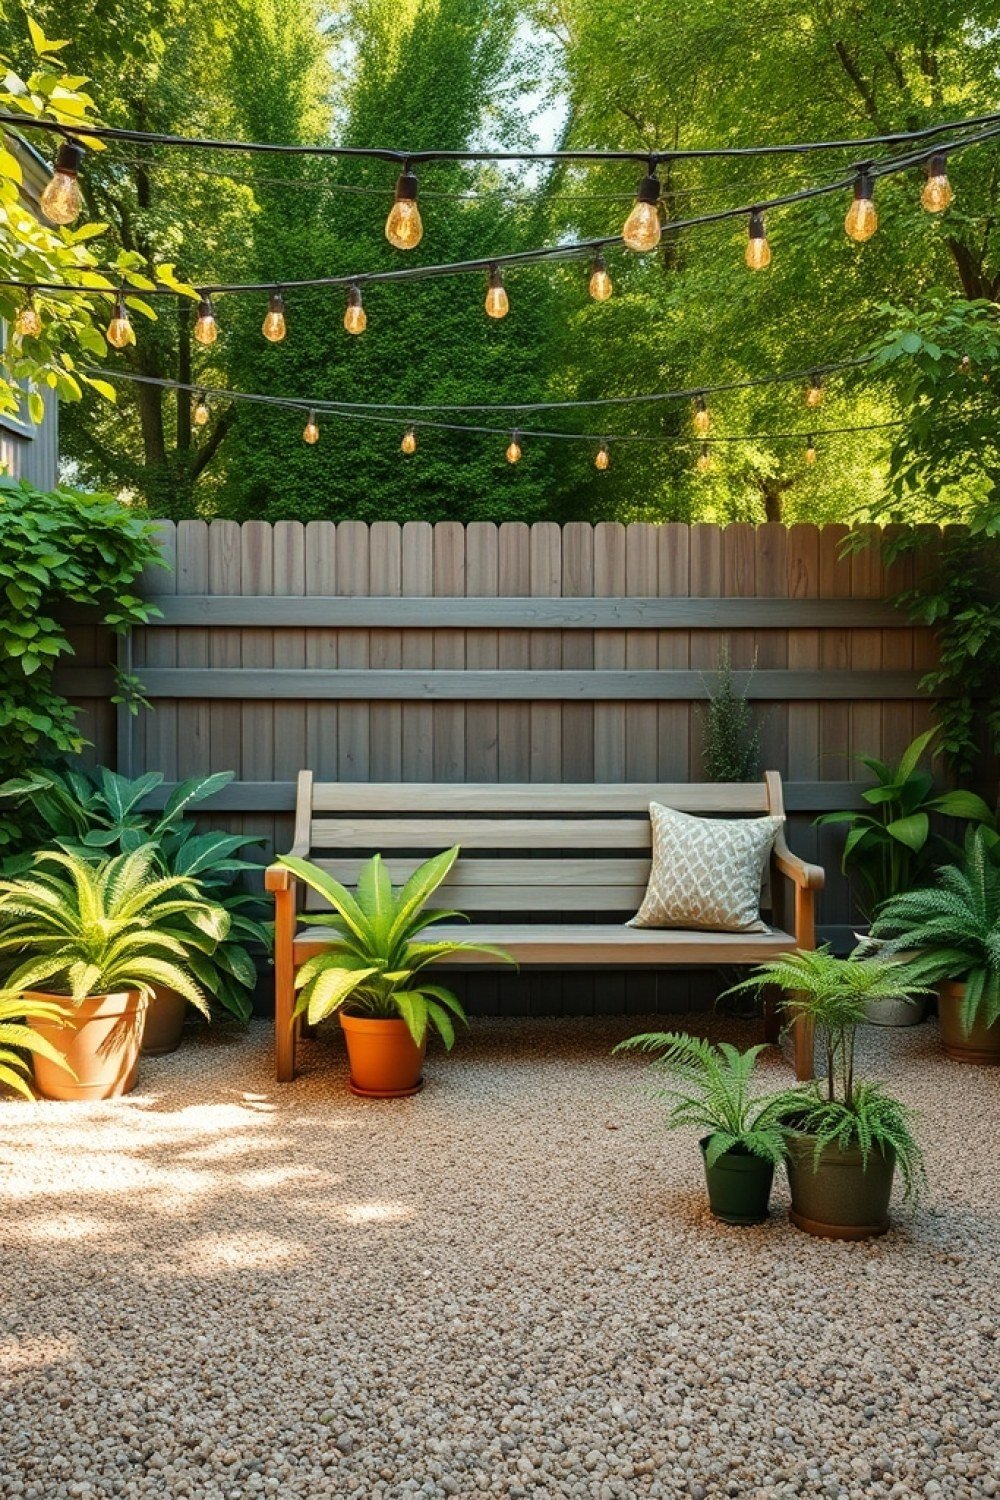
That dim back corner most people write off is actually prime leaf-crop territory. If it gets fewer than 4 hours of sun, plant lettuce, kale, chard, mint and parsley — they’ll sulk in full sun anyway and bolt fast. With 6+ hours, switch to tomatoes, peppers, basil and thyme.
Three 4×4 raised beds with 24 in paths between them fit a 12 ft corner neatly and give you room to kneel and reach without stepping into the soil. A corner trellis tucked into the angle grows cucumbers or pole beans straight up, using vertical space you’d otherwise waste. Fill the beds with a 60/40 mix of topsoil and compost, and mulch the paths so you’re not weeding gravel.
The one non-negotiable: put drip irrigation on a timer. Corner beds get forgotten, and forgotten beds die — set it for 20 minutes every other morning and you’ll actually harvest something.
9. Kids Get a Hideout of Their Own
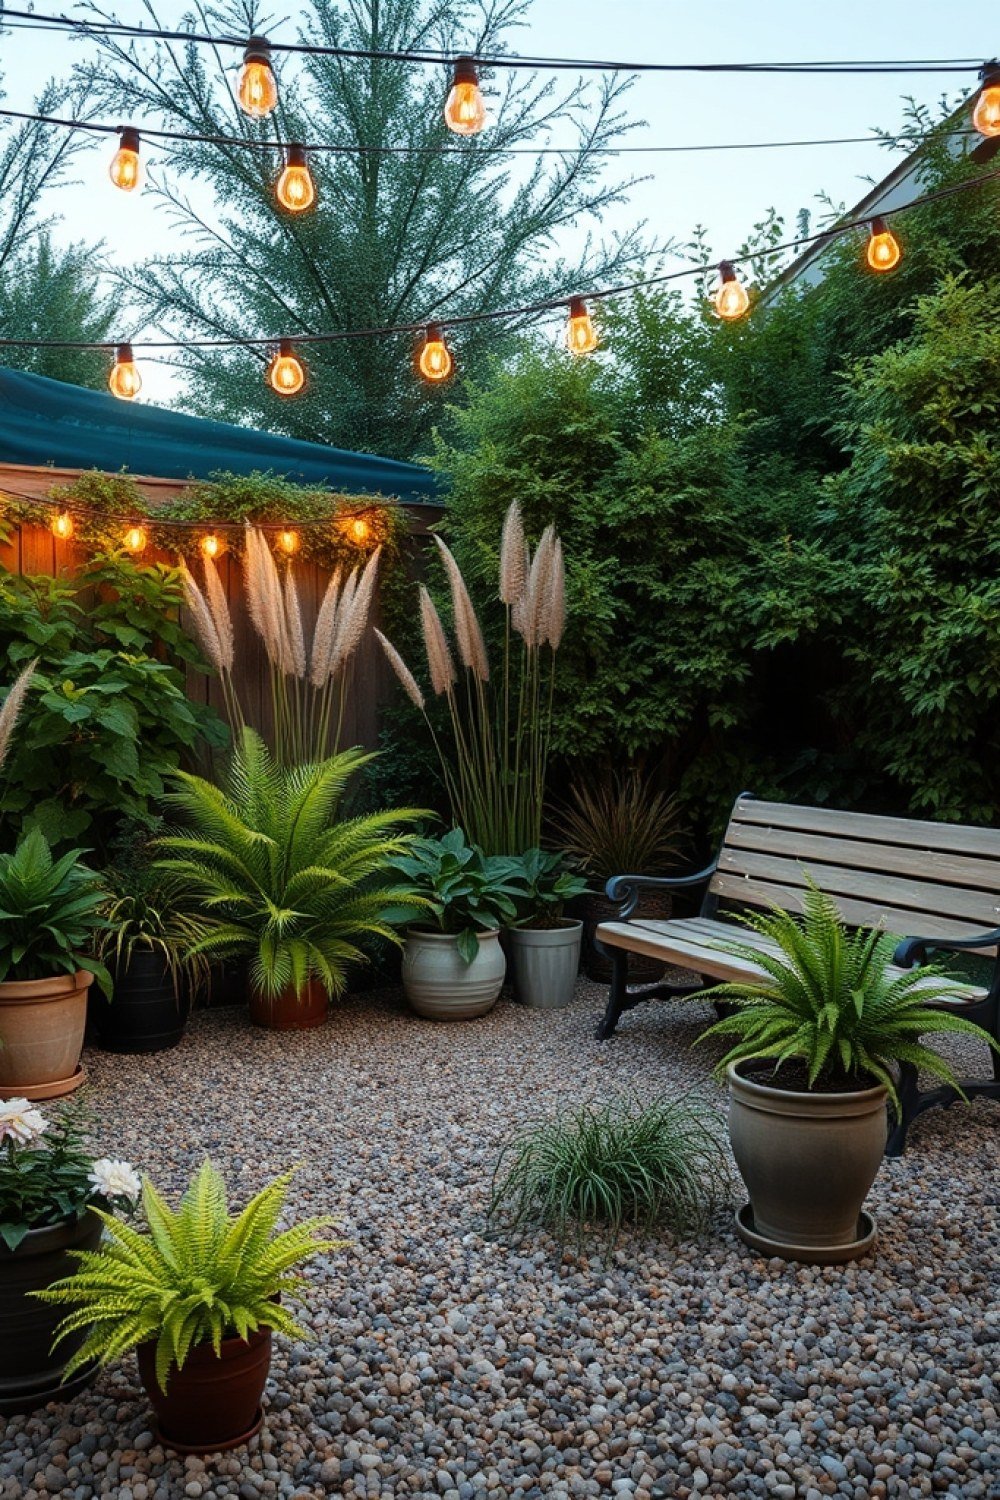
A corner is a natural play zone because you only need to fence two sides — the existing fence does half the work for free. That angle also gives kids the feeling of a secret nook, which is exactly what makes them actually use it.
A 6×8 playhouse, a mud kitchen on a paver pad, or a 4×4 sandbox with a lid and 6 in of play sand all slot in without eating the whole yard. Stretch a shade sail overhead so the space stays usable at midday instead of baking. Under anything they’ll climb on, spread rubber mulch or wood chips for fall protection — 6 in deep — and keep at least one clear sightline from the house so you can keep an eye out from the kitchen window.
Pick one feature to start rather than cramming in all three; kids play longer in a space that has room to imagine than one that’s packed to the fence.
10. A Soaking Spot Behind the Trees
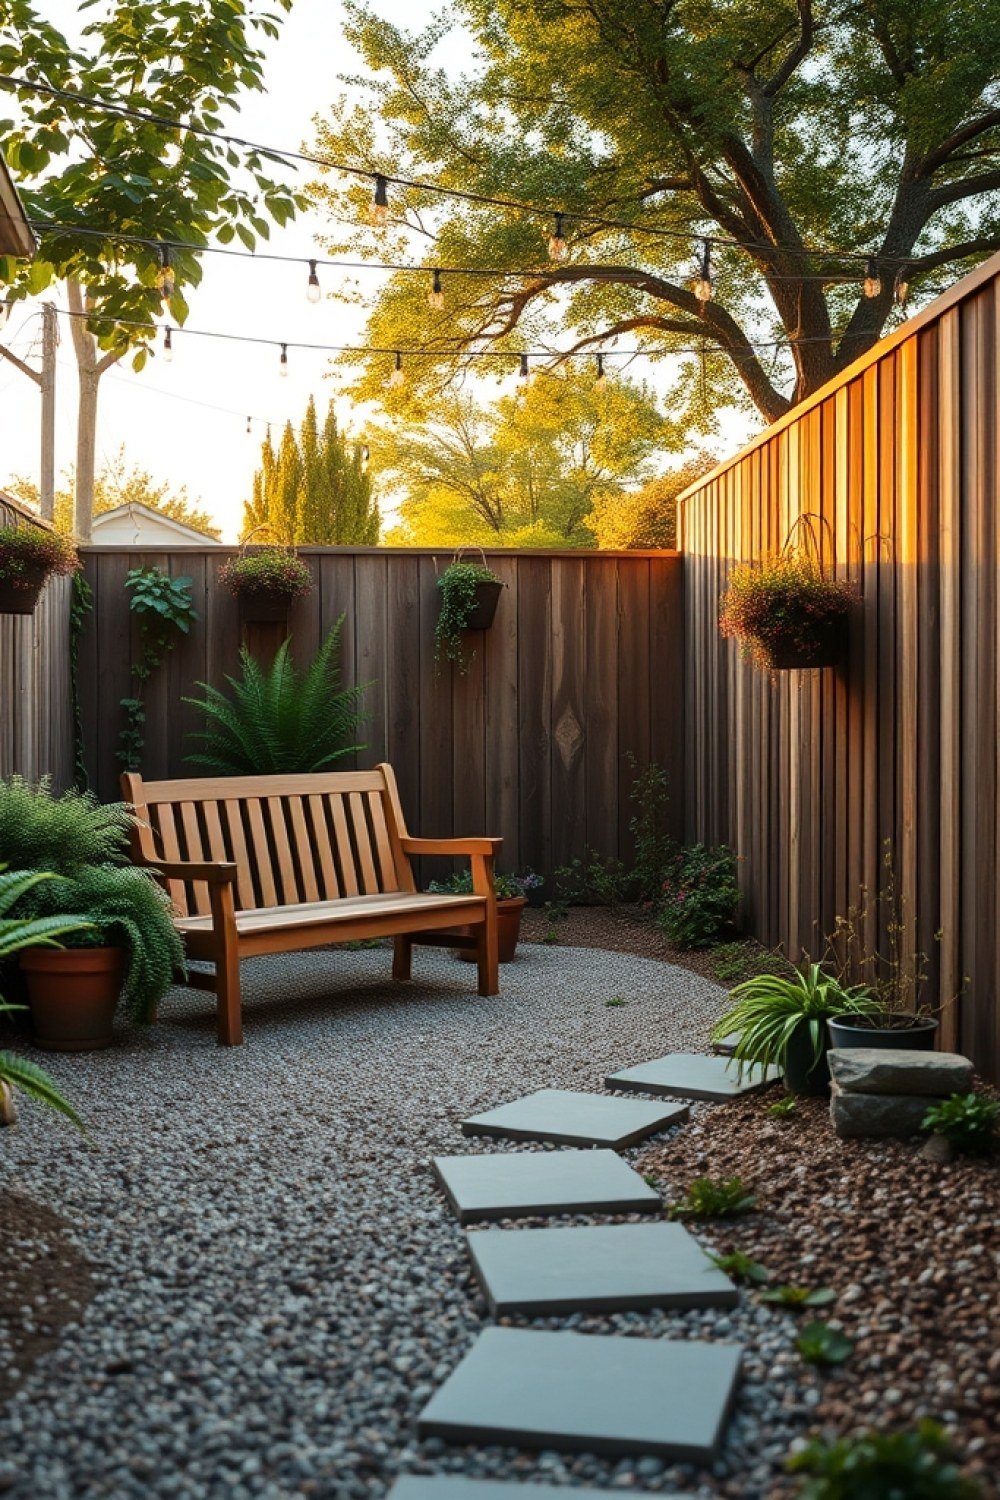
Corners suit hot tubs and cold plunges beautifully — the fences already give you two sides of privacy, so you only need a screen on the open sides. A 2–4 person tub fits in roughly 7×7 ft of clear space, including room to step in and out.
The prep matters more than the tub. You need a level, reinforced pad — either poured concrete or 4 in of compacted gravel topped with pavers — plus a GFCI outlet within reach of the cord and a drainage plan before delivery day. Do the weight math first: a 300-gallon tub weighs about 2,700 lbs when full, and that’s before two adults get in. Cedar or composite steps, a hook for robes, and a small shelf for drinks finish the spot.
Measure your gate and path before you buy — if the tub can’t fit through, you’re paying for a crane, so confirm the delivery route first.
11. Light It Like You Mean It
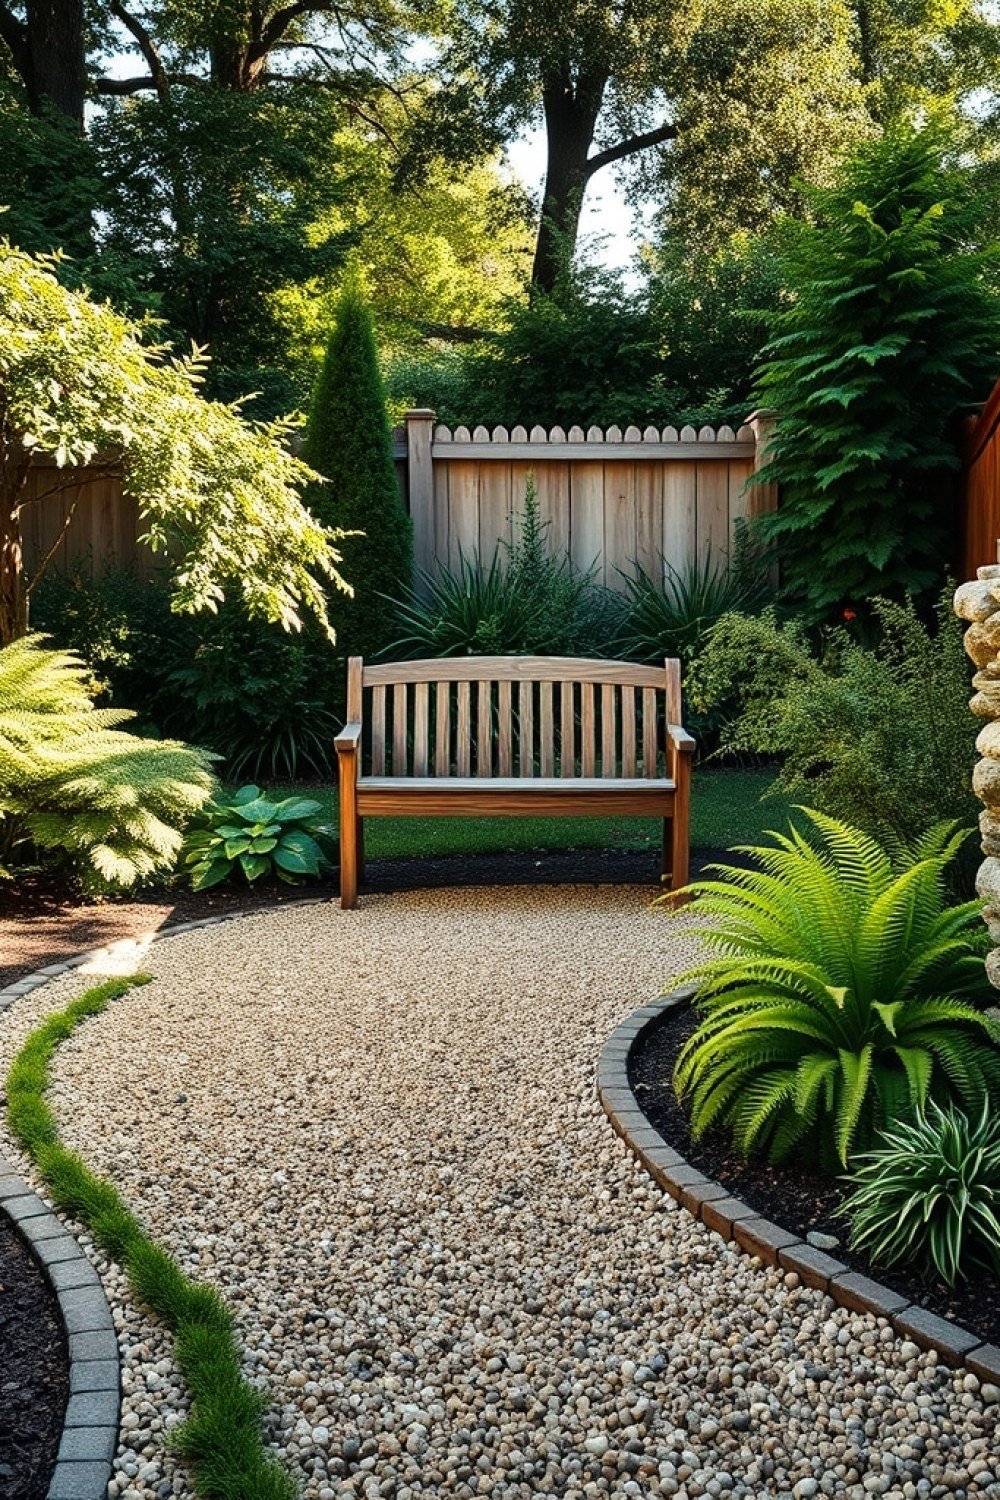
A dark corner stays unused, no matter how nice it looks in daylight. The fix is cheap and takes an afternoon. Zigzag bistro lights between your fence posts and one tall 10 ft pole set in the corner — that single pole is what turns a flat string into an overhead canopy.
Then light the route in: two low-voltage path lights along the walkway so people actually find the spot after dark, plus a warm 2700K uplight at the base of a specimen tree or shrub for depth. Warm white reads cozy; anything above 3000K looks like a parking lot. Put the whole run on a smart plug or photocell timer so it comes on by itself at dusk and you never think about it.
If you can’t run wiring, solar stakes work — just expect noticeably dimmer output in winter, so place them where summer light hits and swap in a plug-in strand for the darker months.
12. The Low-Effort Reset
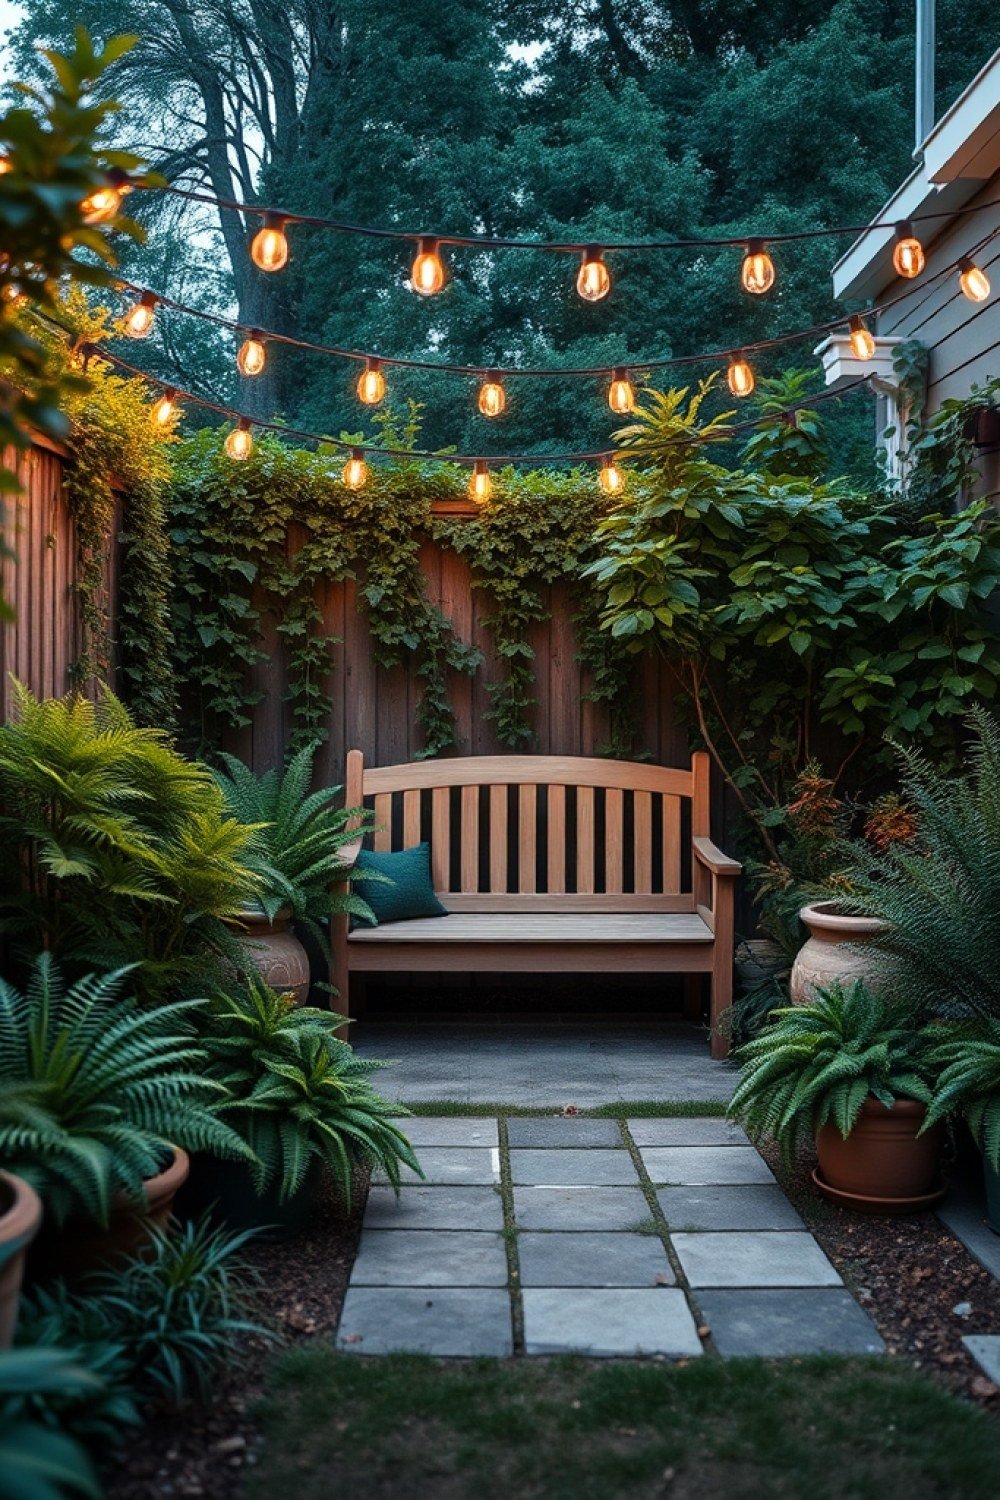
Not ready to build? Then just stop the corner from being a dumping ground. Clear everything out, lay landscape fabric, and cover a 6×8 area with 3 in of gravel or bark chip. That alone changes how the whole yard reads.
Set one large ceramic pot with a tall grass or ornamental shrub for height, add a single chair and a small side table, and you’re done — realistically under $200 if you already own the chair. The point isn’t the furniture; it’s that the corner now looks intentional instead of abandoned.
Treat this as a placeholder, not a failure. Once the space looks deliberate, you’ll actually want to sit there, and that’s when the real project idea tends to show up.
Questions About Back Corner Yard Projects
How do I deal with a back corner that stays wet or floods?
Fix the water first, always — otherwise your new deck, shed or fire pit will rot or sink within a season or two. Start by watching where your downspouts dump and redirect them away from the corner with a 10-15 ft buried drain line or a dry creek bed of 2-3 in river rock along the low edge. Regrade the soil so it slopes away from the fence at roughly 2%. If the corner is genuinely the lowest spot in the yard, a shallow French drain — perforated pipe wrapped in filter fabric, set in a gravel trench — is the fix that actually holds up long term.
What can I plant in a shady back corner with poor soil?
Go with plants that shrug off both conditions instead of fighting the site. Hosta, heuchera, Japanese forest grass, ferns, brunnera, astilbe and hellebore all handle shade and mediocre soil without fuss. Amend each planting hole with compost rather than trying to rework the entire bed, then mulch 2-3 in deep to hold moisture. If tree roots have also made the corner dry, switch to liriope, epimedium and sedge — they tolerate root competition far better.
How close to the fence can I build a shed, deck or fire pit?
It varies by city, but 3-5 ft setbacks for sheds and structures are common, and fire features should sit at least 10 ft from fences, structures and overhanging branches. Decks usually have to respect the same setback as the fence line, and many areas require a permit above a certain height. Call your local building department before you buy or pour anything — relocating a shed after the fact costs far more than a five-minute phone call.
Choosing the Right Corner Project for Your Yard
Before you order lumber or load the cart at the nursery, spend twenty minutes with a tape measure and a notebook. Write down the corner’s actual dimensions, roughly how many hours of direct sun it gets, and where water sits after a hard rain. Shade plus damp almost always points to a potting bench, shade garden or storage shed; sun plus level ground unlocks fire pits, raised beds and soaking tubs.
Then do the low-effort reset — clear the junk, weed, level the surface — and just live with the empty space for a week. You’ll start noticing how you naturally walk past it, where you’d want to sit, and what the corner is quietly asking to become. The right project usually makes itself obvious once you stop forcing the one from your saved pins.