
15 Back Yard Cement Ideas for Clean, Modern Outdoor Spaces
The biggest myth about cement backyards is that concrete means a boring gray slab. It doesn’t. Finish, joint pattern, and edging do about 90% of the design work, and the same 300 square feet can read as a cheap driveway or a designer patio depending on those three choices alone.
These 15 cement and concrete ideas are for anyone who wants a low-maintenance, modern outdoor space that still feels warm and intentional. Each one covers what it is, how it’s built, and what it costs, so you can decide before you call a contractor.
You’ll find patios, paths, planters, fire features, and seating walls here, plus honest guidance on finishes, crack control, and the mistakes that make poured concrete look flat. Pick two or three ideas, not fifteen.
1. Large-Format Paver Patio for a Seamless Modern Look
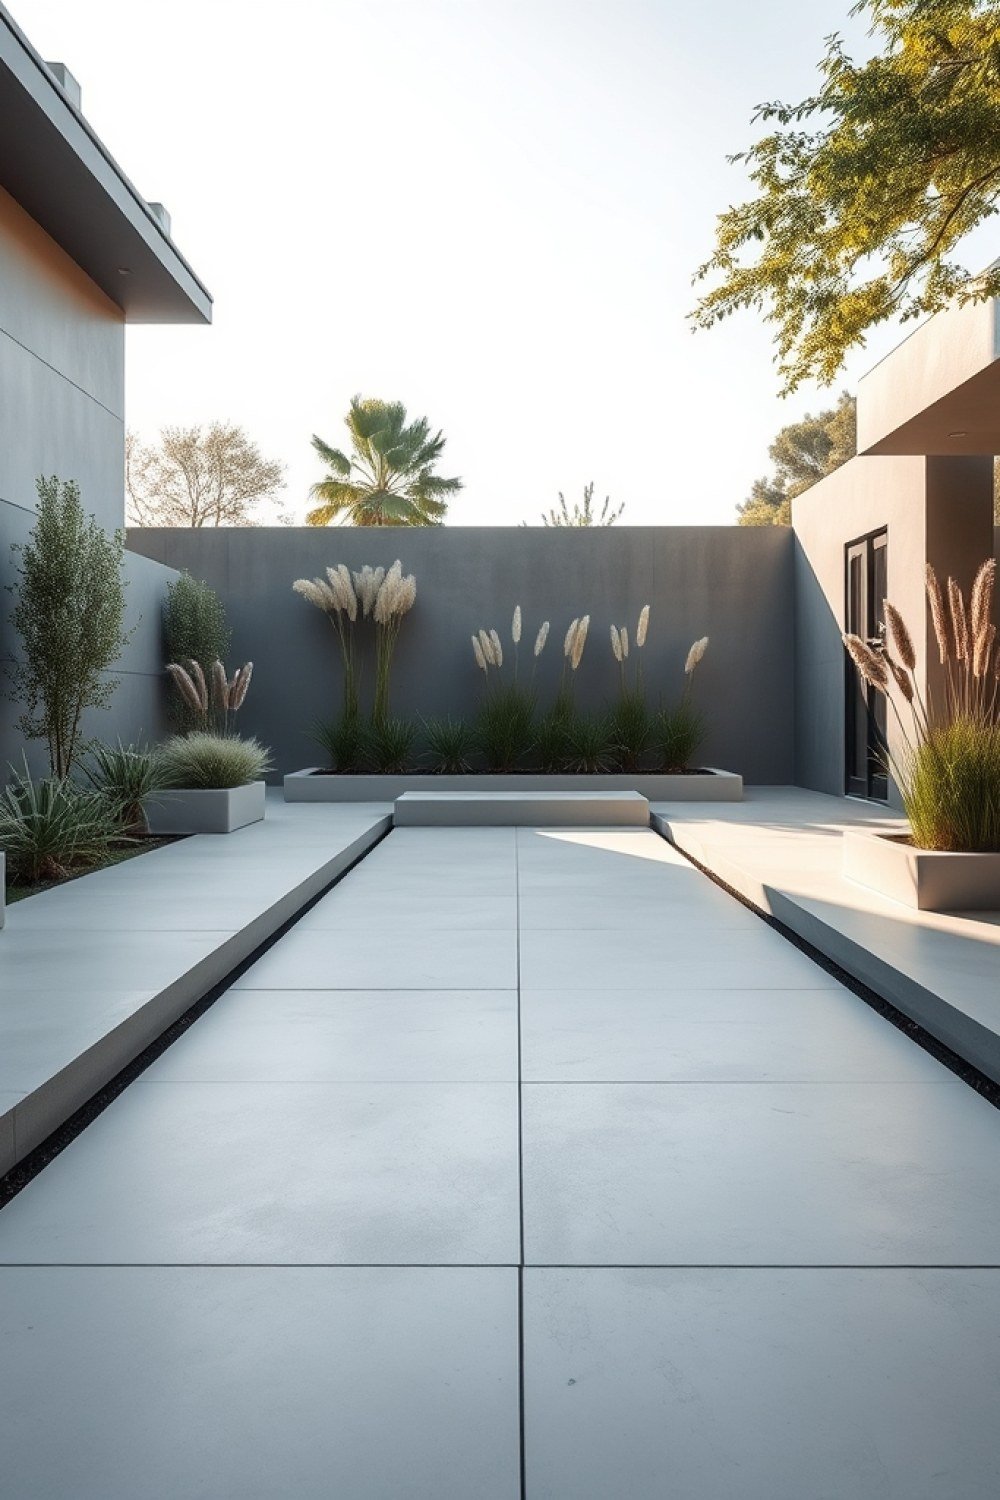
Big 24×24 or 30×30 inch pavers laid tight over a compacted 4-inch gravel base give you concrete’s durability with an almost seamless surface. Set them with 1/8-inch joints, sweep polymeric sand in, then mist lightly so it locks.
Why it works: Tight joints and full slabs read as one calm plane rather than a busy grid, and the sand stops weeds and ants between pavers.
Pro tip: Choose a matte charcoal or warm sand tone — glossy pavers look cheap outdoors. Budget $8–$20 per square foot installed, less if you lay them yourself.
2. Broom-Finished Slab With Saw-Cut Control Joints
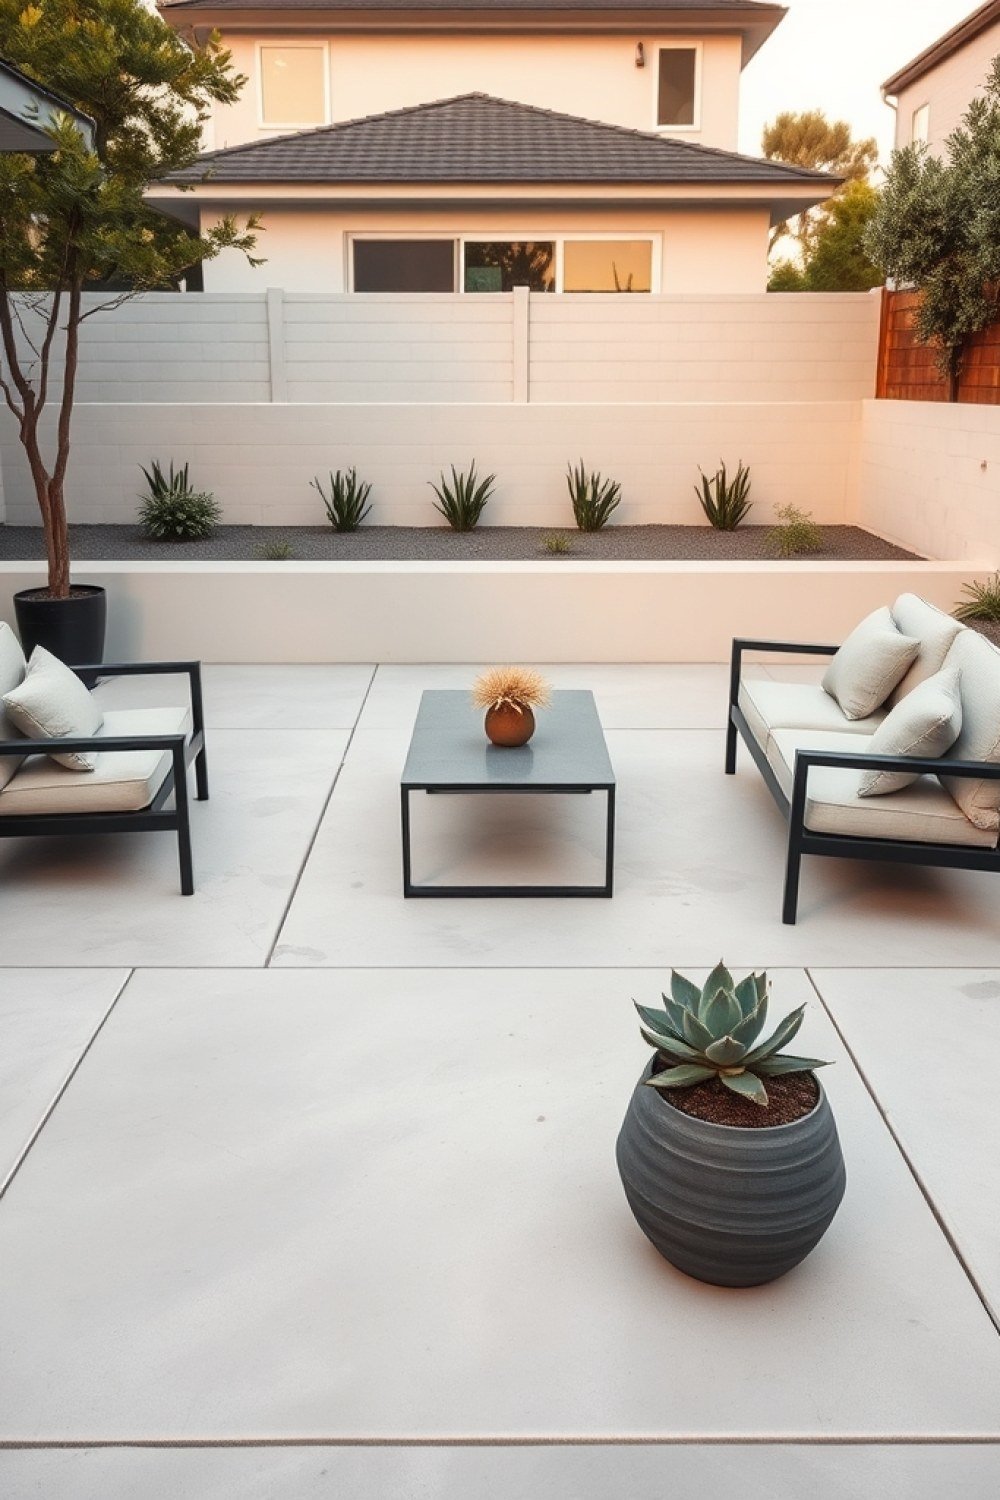
The fix for a boring gray slab is pattern, not product. Have your finisher pull a light broom finish in one direction, then saw-cut joints in a large grid so the concrete reads as a deliberate design choice instead of cracks waiting to happen.
Why it works: Saw cuts every 8–12 feet (or in squares matching your patio proportions) control cracking and turn plain concrete into a clean grid.
Pro tip: Add integral color in buff or slate gray plus a darker border band. It costs little but gives the slab a designed look.
3. Exposed Aggregate Patio for Grip and Texture
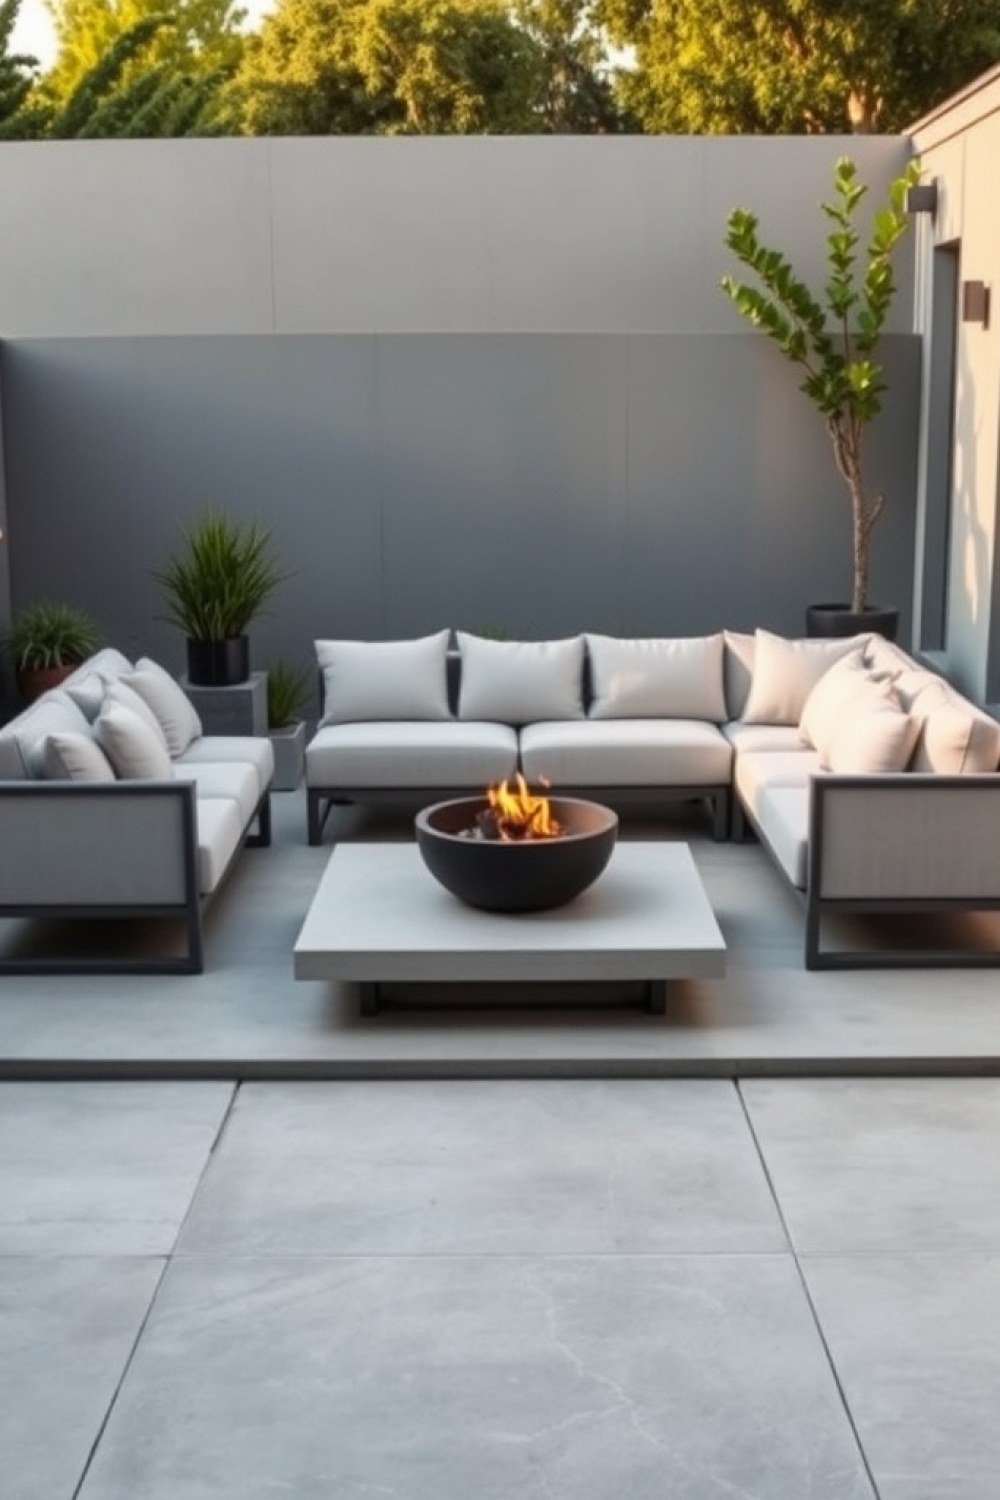
If you have a pool, a slope, or a dog, exposed aggregate earns its keep. The pebbled surface is slip-resistant and hides dust and paw prints far better than smooth concrete, so it stays presentable with less fuss.
Why it works: The texture grips wet feet and reads intentionally rustic. The aggregate you choose is everything — fine black-and-tan speckle looks modern; pea gravel looks dated.
Pro tip: Wait 28 days, then seal with a penetrating (not film-forming) sealer so it stays matte and never goes plastic-shiny.
4. Polished Concrete Patio Under a Covered Pergola
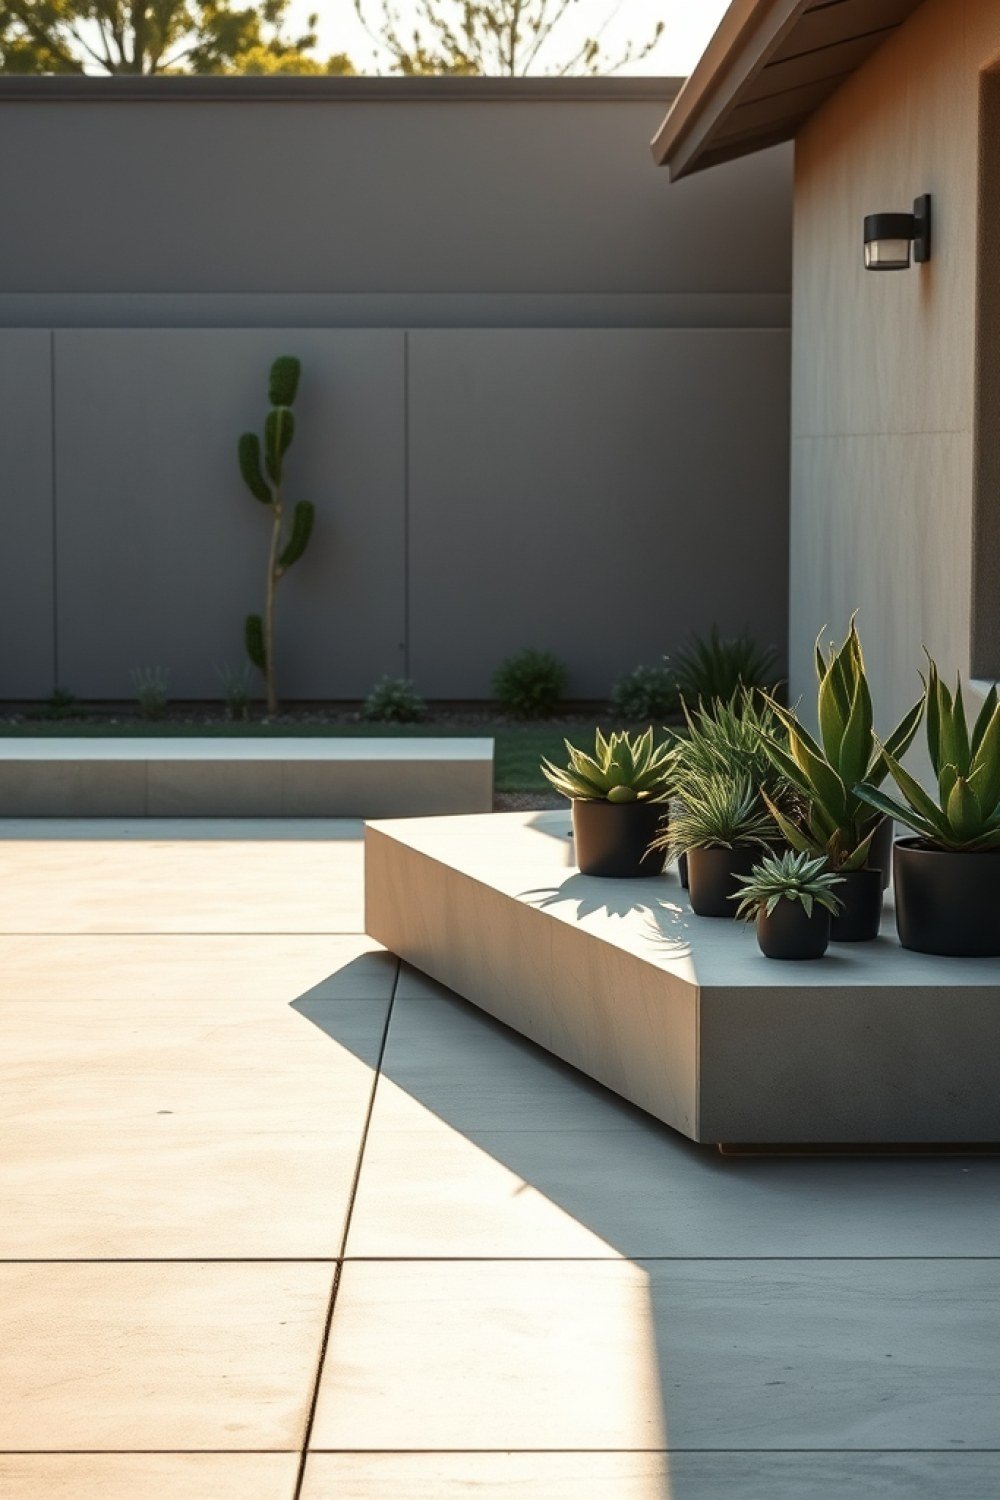
Ground and polished concrete with a satin sheen looks like poured stone, especially in warm gray or charcoal. This is a high-end move, but it only belongs in one place: a covered zone protected from rain and freeze-thaw.
Why it works: Inside the roof line, the surface stays dry, so you get that luxe interior-floor look outdoors without the weathering problems that ruin it elsewhere.
Pro tip: Keep it under cover — polished concrete gets slick when wet and can etch from standing water. Add a large outdoor rug to soften the echo.
5. Cement Stepping Path Through Plantings
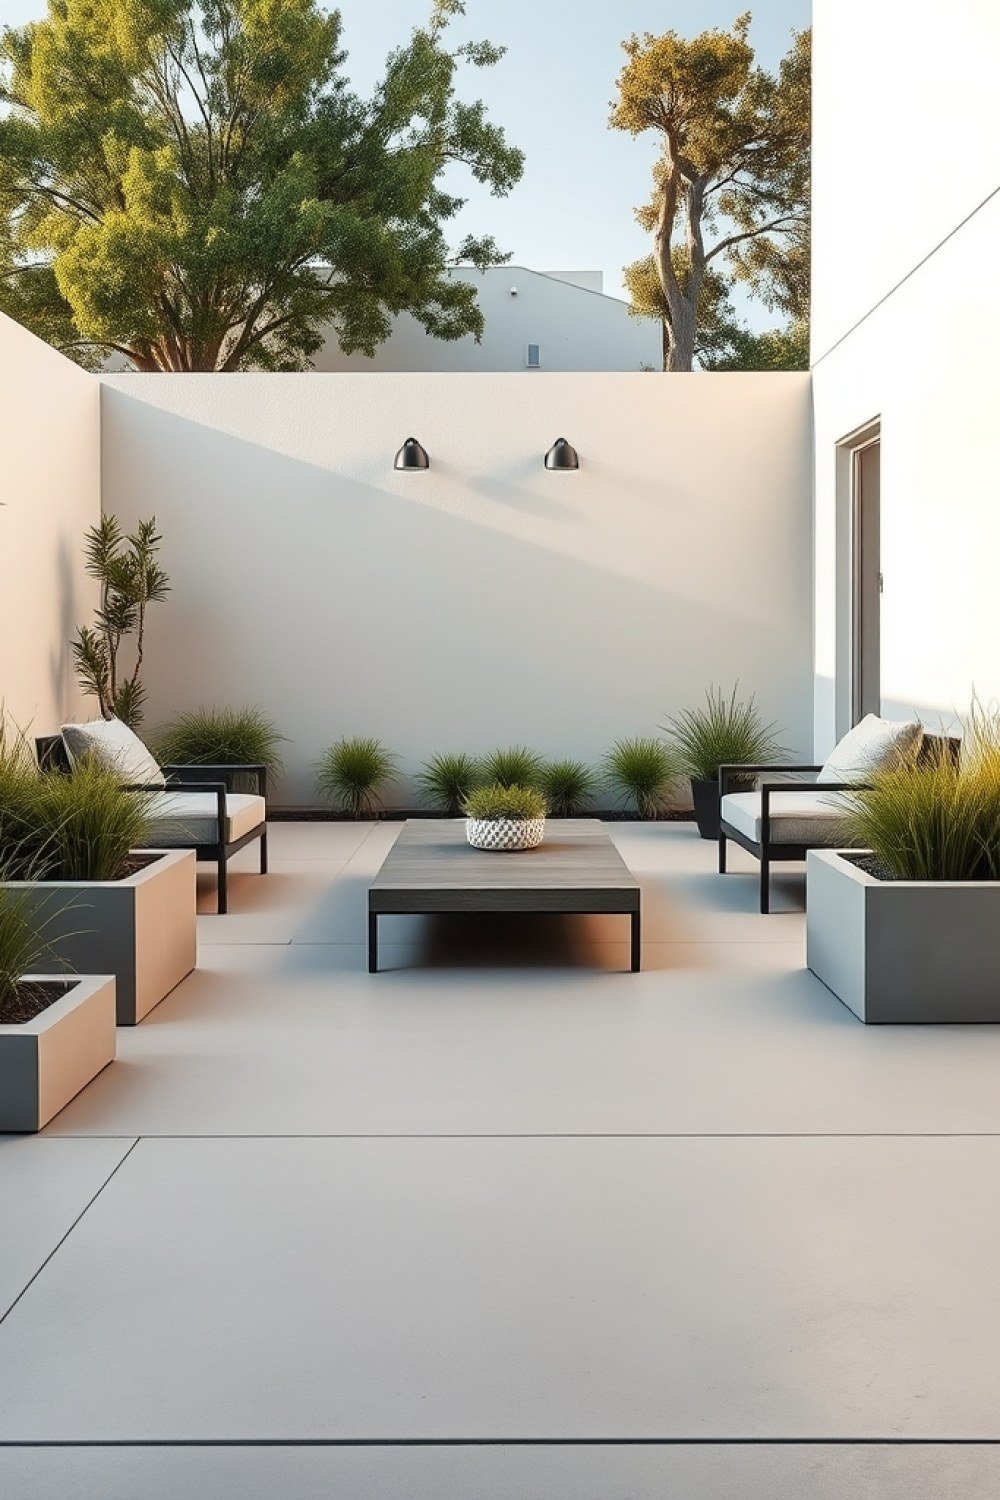
For narrow side yards and garden routes, individual 30×30 inch concrete pads with 4–6 inches of gravel or groundcover between them beat a heavy full slab. Follow a slight curve rather than a rigid line.
Why it works: The gaps let plants and drainage breathe, and the pads feel light and modern instead of imposing.
Pro tip: Set pads 3–4 inches above soil level so mulch doesn’t bury the edges, and keep them level or with a 1% slope away from the house.
6. Cast-Concrete Retaining and Seat Wall
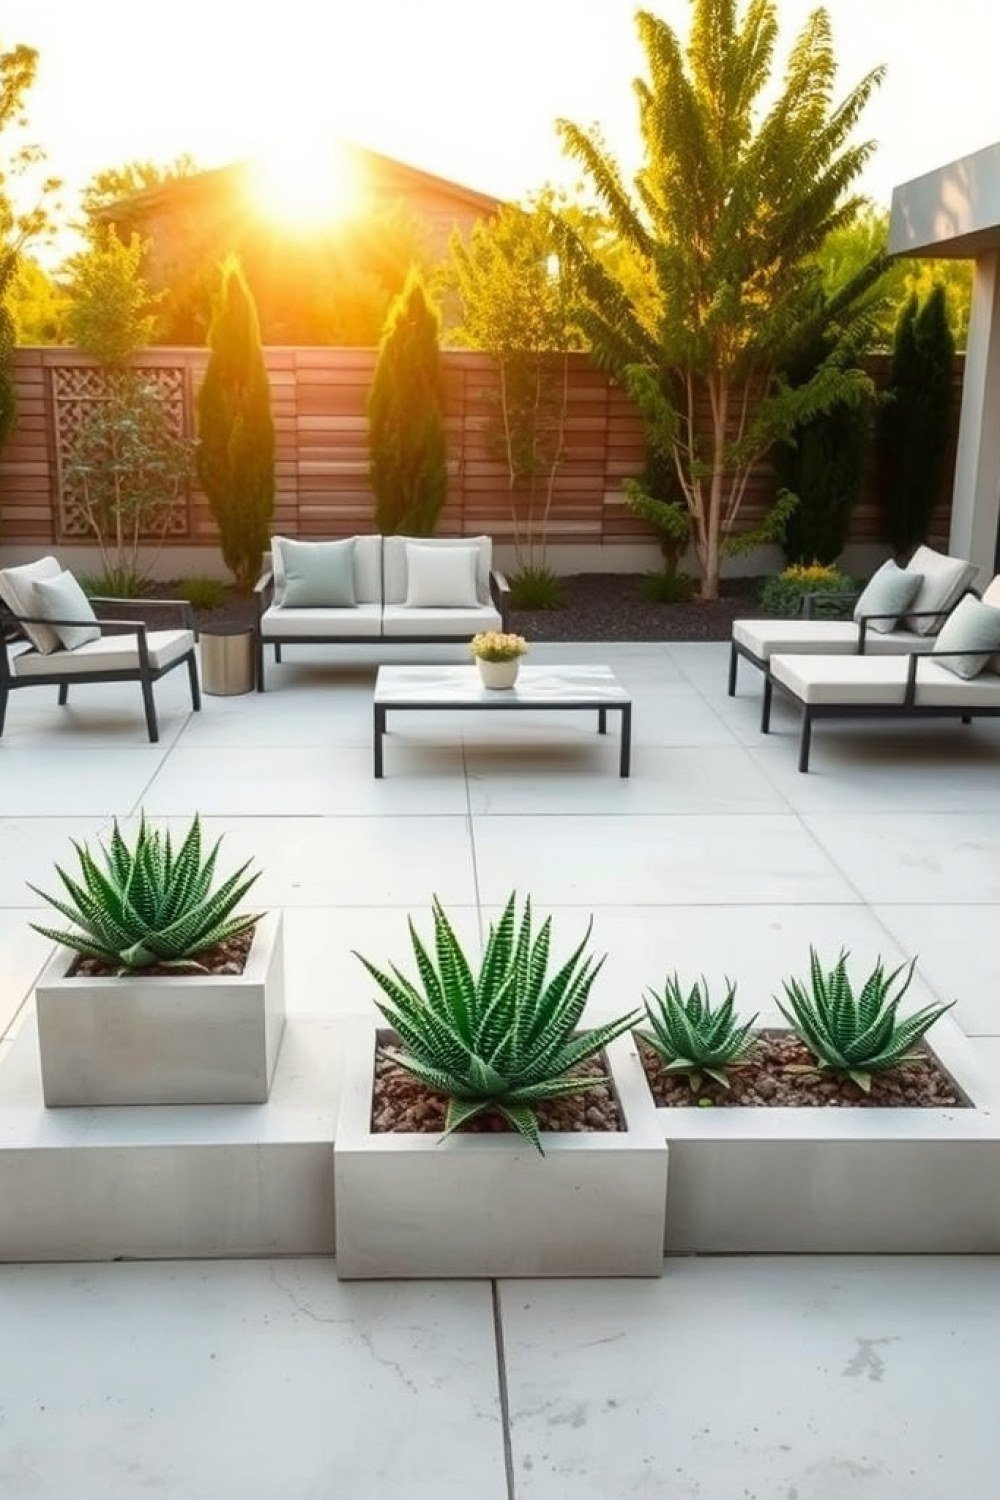
A seat wall does triple duty: holds back grade, defines the patio edge, and adds built-in seating without a single chair. Standard seat height is 18 inches, with a depth of 15–18 inches — comfortable to perch on and wide enough for a drink.
Why it works: One structure solves grading, layout, and seating, giving the yard a clean, architectural line that ties the whole space together.
Pro tip: Cap it with a contrasting 2-inch cast stone or bluestone coping so the top edge looks finished and stays cooler in the sun.
7. Board-Formed Concrete for a Modern Architectural Edge
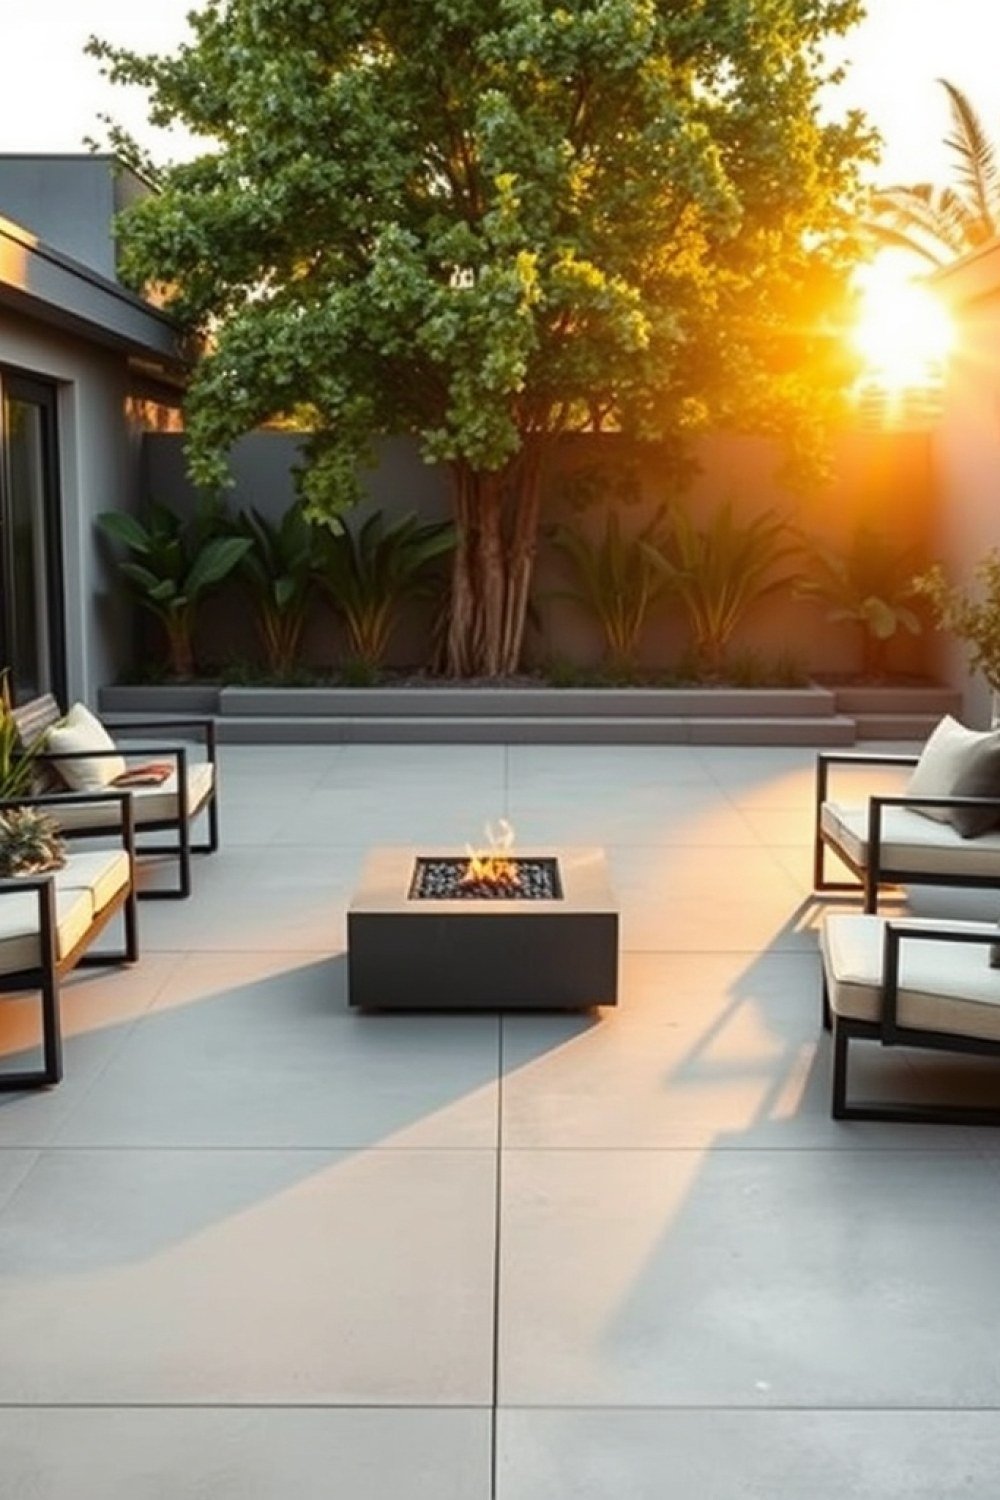
Board-formed concrete leaves the grain of the formwork in the finished face. Set cedar or rough pine boards vertically or horizontally, coat the face with a retarder before pouring, then pressure-wash to expose the texture.
Why it works: That ghosted wood grain turns a plain surface into a designed wall, and the shadow lines read as architecture rather than poured gray slab.
Pro tip: Reserve it for low walls, planters, and step risers. Underfoot it’s uncomfortable, so keep board-forming off any surface you’ll walk on barefoot.
8. Built-In Concrete Bench Tucked Into the Patio

Pour the bench as part of the slab so it reads as one continuous piece. Cantilever it about 6 inches past its support block, keeping the seat 16–18 inches high. Add a cushion in weatherproof fabric.
Why it works: You skip furniture costs and clutter, and the floating edge looks intentional rather than blocky.
Pro tip: Bare concrete gets cold and hard within minutes. A 2-inch outdoor cushion in solution-dyed acrylic turns the bench from a photo prop into somewhere people actually sit.
9. Concrete Fire Pit With a Wide Seat Ledge

Pour a circular or square pit with a 12-inch-wide ledge at 18 inches high and line the inside with fire brick. Keep the bowl 30–40 inches across for a real fire, and leave 7 feet of clear patio around it.
Why it works: The wide ledge doubles as seating and a drink rest, and it looks far cleaner than a metal bowl parked on the pavers.
Pro tip: Skip the glossy finish here. A matte, sandblasted surface hides ash and soot — polished concrete shows every smear.
10. Cement Paver Driveway Apron and Walkway Combo
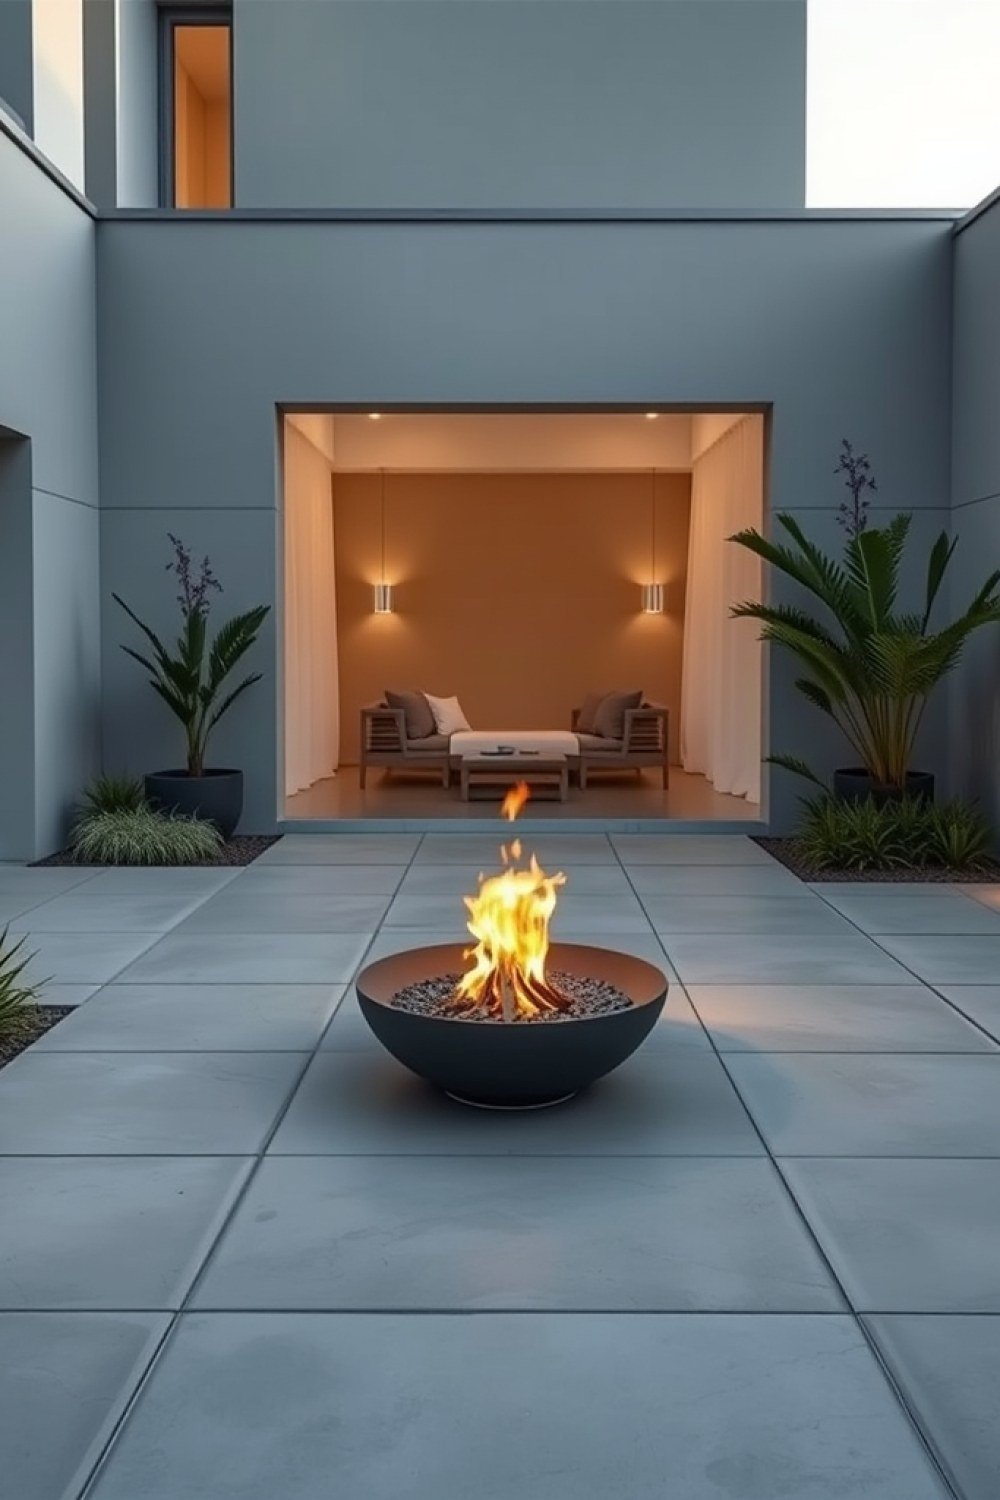
Tie the street to the front door with the same paver and joint size on both the apron and the walkway. Slope everything 1–3% away from the garage, and frame the apron with a soldier-course border in a darker tone.
Why it works: Matching material makes the eye read one continuous surface, and the darker border makes the whole front yard look professionally designed.
Pro tip: Check your local code before pouring an apron over the public right-of-way — many towns require a permit and a specific slope to keep stormwater off the street.
11. Concrete Planter Boxes for Privacy and Greenery
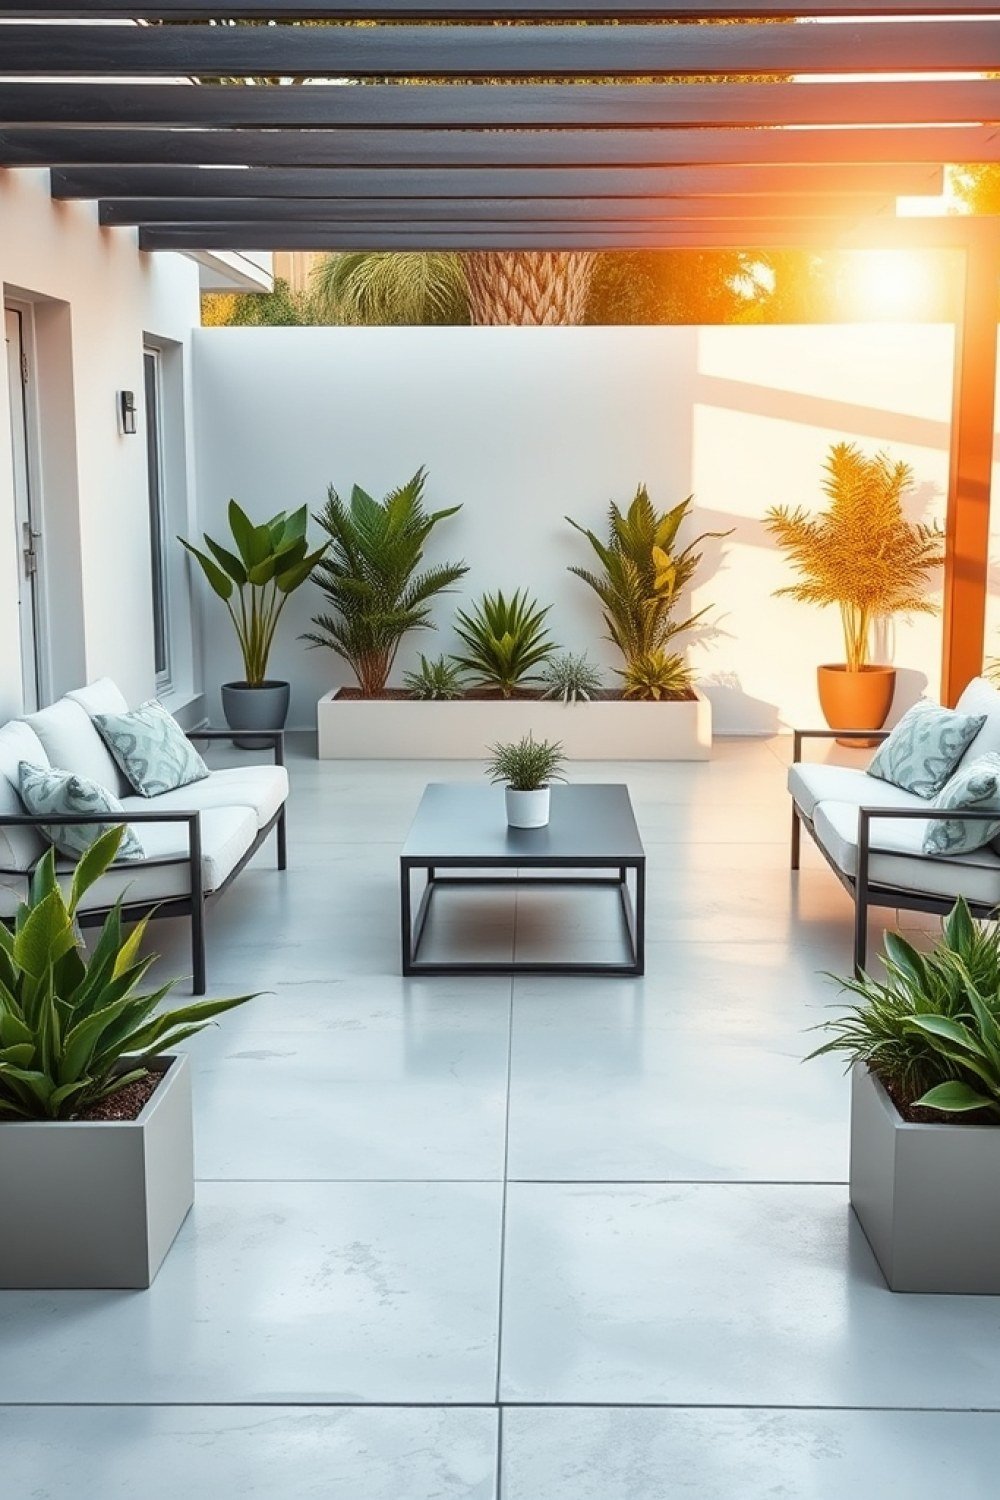
Cast or block planters 24–30 inches tall and at least 18 inches deep. Plant bamboo inside a root barrier, or use ornamental grasses and small trees like Japanese maple. Add drainage gravel and a weep hole at the base.
Why it works: Planters give you the screening of a fence without the permit, the posts, or the permanent footprint.
Pro tip: Shallow boxes dry out fast and cook roots. If you want bamboo’s density, the root barrier is non-negotiable — without it, it will run through your whole yard.
12. Stamped Concrete That Mimics Slate or Limestone
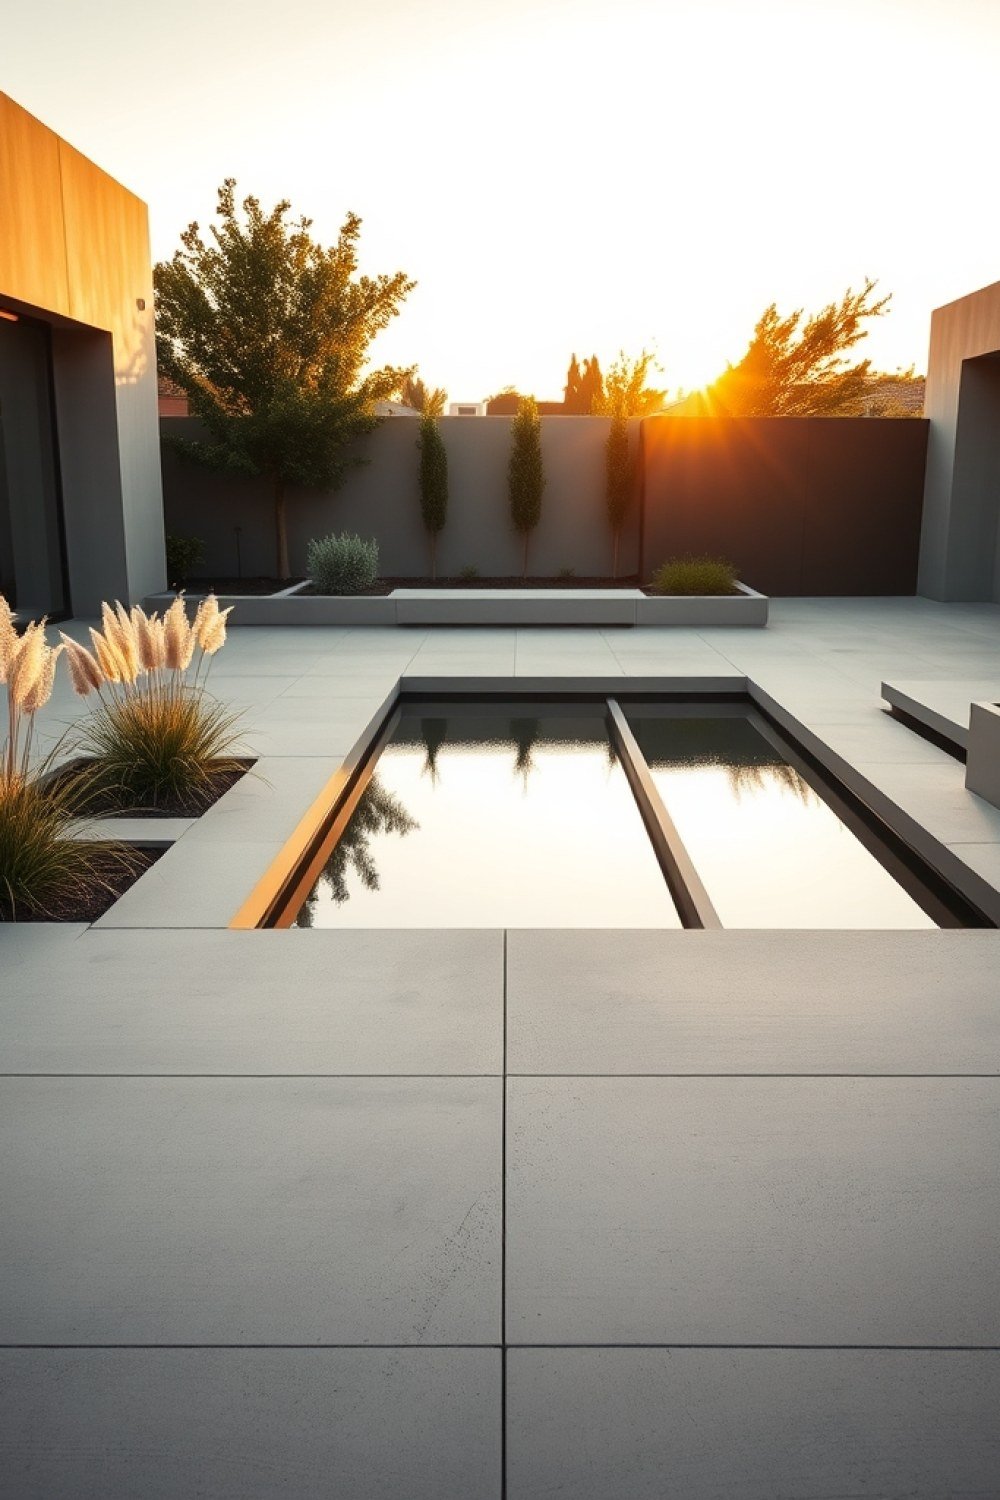
Get a stone patio look without real stone by choosing a random ashlar or large-format slate stamp. Insist on a contrasting release agent and a hand-colored antiquing wash before sealing.
Why it works: Oversized stamps read as convincing stone, while busy cobble patterns look like a themed restaurant.
Pro tip: The antiquing wash is what kills the flat, plasticky look. Ask to see a sample panel poured on site before you approve the mix.
13. Poured Concrete Steps With a Cantilevered Landing

For sloped yards and raised doors, poured steps beat stacked blocks every time — they’re one solid mass, so nothing settles or shifts. Form risers at 6–7 inches and treads 12–14 inches deep, then cantilever the top landing 8–12 inches past the step below for that floating, modern profile.
Why it works: The overhang throws a clean shadow line, and a monolithic pour means no wobbling blocks or weeds sprouting between courses after the first rainy season.
Pro tip: Broom the treads and add a contrasting nosing strip at the edge — bare polished concrete turns slick the moment it’s wet, and grip matters more than gloss on stairs.
14. Full-Width Concrete Pad for an Outdoor Kitchen

Give the grill and prep area its own dedicated, level slab. Pour at least 8×10 feet at 4 inches thick, reinforced with rebar — this carries a built-in grill, fridge, and counter. Set it near the house so plumbing and power runs stay short.
Why it works: A single flat pour keeps everything plumb and stable, so heavy cabinets and a 400-pound grill never rock or crack the way they can on pavers or a graded deck.
Pro tip: Leave a 36-inch clearance zone in front of the grill face so doors and drawers swing fully open, and stub out your gas and electrical before the pour, not after.
15. Tinted Concrete With a Decorative Border Band
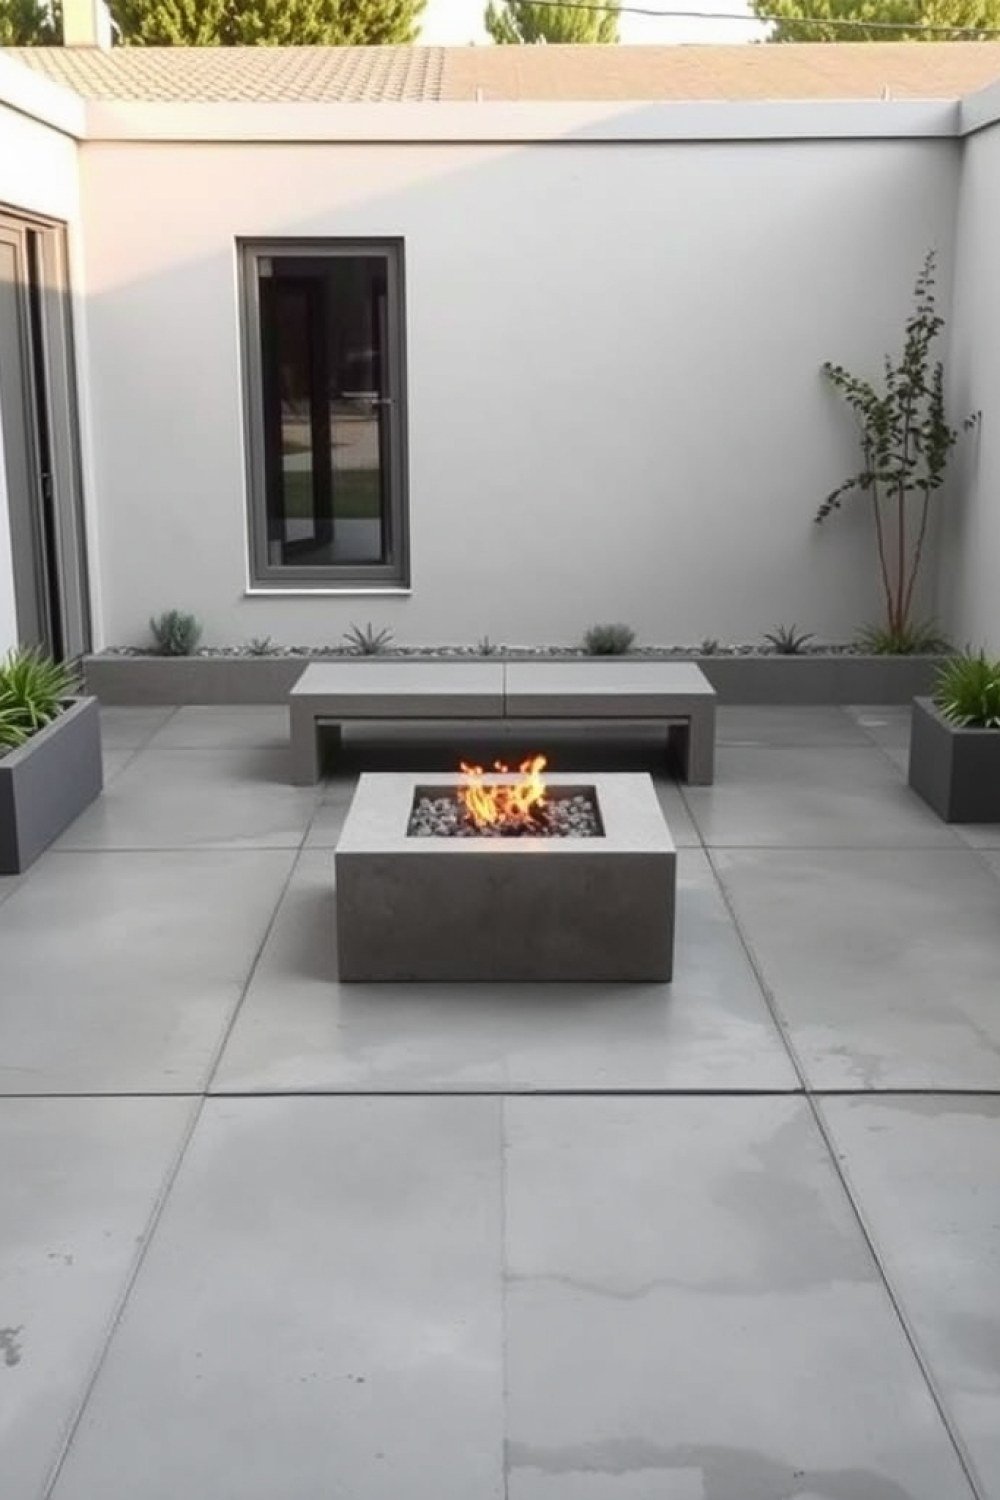
The cheapest upgrade for a plain slab is a border. Pour the field in one integral color — warm gray, sand, or slate — and a 12-inch border band in a contrasting tone, with a control joint separating the two. It frames the space like a rug borders a room.
Why it works: Integral color runs through the full slab depth, so it won’t peel or fade like a surface stain, and the border band breaks up a large expanse that would otherwise read as one flat gray plane.
Pro tip: Set the control joint exactly on the color line so any future cracking hides there — and it costs only a little more than the concrete you were already pouring.
FAQs
How do I keep my concrete patio from cracking?
You can’t stop all cracking, but you can control where it happens. Use a properly compacted 4-inch gravel base, keep the slab at least 4 inches thick with rebar or wire mesh, and saw-cut control joints every 8–12 feet within 24 hours of the pour. Make sure the slab slopes 1–2% away from the house so water never sits at the edge. Cracks follow the joints instead of wandering across the surface — that’s the goal.
Is stamped concrete or pavers better for a backyard?
Stamped concrete is usually cheaper upfront — roughly $8–$16 per square foot installed versus $10–$25 for pavers — and it gives you a seamless surface with no weeds between stones. Pavers cost more but handle freeze-thaw cycles better, are easier to repair if one shifts or cracks, and let you lift a section to fix a buried pipe. In cold climates, or anywhere you might dig later, pavers are the safer long-term call.
How do I stop plain gray concrete from looking cheap?
Add three things: color, pattern, and a border. A tinted integral color in a warm gray or sand tone kills the driveway look. Saw-cut joints in a deliberate grid turn the surface into a design rather than a slab. A 12-inch contrasting border band frames the whole space. Finish with a matte penetrating sealer — skip the glossy wet-look sealer, which is what gives cheap concrete away.
Choosing the Right Cement Feature for Your Yard and Budget
Start with the zone you use most — usually the patio and the path to it — and spend there first. One tinted, jointed slab with a border outperforms five half-finished projects every time. If your budget is tight, put the money into base prep and drainage before finishes. Those are the parts you can never change later; color and sealer can be revisited.
Pour in mild, dry weather. Cure the slab for 7 days before walking heavily on it, and seal it after 28 days to lock in the look. Get those basics right and your backyard concrete will read as designed, not poured by accident.