
15 Backyard Gazebo Ideas for Shade, Style, and Privacy
By mid-afternoon the patio is too hot to sit on, and the neighbor’s second-story window has a clear view of your whole yard. A gazebo solves both problems in one move. The trick is choosing the right one before you buy or build, because size, roof style, and materials decide how much shade you actually get.
Shade is only half the job. The right gazebo also frames the yard, gives you a reason to use the space after 4 p.m., and screens the sightlines you would rather not share. Here you will find 15 backyard gazebo ideas that cover all three, sorted by what each one does best.
Every idea notes real numbers, so you can match it to your space. You will see footprint sizes, roof pitches, materials that survive weather, and the add-ons worth the money. Use it to shortlist a plan, then price it out with confidence.
What You Need to Know Before You Pick a Gazebo
- Footprint: mark 8×8, 10×10, or 12×12 ft with string first
- Roof type: hardtop for shade, soft-top for budget
- Frame: powder-coated aluminum or cedar, not thin steel
- Anchors: ground stakes, bolt-down plates, or a concrete pad
- Orientation: angle the open side away from the hot sun
- Add-ons: curtains, mosquito netting, string lights, a fan
1. Pick the Right Size Before Anything Else
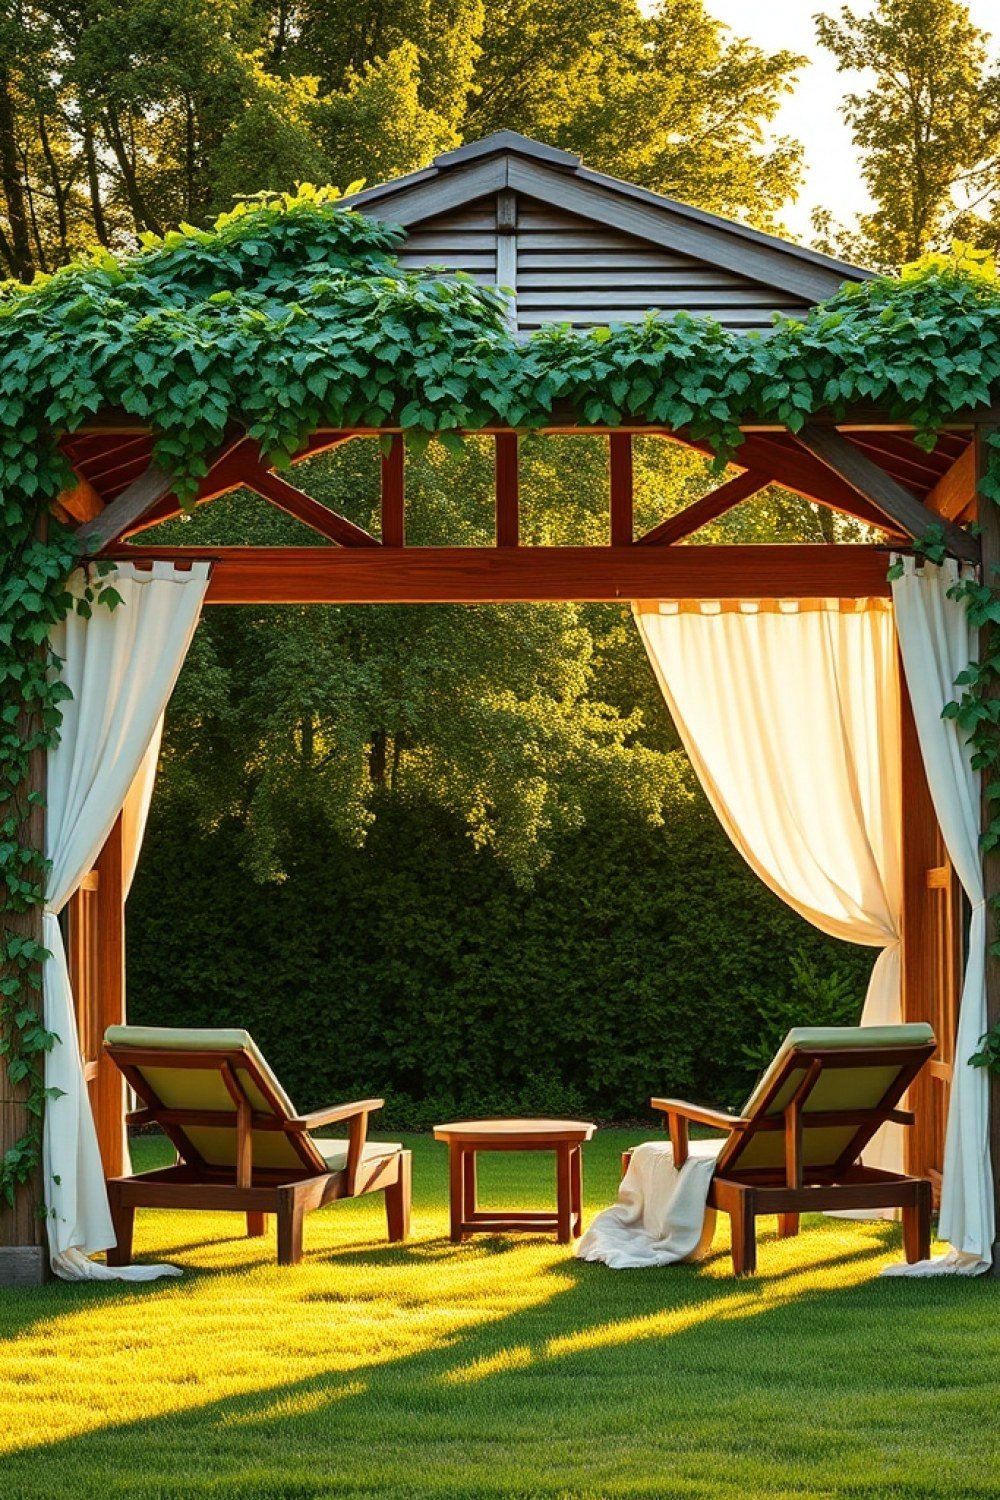
Best for: anyone about to buy, before they fall for a photo.
This is the single biggest regret buyers report. Measure your actual seating first: a 10×10 ft gazebo holds a 4-piece bistro set or two lounge chairs; 12×12 ft fits a 6-person dining table with 3 ft of walking room around it.
Leave at least 2 ft between the gazebo edge and any fence or planting bed for airflow and access. If you’re on the fence, size up — you will never wish you had less shade.
Try this: tape the footprint on your patio with painter’s tape and walk it for a week before ordering.
2. A Hardtop for Zero Maintenance
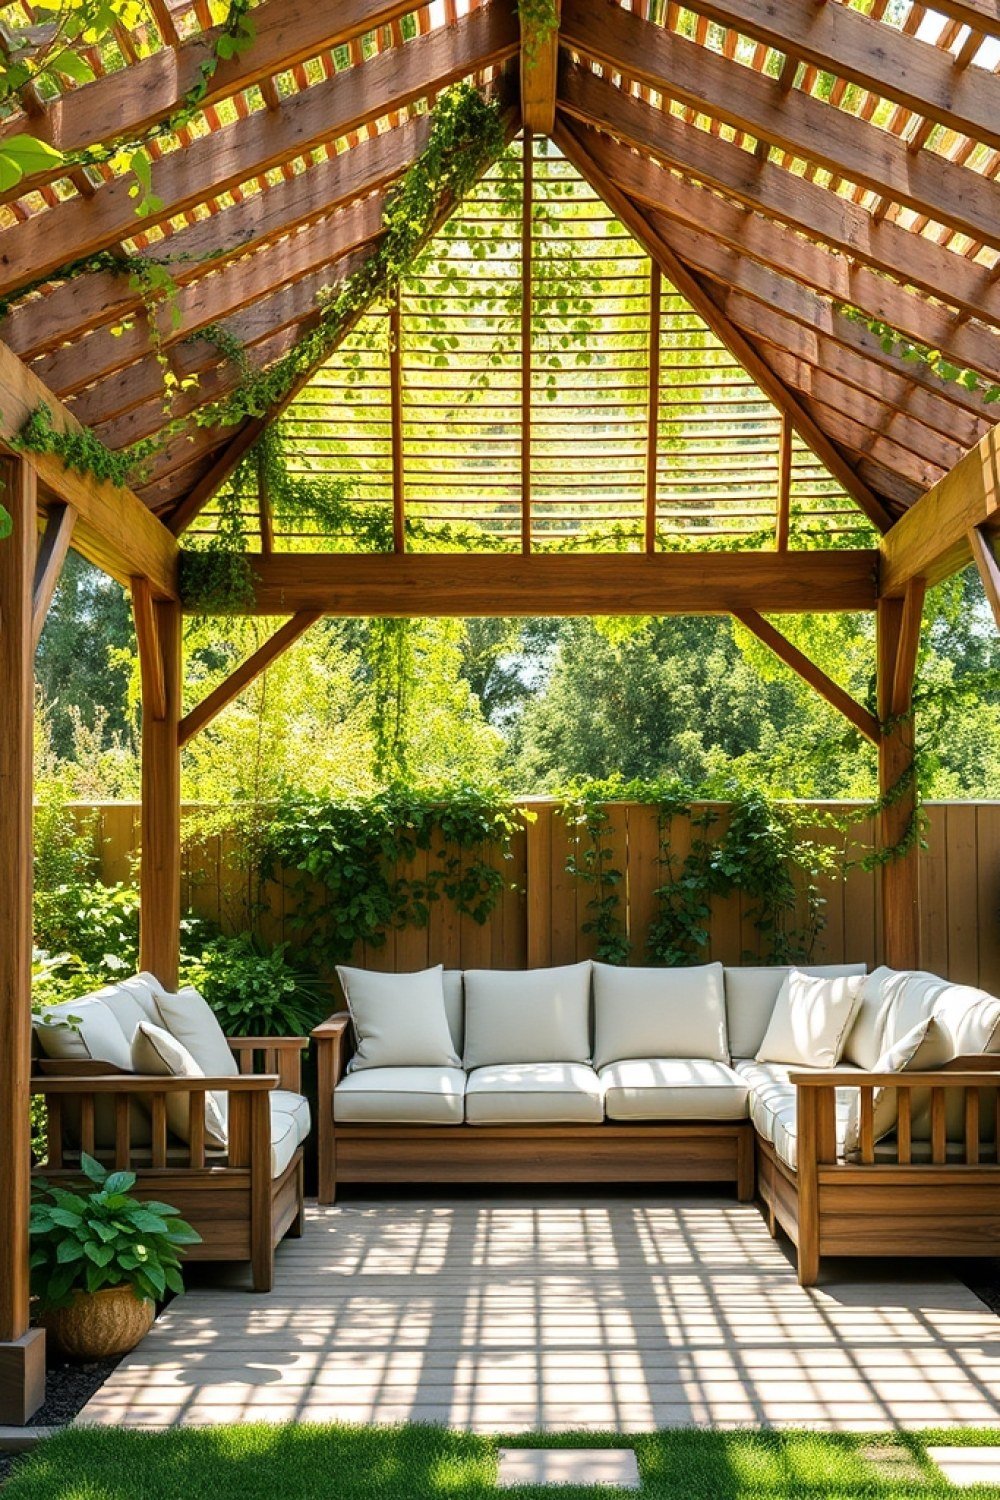
Best for: cold-winter climates and anyone done with re-covering a roof.
Powder-coated steel or aluminum hardtops, especially double-tier roofs, shed snow, don’t sag after rain, and never need re-covering. You pay more upfront, but you skip the $80-$150 replacement canopy every couple of years.
The double tier matters: it lets hot air escape at the peak instead of cooking the space below. Anchor the feet into concrete footings if your area gets high winds.
Try this: check the snow load rating in the specs — 30 psf or higher handles most northern winters.
3. Soft Fabric Canopy for Renters and Budgets

Best for: renters, tight budgets, and anyone who wants shade up this weekend.
A $150-$400 fabric-top gazebo goes up in an afternoon and moves with you when you do. Choose a UV-treated, water-resistant polyester canopy, and look for PA or UPF ratings in the listing so the shade actually blocks rays.
Most failures come from wind, not sun. Take the cover down or store the whole frame before storm season and it will last years longer.
Try this: buy two replacement canopies with the frame so you’re covered when the first one fades.
4. Timber and Cedar for Instant Character
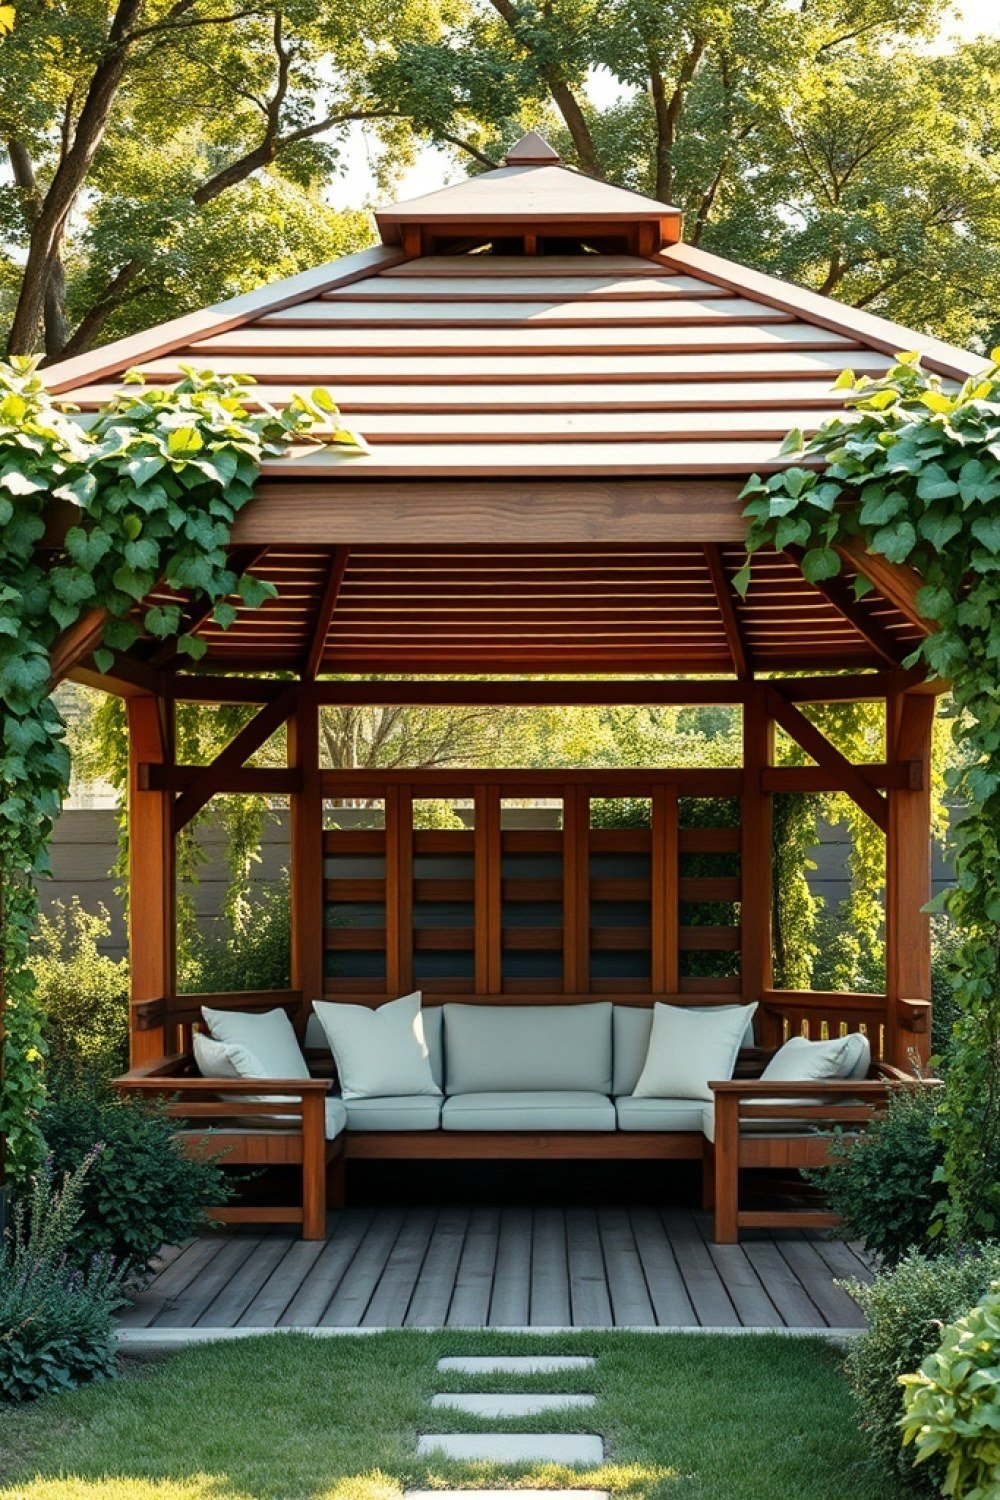
Best for: permanent placements and anyone who wants it to look original to the house.
A wooden gazebo in cedar, pressure-treated pine, or teak weathers into something that looks like it has always been there. Cedar and teak resist rot naturally; pine needs a stain or seal every 2-3 years.
Add a simple railing on two or three sides so it reads as a garden room rather than a carport, and leave the fourth side open toward your best view.
Try this: set cedar posts on concrete pier footings, never directly in soil, to keep the end grain dry.
5. Screen It for Bug-Free Evenings
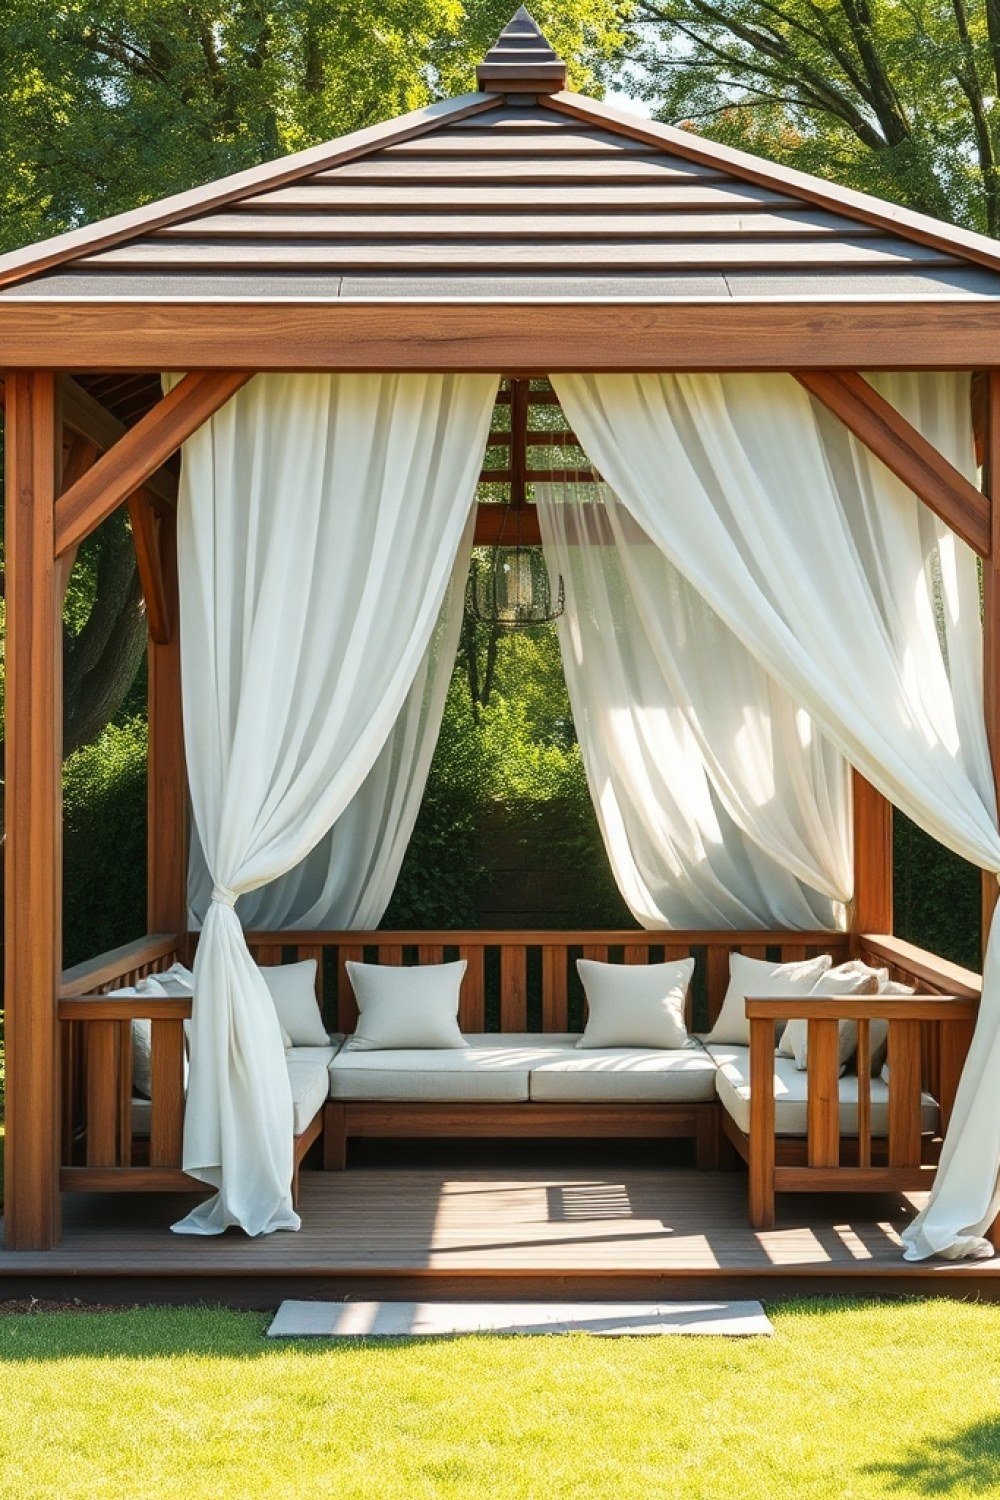
Best for: humid regions, near water, or anywhere dusk belongs to the mosquitoes.
A screened gazebo turns mosquito hour into your best hour of the day. Look for fine mesh — 20×20 or tighter — and a zippered door panel. Magnetic closures are convenient but wear out fast.
In humid climates, pair screening with a small fan. Airflow keeps both bugs and stuffiness down, so you can actually sit still in there.
Try this: run a cord or extension reel to the gazebo before assembly — retrofitting power later is the annoying part.
6. Add Curtains for Instant Privacy
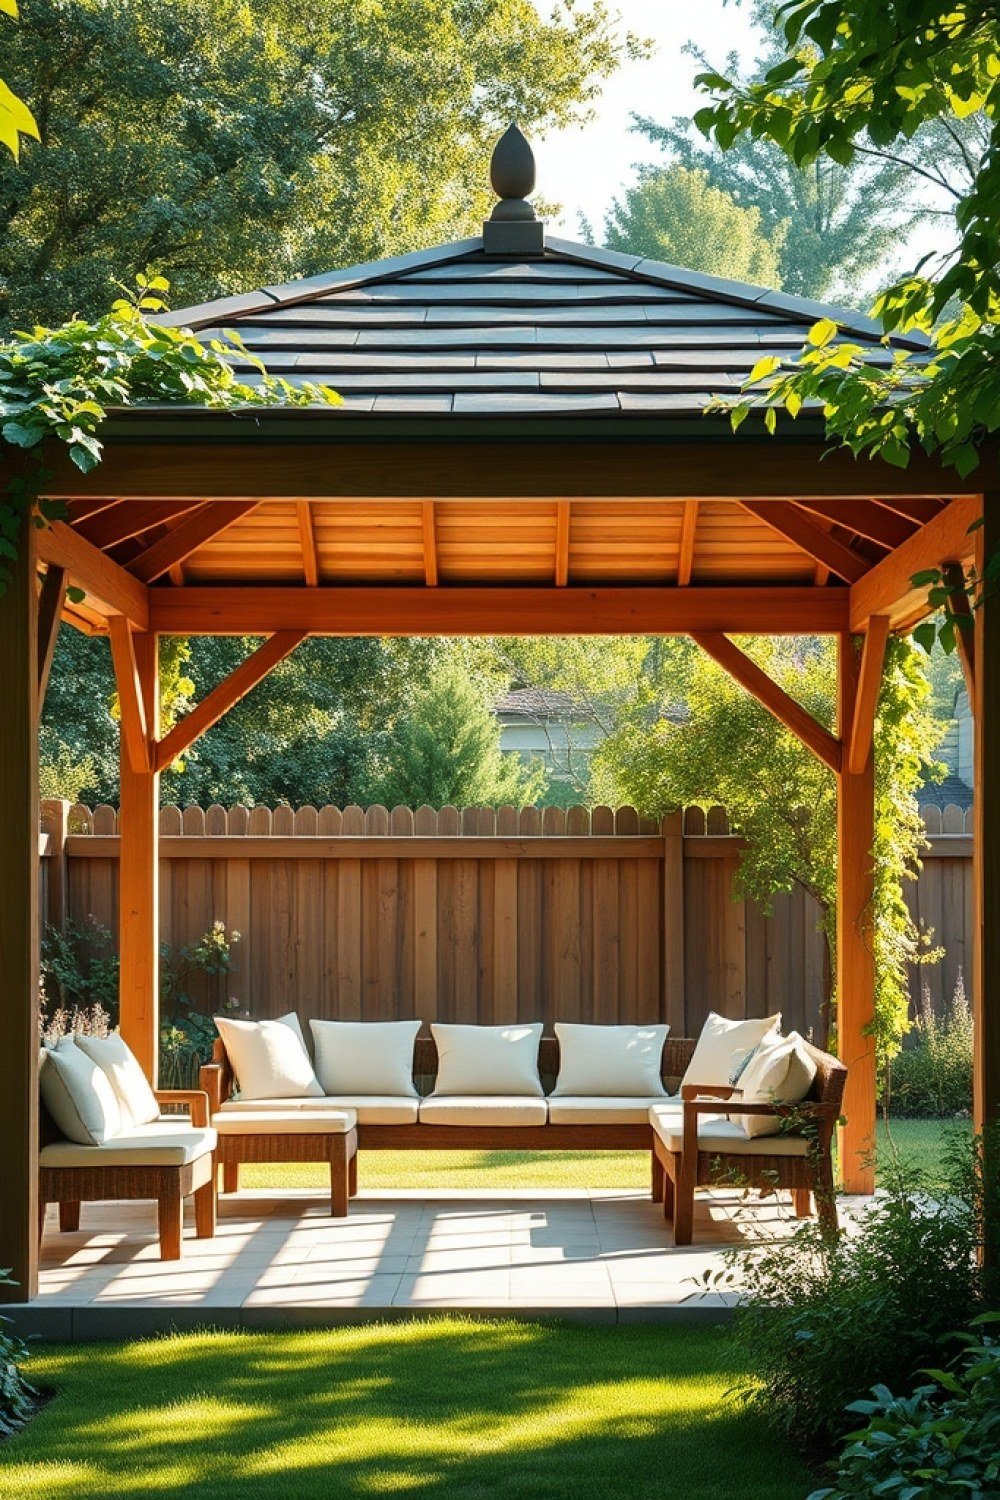
Best for: overlooked yards and anyone on a tight budget for screening.
Outdoor-rated curtains on a curtain rod or zip ties are the cheapest privacy upgrade there is. Hang them so they can be pulled closed on the street-facing side and left open toward the garden.
Choose solution-dyed acrylic fabric in a neutral color. It resists fading and mildew far better than cotton drop cloths, which sag and stain within one season.
Try this: use rust-proof grommet panels and stainless hooks so the hardware survives the rain.
7. Build a Living Privacy Wall

Best for: yards with one exposed sightline you’d rather not stare at all summer.
Rather than closing the gazebo in, face the overlooked side with fast-growing evergreens — ‘Green Giant’ arborvitae, wax myrtle, or podocarpus — or a planter of climbing jasmine on a trellis. You get soft green screening that blocks the view without killing the breeze.
Try this: Leave 18–24 in. between the posts and the plantings so you can still prune and reach the frame.
8. Create Faux Lattice Panels
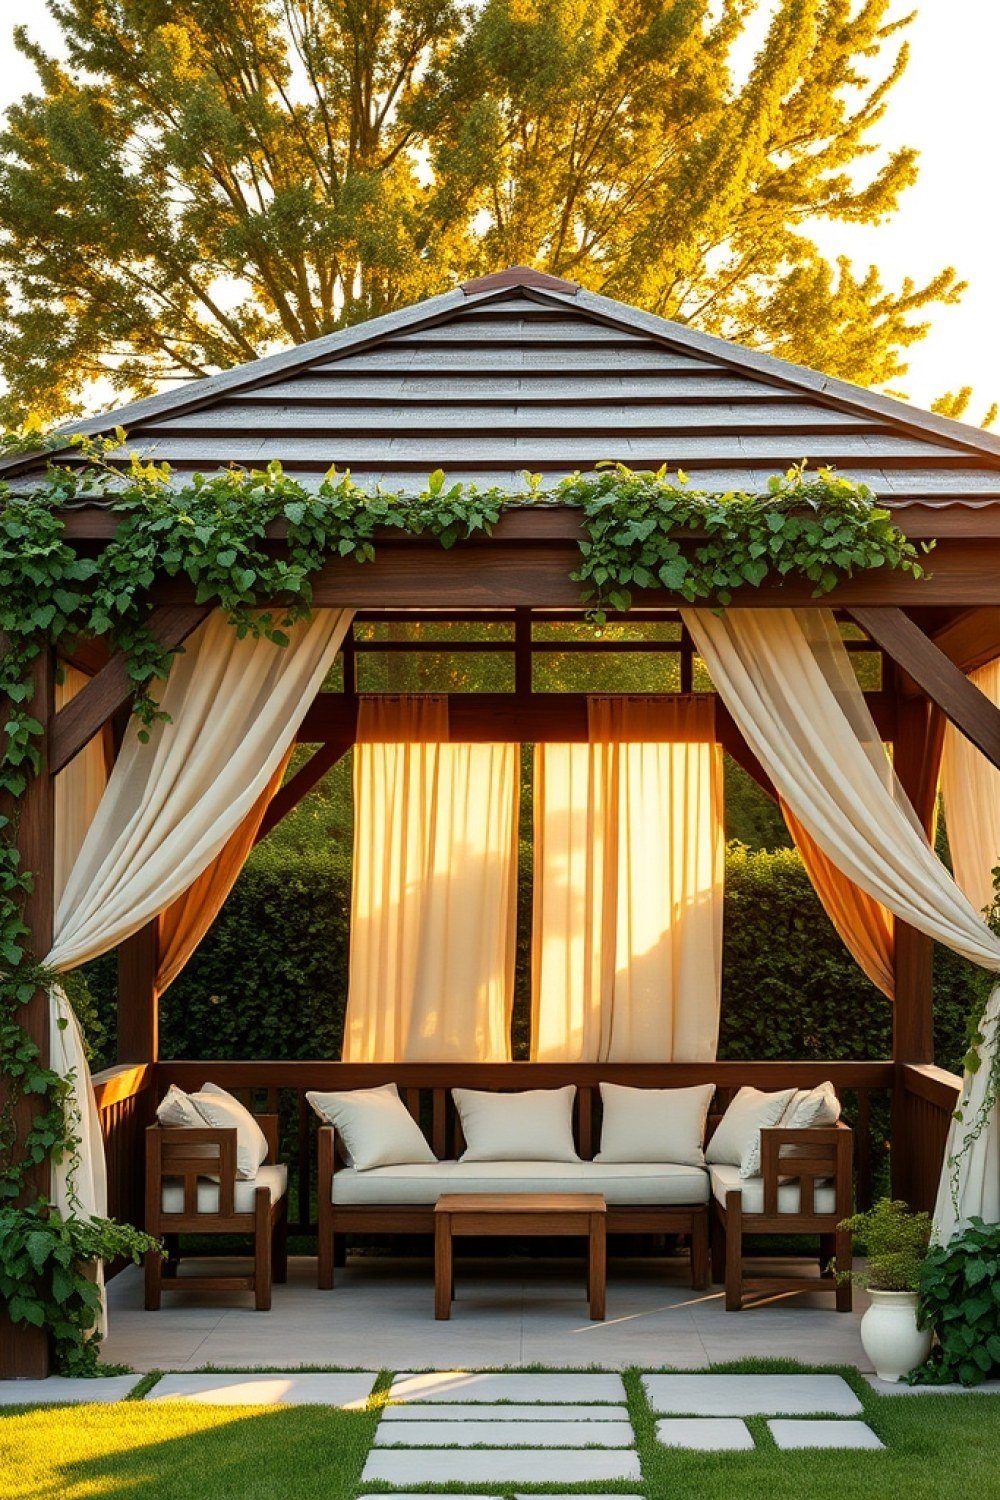
Best for: anyone who wants privacy this weekend, not in two seasons.
Lattice or slatted panels fixed to two sides block sightlines while letting light and air move through — far friendlier than solid walls. Painted the same color as the frame, they read as original to the structure instead of tacked on.
Try this: Match sheen too — the same paint in satin on both frame and panel makes the join disappear.
9. Layer Warm Lighting

Best for: gazebos that go unused after dark because they feel like a black hole.
String lights along the inside of the roof beams, plus one warmer source set higher, changes the entire mood at sunset. Solar or low-voltage LED strands on a dusk-to-dawn timer mean you never think about switching anything on.
Try this: Choose 2700K warm white and skip harsh cool bulbs — it should feel like a room, not a parking lot.
10. Hang a Ceiling Fan or Chandelier

Best for: still, humid evenings when the shade alone isn’t enough.
Check the beam rating before hanging anything. Then add a damp-rated outdoor ceiling fan for air movement, or a battery-operated chandelier if there’s no wiring run. Damp-rated fixtures resist rust and humidity far better than indoor ones.
Try this: Run the fan on low — that’s usually all it takes to make a 90-degree evening feel pleasant.
11. Furnish It Like a Room, Not a Patio
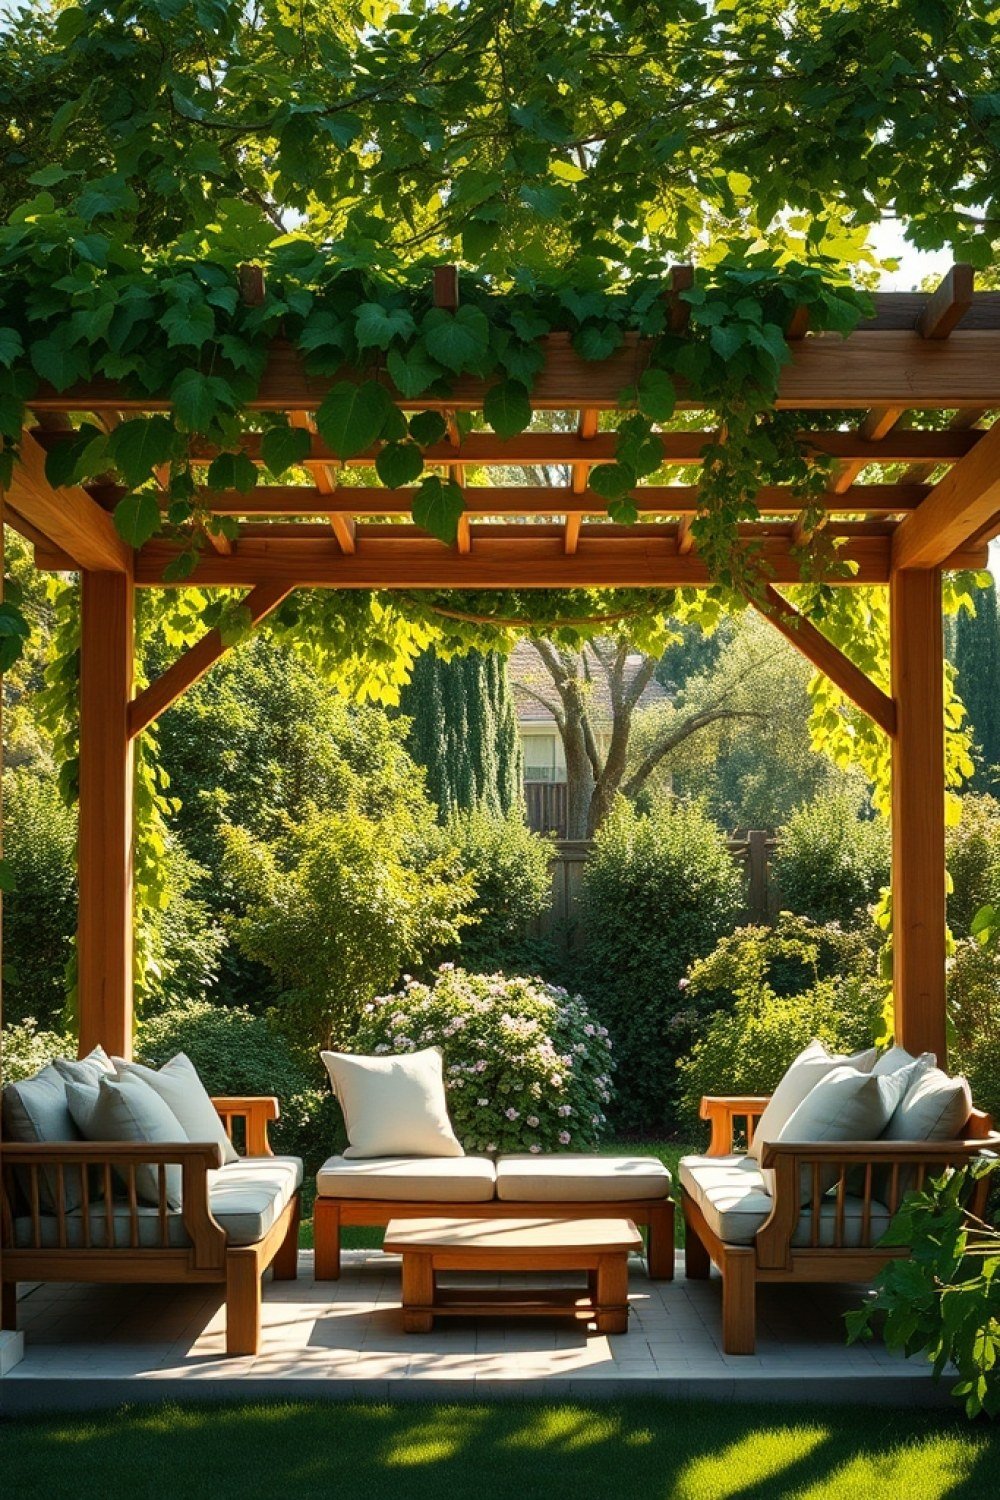
Best for: gazebos that look staged rather than lived-in.
Pick one purpose: dining (round table plus 4–6 chairs), lounging (two chairs, side table, ottoman), or a daybed swing for slow afternoons. Then add an outdoor rug sized about 2 ft smaller than the footprint on each side, and layer a tray, throw, and candle.
Try this: Start with the rug — it’s the single piece that makes the space feel finished.
12. Make It a Bar or Coffee Nook
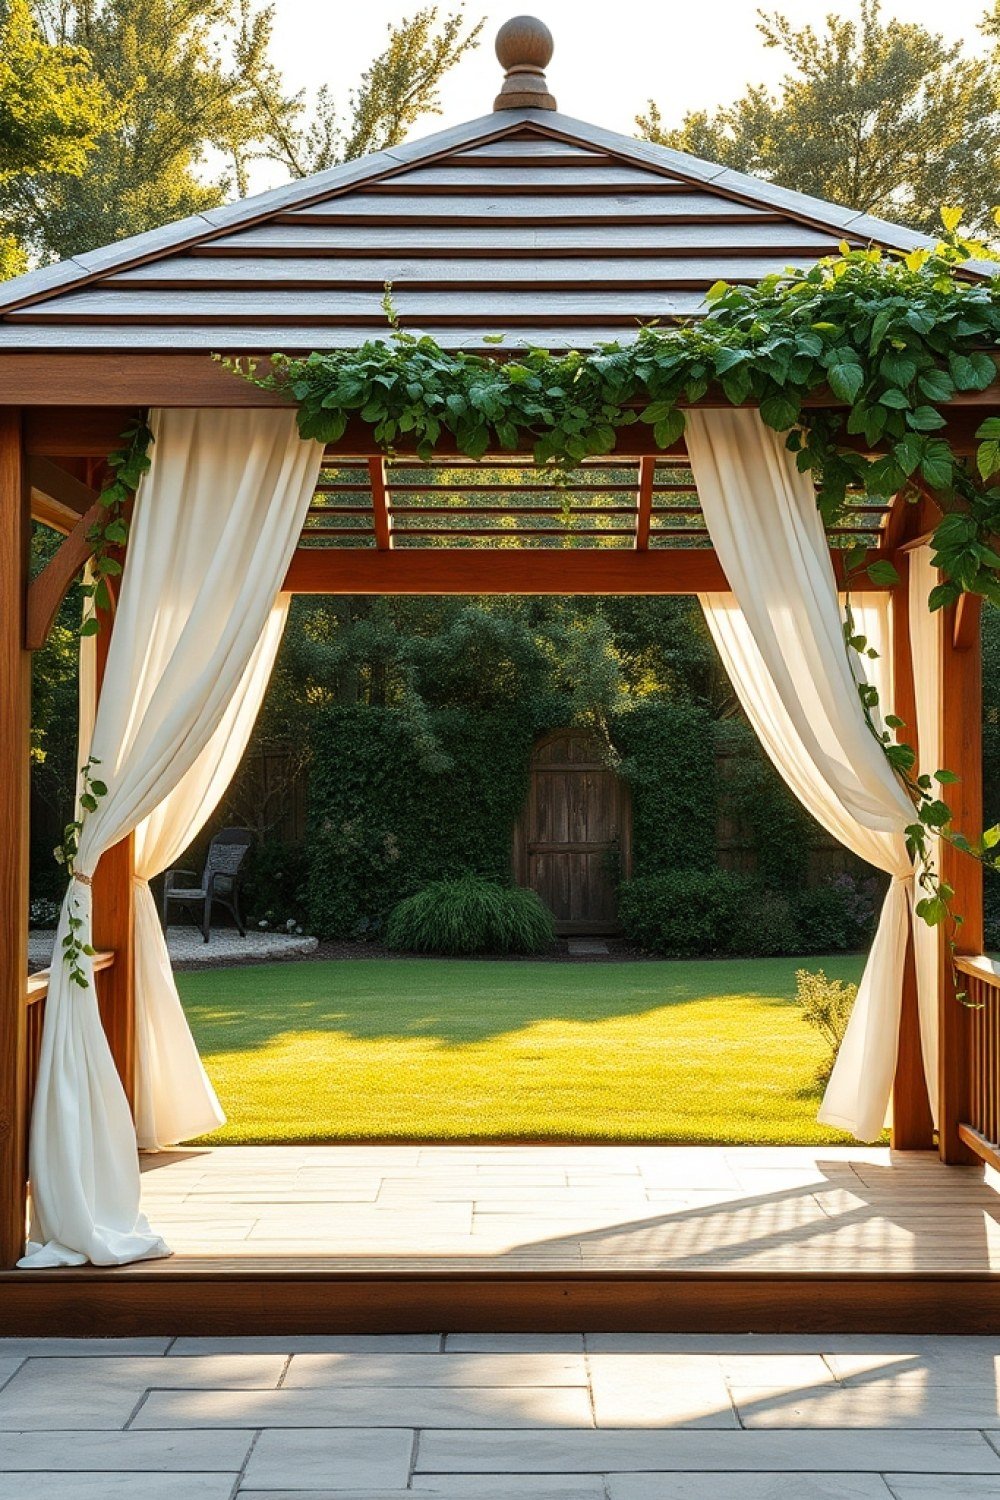
Best for: hosts who want the gazebo to actually do something.
A narrow console, a small beverage fridge, and a shelf of glasses turns one side into a real serving station. Or go cozy instead: a coffee cart, french press, and two mugs for slow weekend mornings.
Try this: Keep electronics against a covered wall, away from direct rain splash at the open edges.
13. Set It Over a Gravel or Flagstone Base
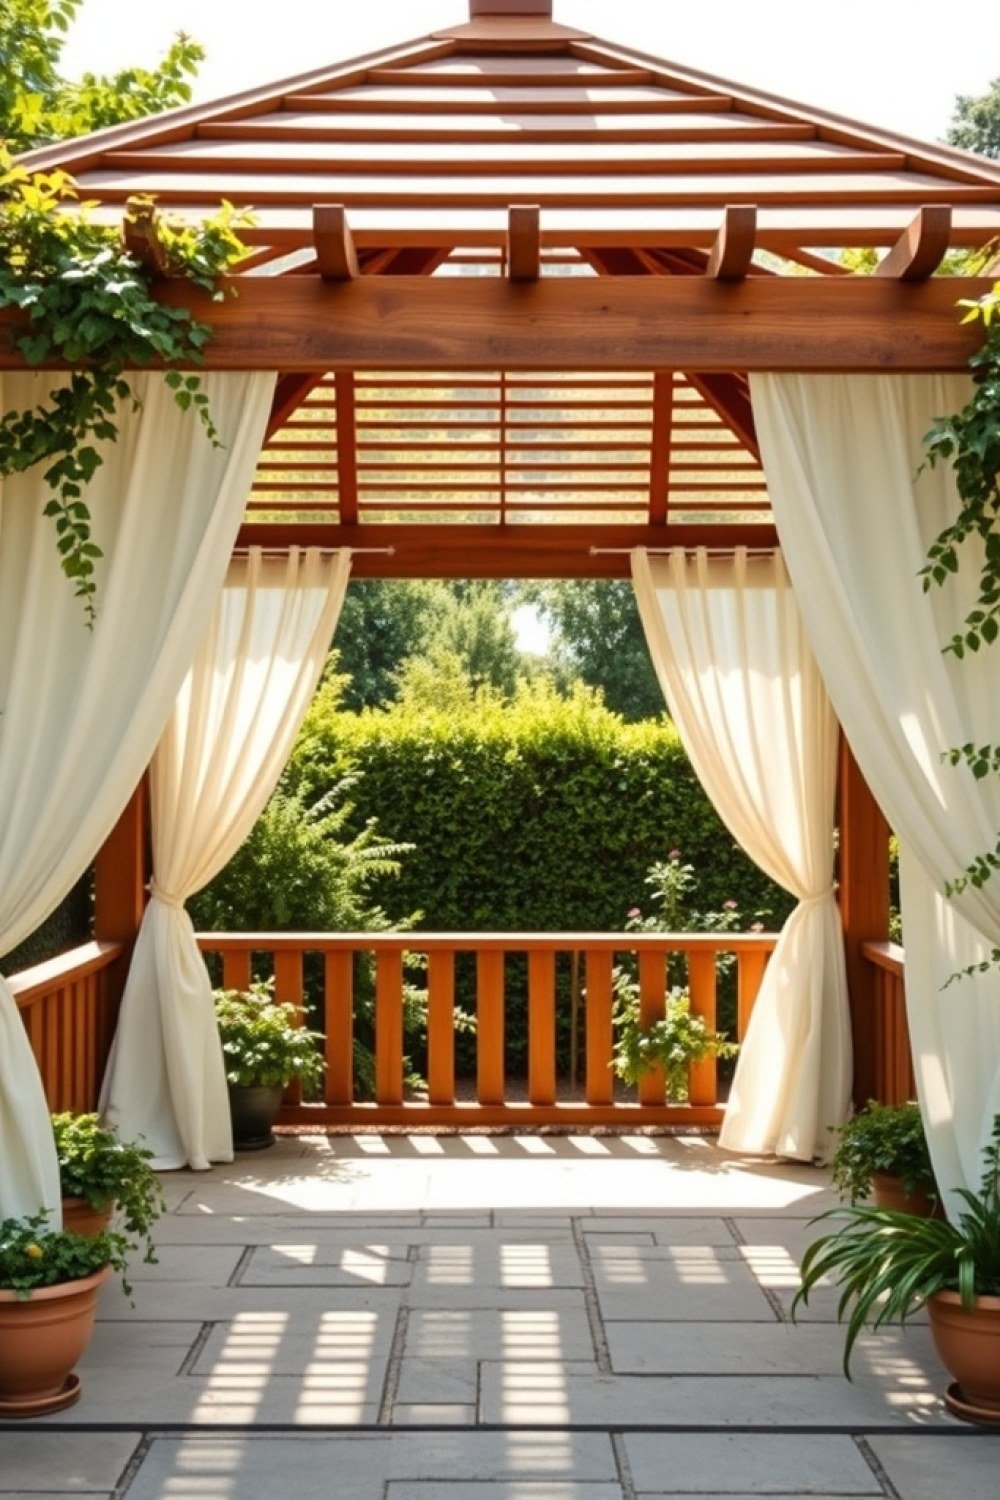
Best for: anyone installing a gazebo on lawn or bare dirt, where sinking posts and mud are the real enemy.
A firm, level base matters more than most people expect. Grass turns to mud under a roof, and uneven ground rocks your chairs and table all season. Compacted gravel over a weed barrier is the cheapest route; flagstone or concrete pavers look more intentional and last far longer.
Whatever you choose, give the base a 1–2% slope away from the center so water never pools under your feet.
Try this: dig 4 inches deep, lay landscape fabric, then tamp 3/4-inch crushed gravel in two 2-inch lifts for a base that won’t shift.
14. Plant a Fragrant Border Around the Posts
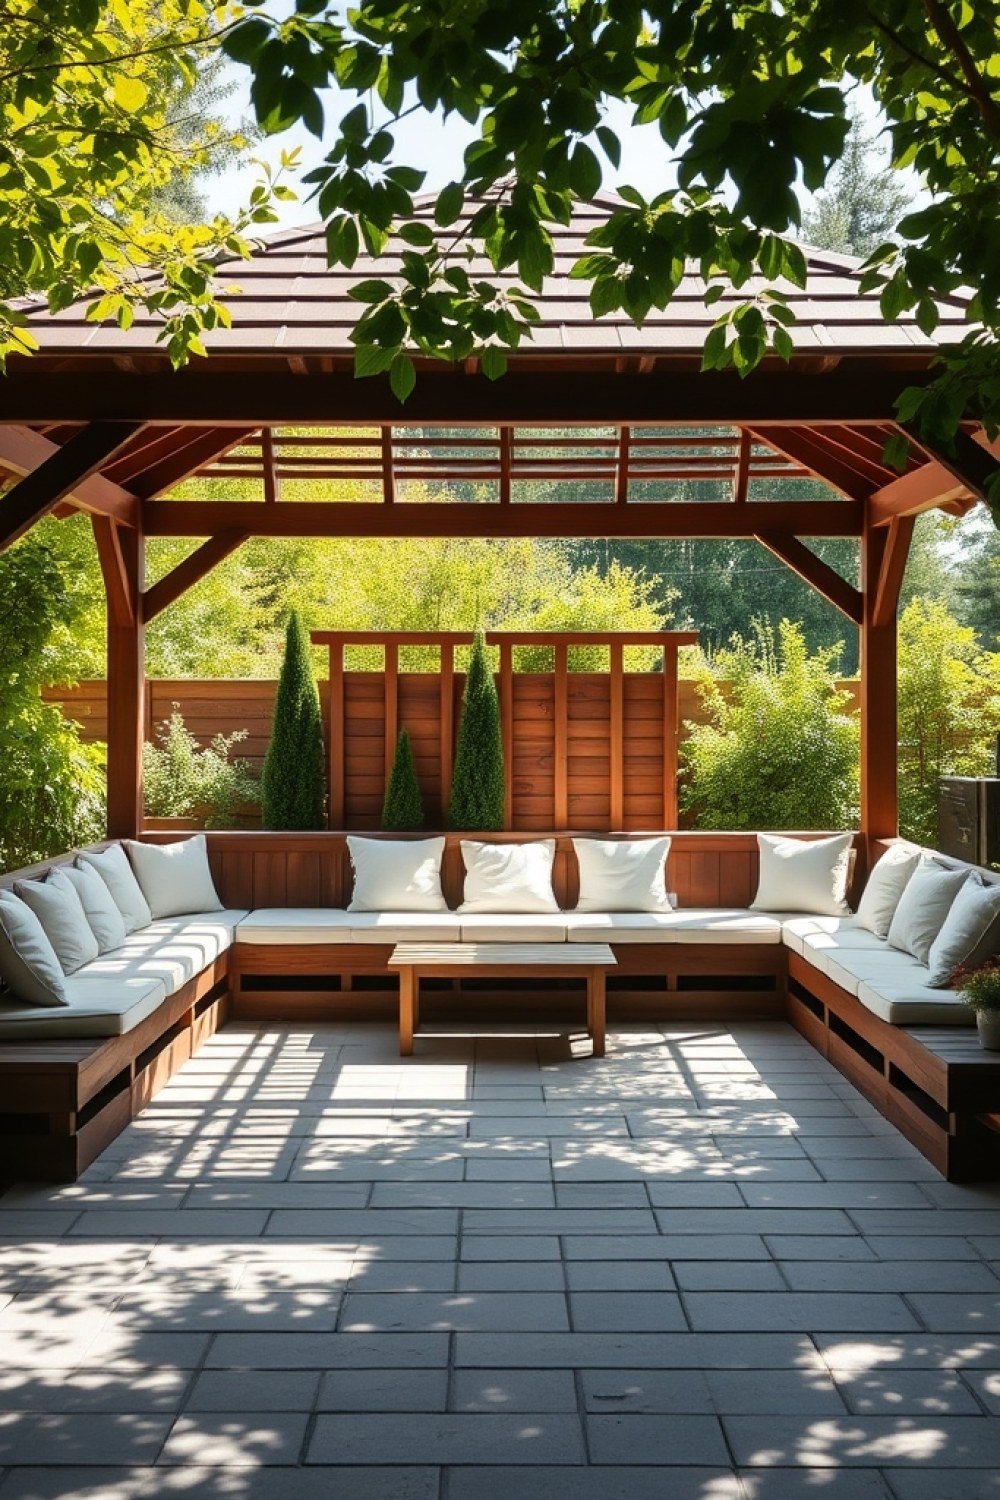
Best for: softening a hard-edged frame and hiding footings without any construction work.
Set a planter at each post planted with lavender, gardenia, or climbing roses, and the gazebo smells as good as it looks. Greenery also breaks up the straight lines of the frame and covers the base plates you’d rather not see.
Match plants to your light. Most of these want 6+ hours of sun, so a shaded corner calls for ferns, hostas, or sweetbox instead.
Try this: use matching pots in one size and color for a pulled-together look — three or four evenly spaced beats a random cluster every time.
15. Use It as a Spa or Screen-Free Retreat
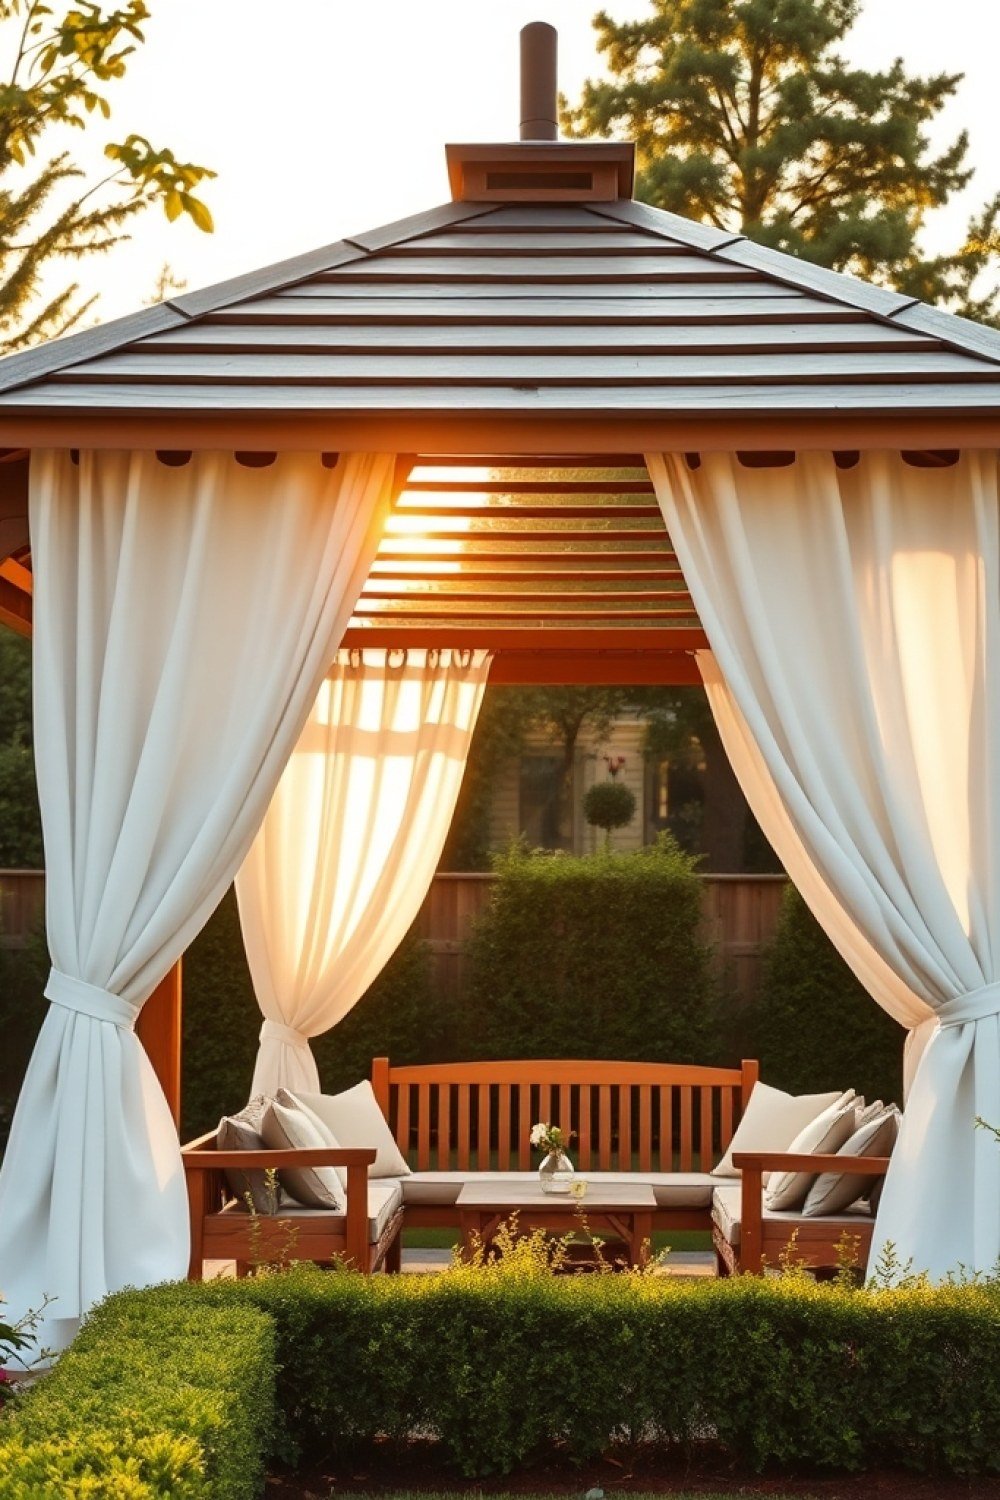
Best for: turning the gazebo into a place you go on purpose, not just walk past.
A gazebo over a hot tub or cold plunge gives you privacy for soaking and shields the water from leaves and harsh sun. Keep at least 24 inches of clearance on all sides for stepping in and out safely, and vent the roof so steam can escape.
Or keep it simple: a hammock chair, a small side table for iced tea, and a no-phones rule. Either way it becomes a destination.
Try this: add a hook for a lantern and an outdoor rug — two small touches that make a bare frame feel like a room.
Quick Questions
Do I need a permit to put up a gazebo in my backyard?
It depends on size, height, and whether it’s anchored. Many areas allow small freestanding gazebos under roughly 100–120 sq ft without a permit, but anything larger, taller than about 10 ft, or attached to the house usually needs one — and HOA rules often apply separately. Call your local building department before you buy, not after. A five-minute phone call saves you the misery of disassembling a brand-new structure.
What size gazebo do I need for a dining table?
For a 6-person dining table, a 12×12 ft gazebo gives you comfortable room to pull chairs out and walk around; a 10×10 ft works for a 4-person set. As a rule, allow about 3 ft of clearance around the table for chairs and movement. Measure your furniture’s footprint plus that clearance before choosing — then measure your actual yard space. If those two numbers don’t agree, go down a furniture size, not a gazebo size.
Can a gazebo stay up all winter?
A hardtop gazebo with a powder-coated aluminum or steel frame can generally stay up year-round, though you should clear heavy snow off the roof rather than let it stack. Soft-top canvas gazebos are the risky ones — most manufacturers recommend taking the canopy down before the first big storm, since UV and freeze-thaw cycles shred fabric fast and snow load can bend the frame. If you live somewhere with real winters, either buy a hardtop or plan on storing the canopy from November to March.
Matching Your Gazebo to Your Yard's Real Problem
Before you scroll back through fifteen ideas, name the thing that actually drives you inside at 3 p.m. Blazing west sun calls for a hardtop with a solid roof panel, not a slatted one that throws stripes across your face. A neighbor’s second-story window staring down at your patio calls for screening or a living wall of clumping bamboo in a root barrier. Mosquitoes at dusk call for mesh panels and a ceiling fan, which moves enough air to keep most of them off you. Each problem points to a different build, and buying the wrong one is how gazebos end up as expensive storage for lawn chairs.
From there, work in order: size to fit your furniture plus clearance, material to fit your climate and how much maintenance you’ll genuinely tolerate, then the layers — string lights on a dimmer, an outdoor rug sized 1–2 ft smaller than the floor, curtains on a rod you can swap seasonally. Get those four decisions right and the rest really is just decorating.