
12 Outdoor Toddler Play Area Ideas That Are Safe and Stylish
A safe, stylish outdoor play area for your toddler is completely doable — even in a small yard or a rental. The secret is layering three things: a soft landing surface, a couple of open-ended play zones, and shade. Get those right and everything else is just personality.
Below you’ll find 12 outdoor toddler play area ideas built for ages 1 to 4, with real measurements, material picks, and swaps for tight budgets and renters. Every setup uses non-toxic finishes, rounded or padded edges, and surfaces that cushion a fall from climbing height.
You don’t need a big build or a big spend. Most of these come together in a weekend with basic tools, and several need nothing more than a trip to the hardware store and an afternoon. Pick one, or stack a few together, and you’ll have a space that keeps a busy toddler happily occupied while still looking like it belongs in your yard.
Toddler Play Area Essentials: What You’ll Need
- Soft surface: turf, rubber tiles, or 1–2 in. pea gravel
- Shade: sail, umbrella, or canopy anchored tight
- Rounded-edge or padded furniture, no sharp corners
- Low climber or balance beam under 2 ft. high
- Water-safe, non-toxic paint or sealer for any DIY
- Boundary: low fence, edging, or plant border
1. Soft Turf Play Zone
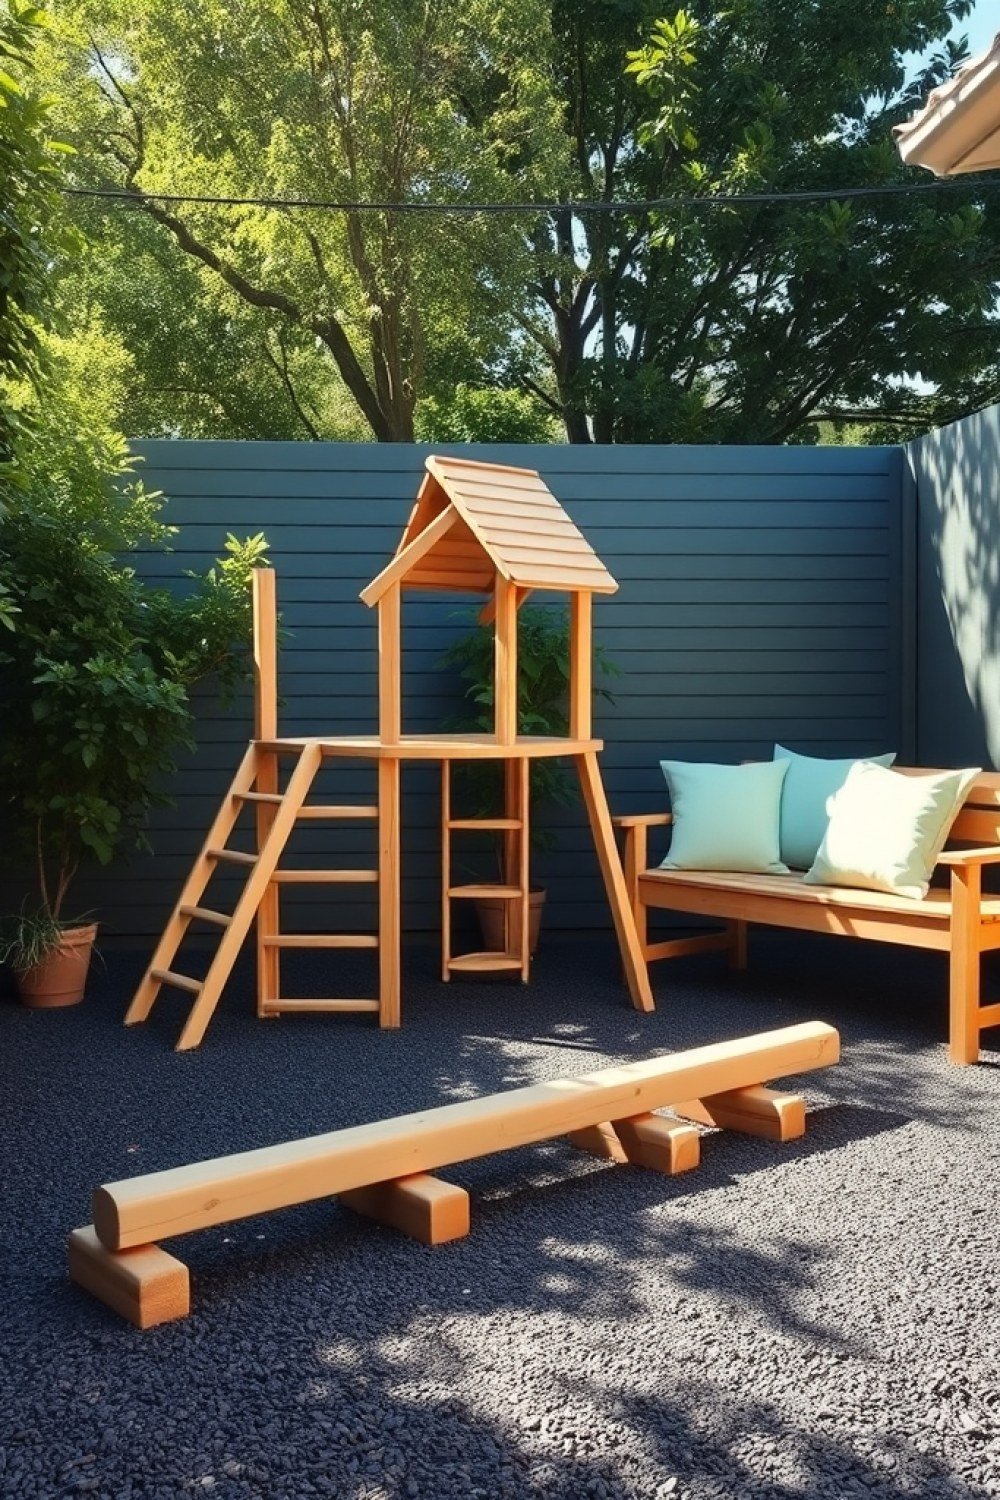
For small yards and concrete patios, a soft turf zone turns a hard, unforgiving surface into a safe landing spot in about an hour. Layer interlocking foam tiles or artificial turf over a rubber mat — the double cushioning absorbs tumbles during the wobbly toddler years.
Choose low-pile turf with UV protection so it holds its color through summer, and edge the whole area with wooden sleepers or pavers for a tidy, intentional look that won’t read as an eyesore.
How to Build It
- Clear and level the ground, then lay a rubber play mat as your base layer.
- Snap interlocking foam tiles or roll out turf on top, trimming edges with a utility knife.
- Frame the perimeter with wooden sleepers or pavers, pressing them flush to the turf.
- Hose down weekly and sweep leaves to keep the surface cushioned and clean.
2. Shaded Sensory Path
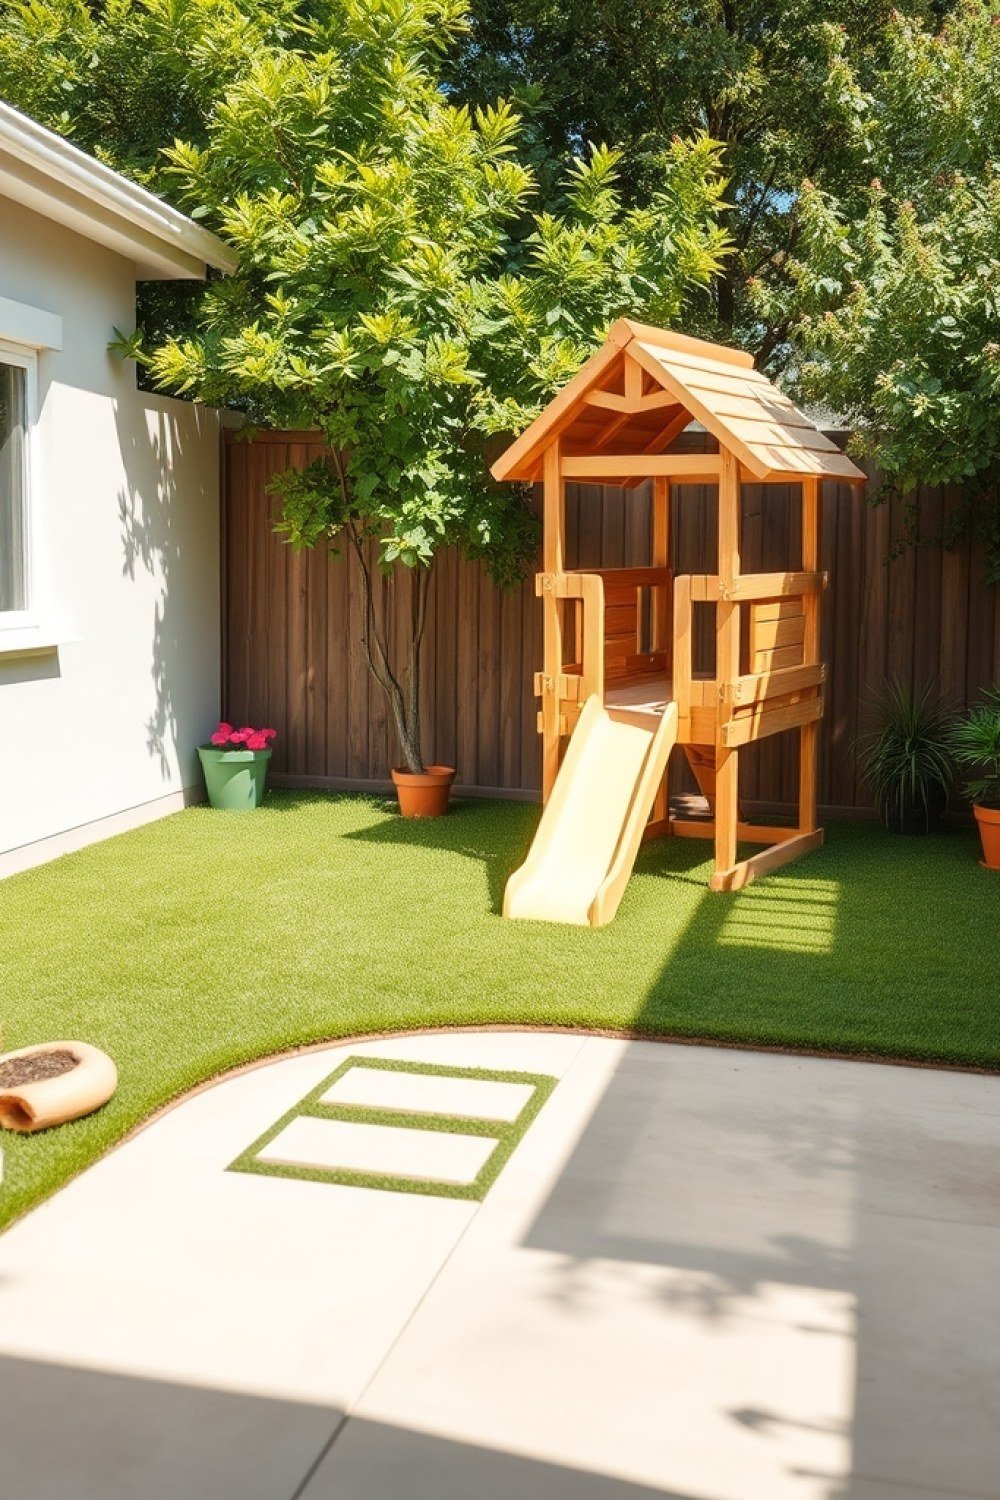
A sensory path invites barefoot exploration through contrasting textures — smooth river stones, soft moss, bark chips, and fine sand. It’s a gentle, screen-free activity that builds tactile awareness while your toddler wanders from one material to the next.
String a shade sail overhead to block harsh midday sun, and check every material for smooth edges and non-toxic finishes before little feet and hands get curious.
How to Make It
- Map a simple winding route, keeping sections 12–18 inches wide for easy toddling.
- Dig shallow beds and fill each with one texture: stones, moss, bark chips, or sand.
- Rake smooth and check for sharp pieces or splinters before play.
- Anchor a shade sail above at an angle so rain runs off and sun stays off little heads.
3. Upcycled Mud Kitchen
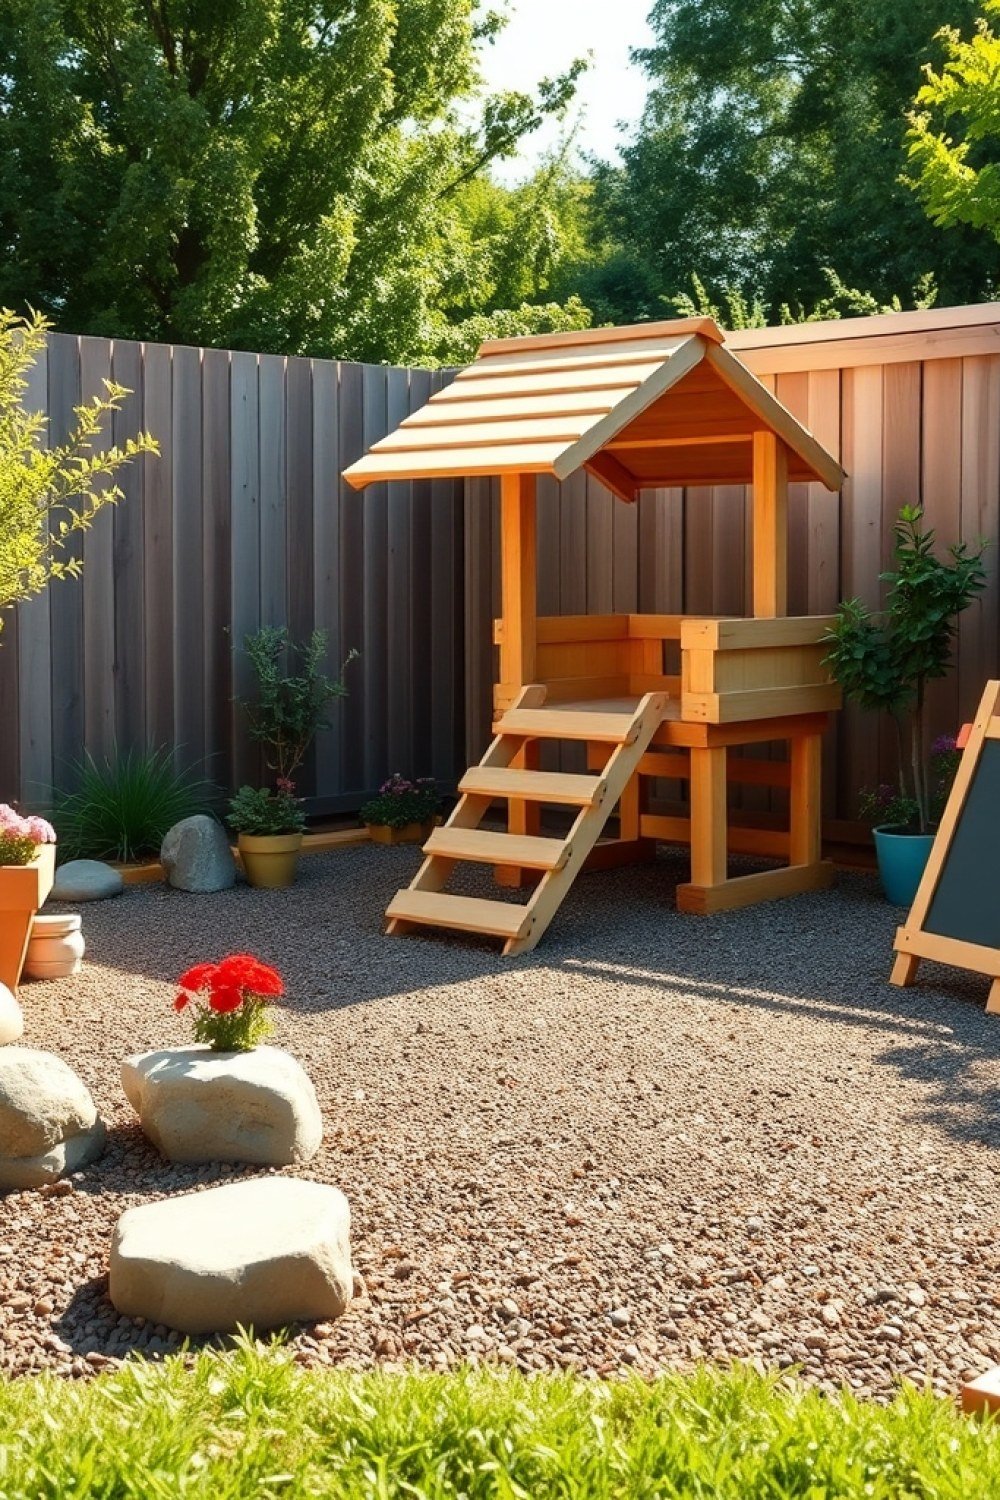
An old table or pallet becomes a mud kitchen with a bin for dirt, a small water source, and a few dented pots from the kitchen drawer. Set it on mulch or grass so muddy splashes rinse away with the hose.
A chalkboard backsplash lets your toddler scribble today’s “menu,” and painting the whole setup in non-toxic paint keeps it safe for constant touching and tasting.
How to Recreate It
- Sand the table or pallet smooth, then coat in non-toxic exterior paint and let cure fully.
- Attach a plastic tub for dirt and a small bucket or spigot for water.
- Screw a chalkboard panel to the back as a menu board.
- Add hooks for old pots, spoons, and a whisk, and place on mulch for easy cleanup.
4. Mini Climbing Dome

A 3–4 foot geodesic dome gives toddlers the thrill of climbing without the height risk of a full playset. Powder-coated steel resists rust through wet seasons, and a rubber play mat underneath softens any slip.
Tuck it into a corner to save precious yard space, and it becomes a cozy hideout as much as a climbing challenge.
How to Set It Up
- Pick a corner spot and lay a rubber play mat over level ground.
- Assemble the dome per instructions and anchor it with ground stakes or sandbags.
- Check all bolts are tight and no sharp edges are exposed.
- Wipe down monthly and inspect for rust or loose joints.
5. Fenced Sandbox with Cover
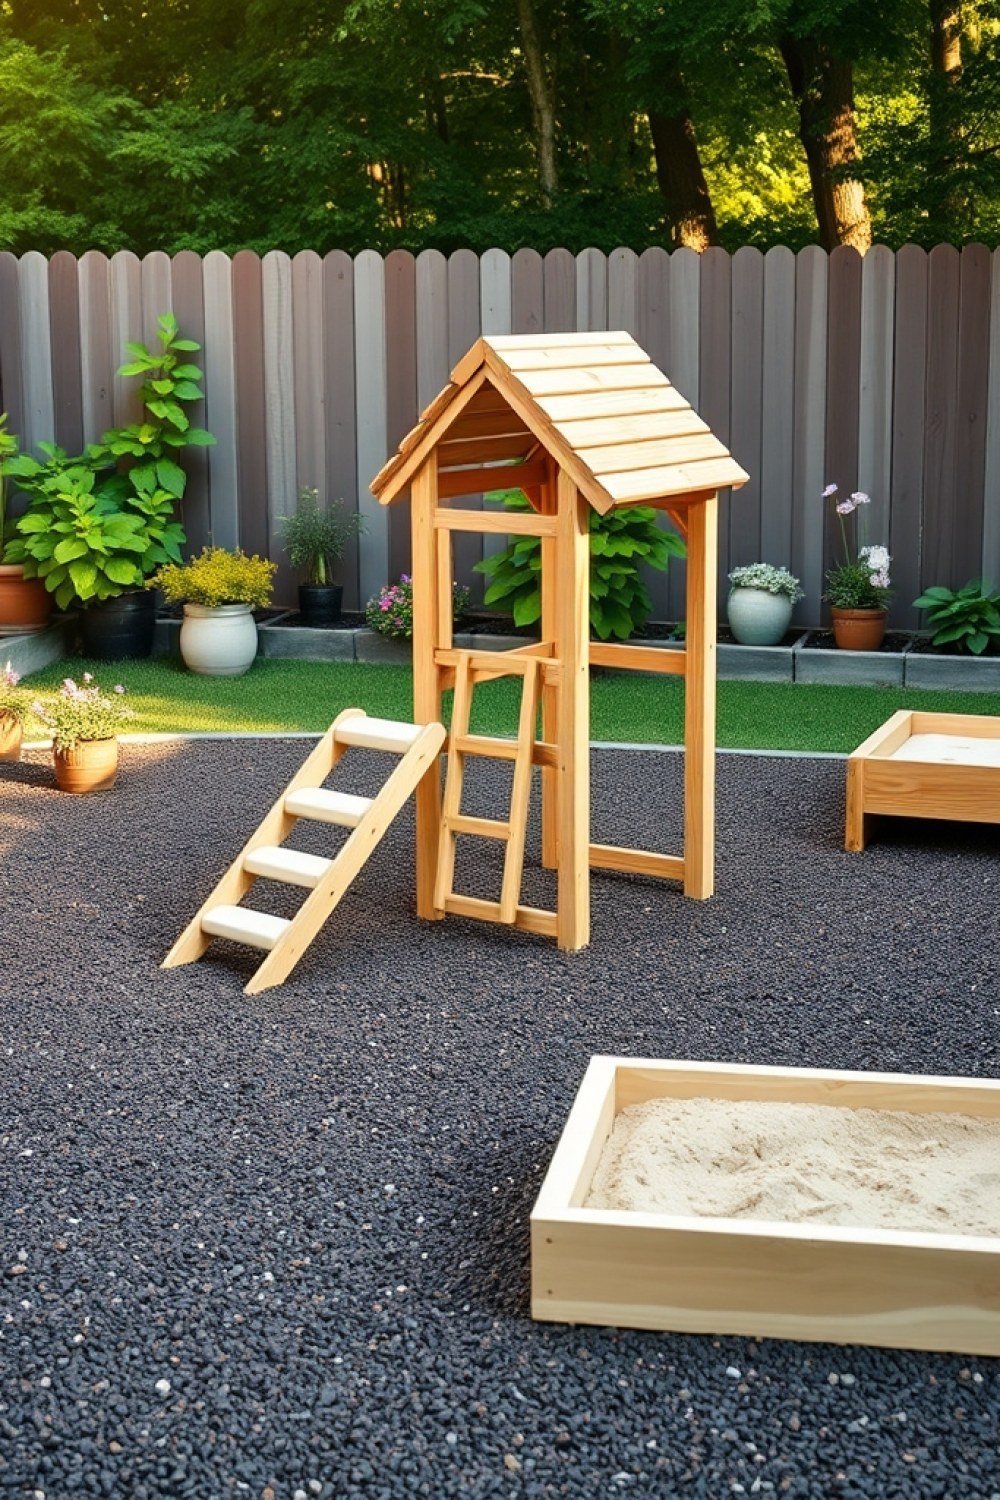
A wooden sandbox with a lid keeps cats out and sand clean between play sessions. Use play sand — never construction sand, which is too coarse and dusty — and sink the box into the ground for a built-in, landscape-friendly look.
Add a shade umbrella and a bench edge so grown-ups have somewhere to sit while little ones dig.
How to Build It
- Dig a shallow rectangle and set the wooden frame so the bench edge sits at seat height.
- Line the base with landscape fabric to block weeds, then fill with play sand.
- Attach a hinged lid that folds back as a cover or extra seating.
- Position a shade umbrella nearby and rinse sand toys after each use.
6. Chalkboard Fence Panel
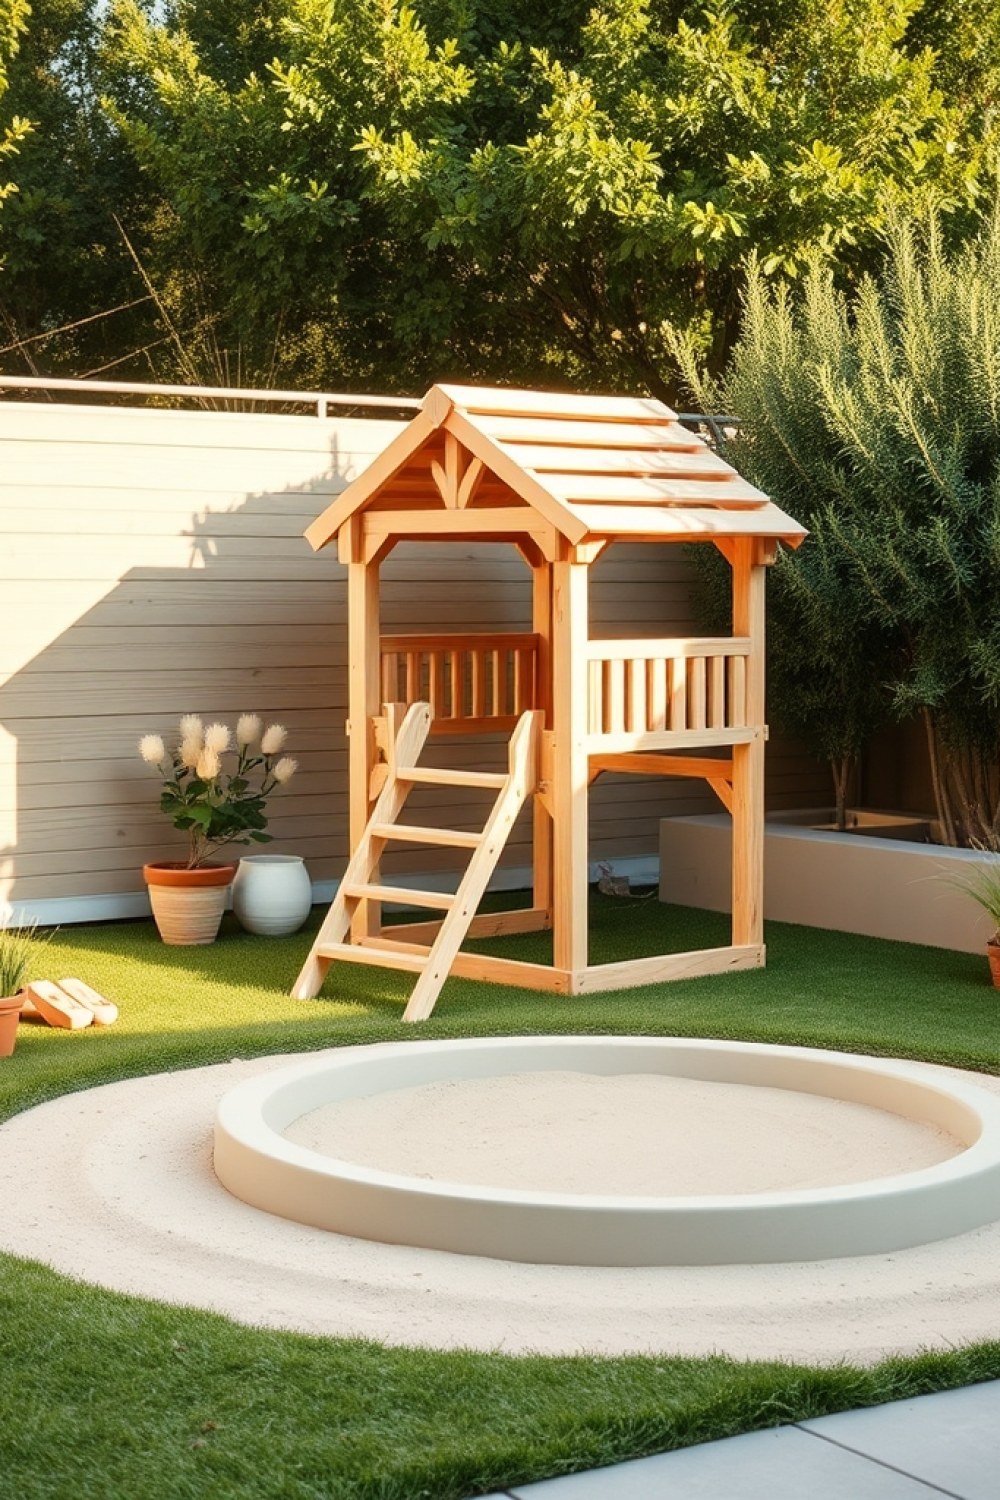
Attach a large chalkboard panel to a fence or wall at toddler height — roughly 24–30 inches from the ground — for mark-making without permanent damage. Outdoor chalk wipes away easily, and a bucket of water with brushes turns cleanup into another activity.
It’s a renter-friendly way to add creative play to a blank fence without drilling into a landlord’s wall.
How to Attach It
- Choose a smooth panel and paint it with outdoor chalkboard paint; let it cure 24 hours.
- Mount at toddler height using fence-safe screws or removable adhesive hooks.
- Season the board by rubbing chalk sideways, then wiping it off.
- Keep a bucket of water and brushes nearby for easy resets.
7. Water Play Station
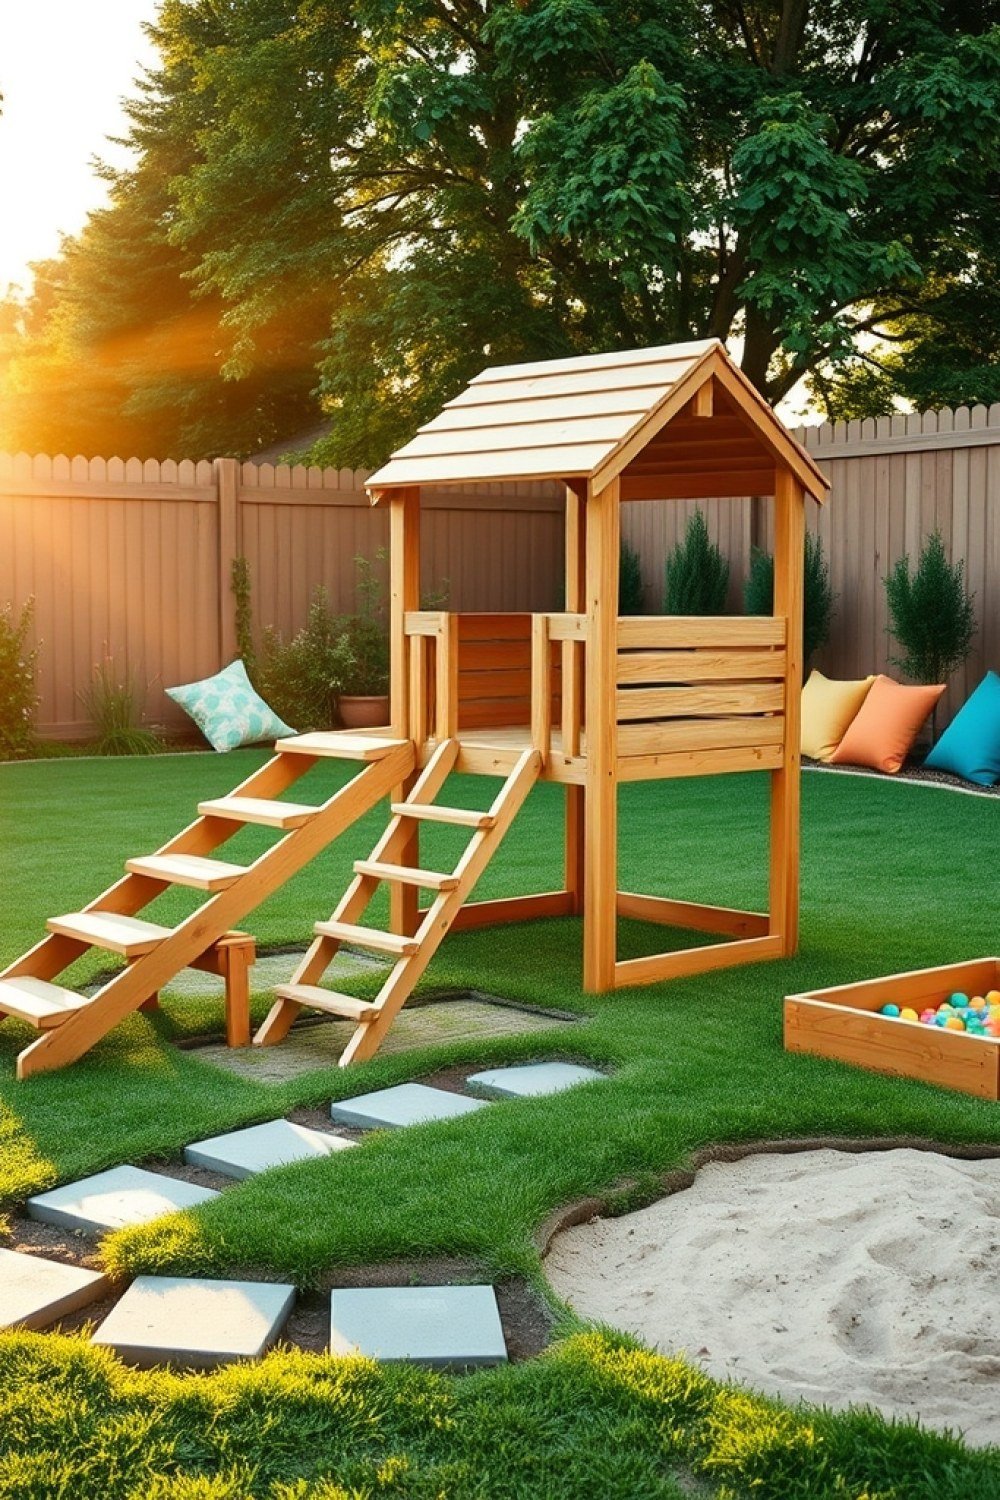
A low water table with a drain plug lets toddlers splash without a trip to the pool. Set it on a deck or patio so the ground stays mud-free, and add cups, funnels, and sponges for scooping and pouring.
Always supervise, and empty it after every session — standing water breeds mosquitoes fast.
How to Set It Up
- Place a 4–6 inch-high table on a level deck or patio, not grass.
- Fill with just 2–3 inches of water — enough to splash, shallow enough to be safe.
- Offer a few tools: measuring cups, a funnel, and a couple of sponges.
- Drain and flip the table upside down when playtime ends.
8. Cozy Reading Nook
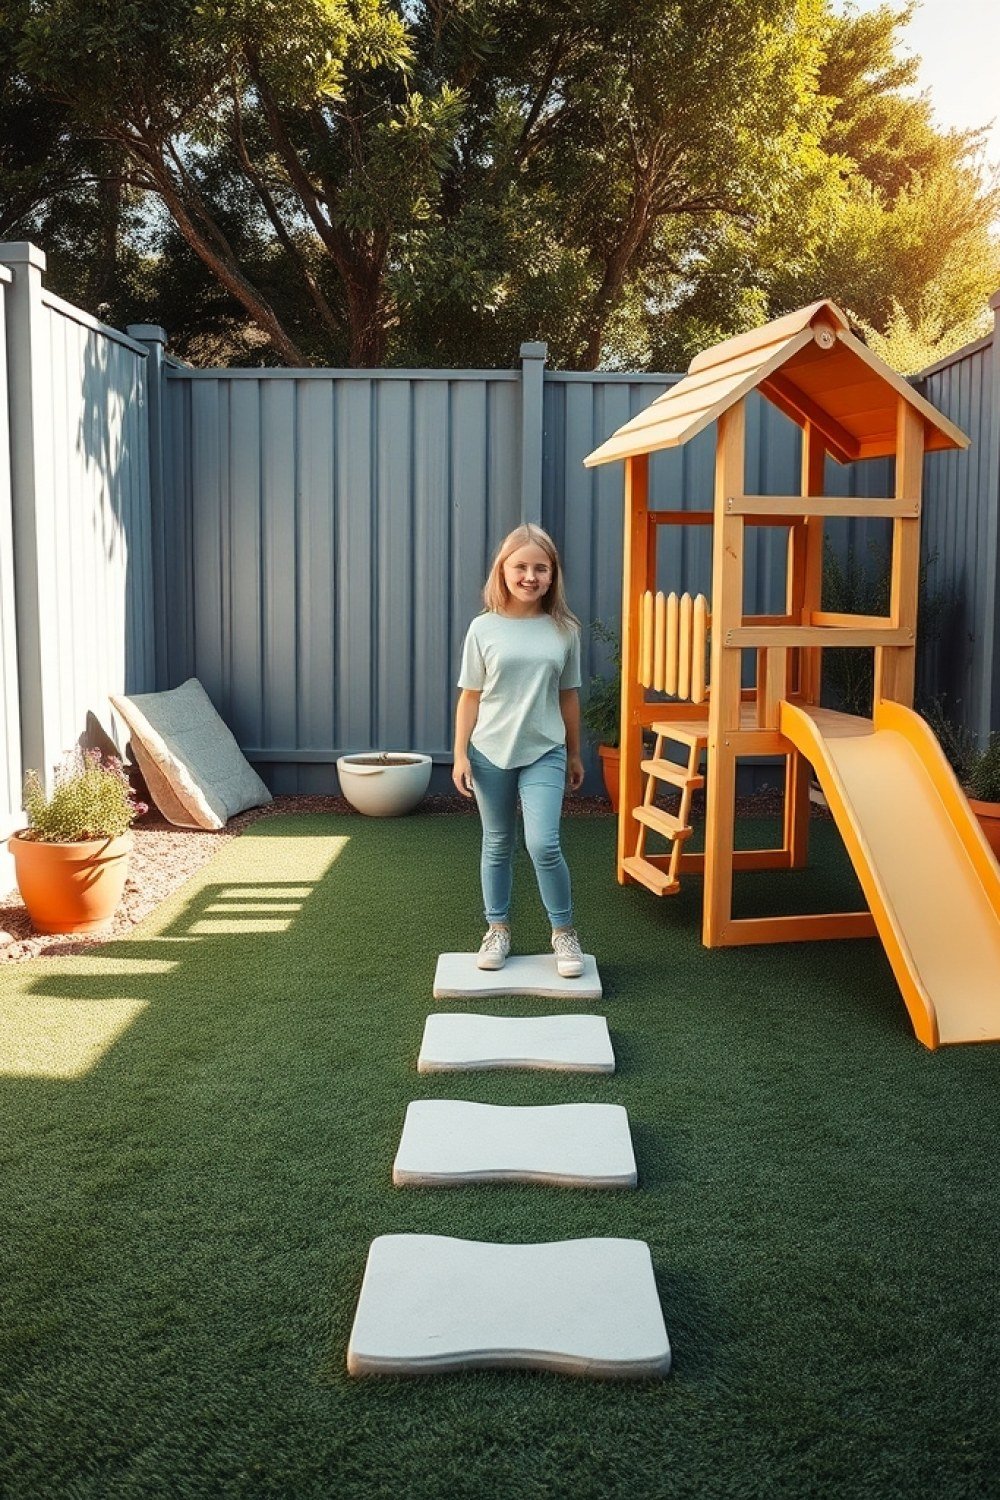
A quiet corner with a small bench, weather-resistant cushions, and a basket of board books gives toddlers a calm spot to reset. A canopy or umbrella overhead makes it usable even on sunny afternoons.
It’s a gentle way to build a daily reading habit — outdoors, without screens.
How to Recreate It
- Pick a shaded corner and set a low bench or sturdy crate bench against a fence.
- Add waterproof cushions with removable, washable covers.
- Hang a canopy or angle a patio umbrella for consistent shade.
- Keep a lidded basket of 5–6 chunky board books within reach.
9. Ball Pit with Balls

A small inflatable or wooden ball pit delivers big active play in a tiny footprint. Choose balls at least 3 inches across — anything smaller is a choking risk for toddlers who still mouth everything.
Cover it when not in use to keep out leaves, rain, and neighborhood cats.
How to Make It Safe
- Pick a pit no deeper than 12 inches so toddlers can climb in and out easily.
- Fill with balls 3 inches or larger — count on about 100 for a small pit.
- Set it on a rubber mat or padded surface, not bare concrete.
- Cover with a fitted tarp or lid after each use and wipe balls monthly.
10. Musical Wall
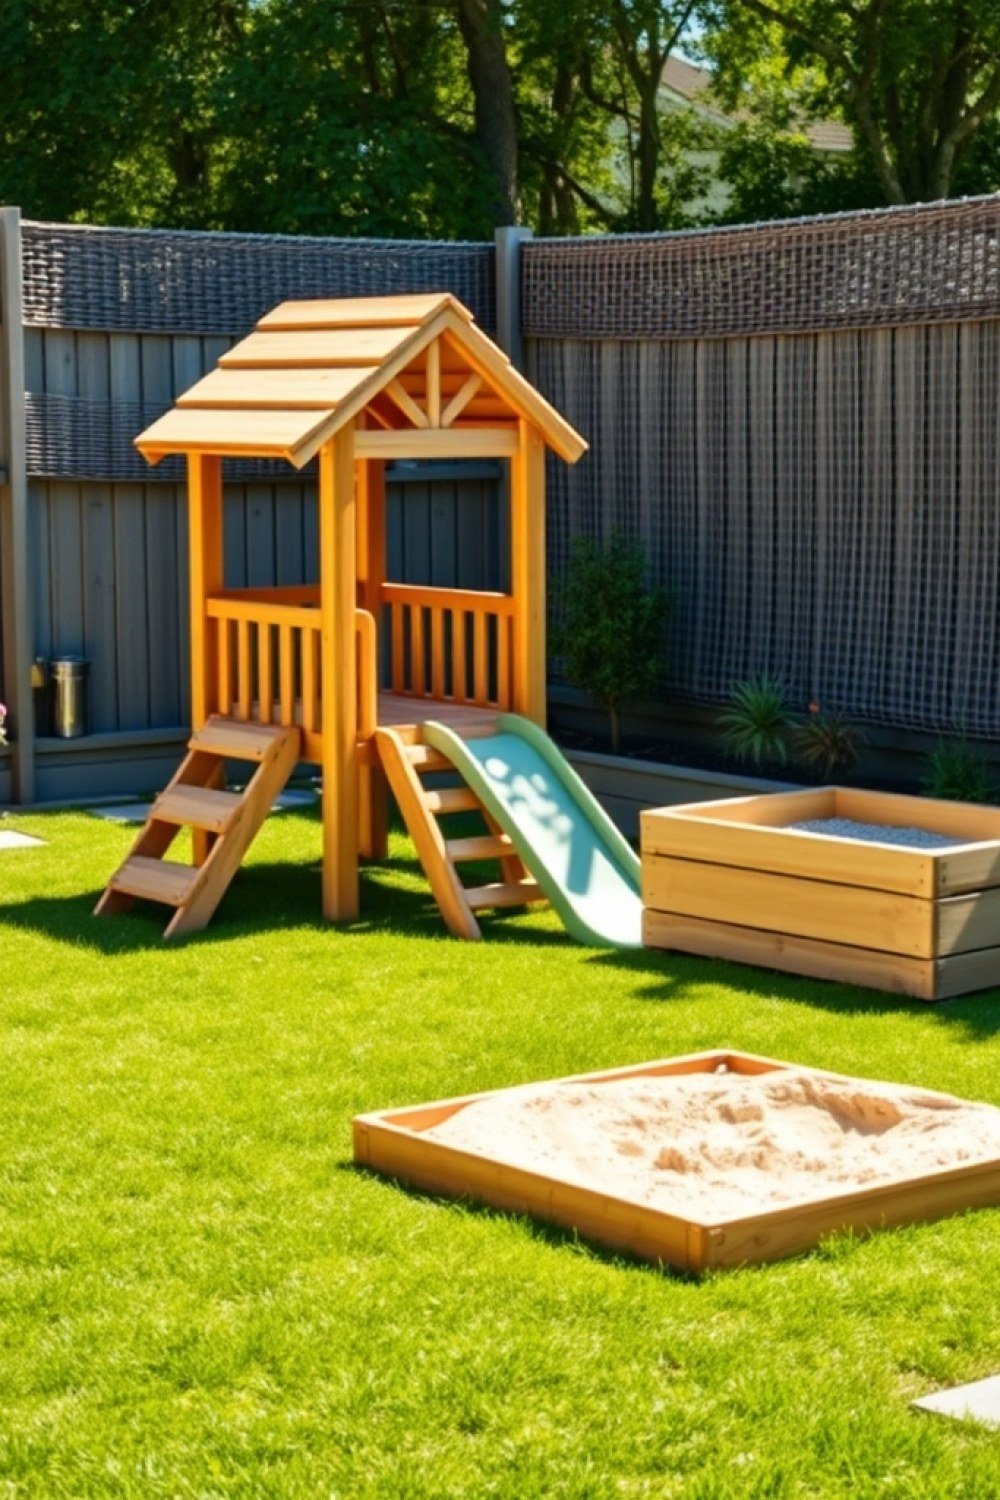
Pots, pans, and wooden spoons mounted on a fence or wall turn any corner into a sound station. It’s brilliant for auditory stimulation and creative play — and it costs almost nothing if you use spares from the kitchen.
Sturdy hooks and secure fastening are non-negotiable; toddlers will yank.
How to Build It
- Choose a fence or wall section at toddler height, around 24–30 inches.
- Screw in heavy-duty cup hooks rated for at least 5 pounds each.
- Hang lightweight pots, pans, and a metal colander, spacing them apart.
- Attach wooden spoons on short strings so they can’t be lost or thrown.
11. Garden Playhouse
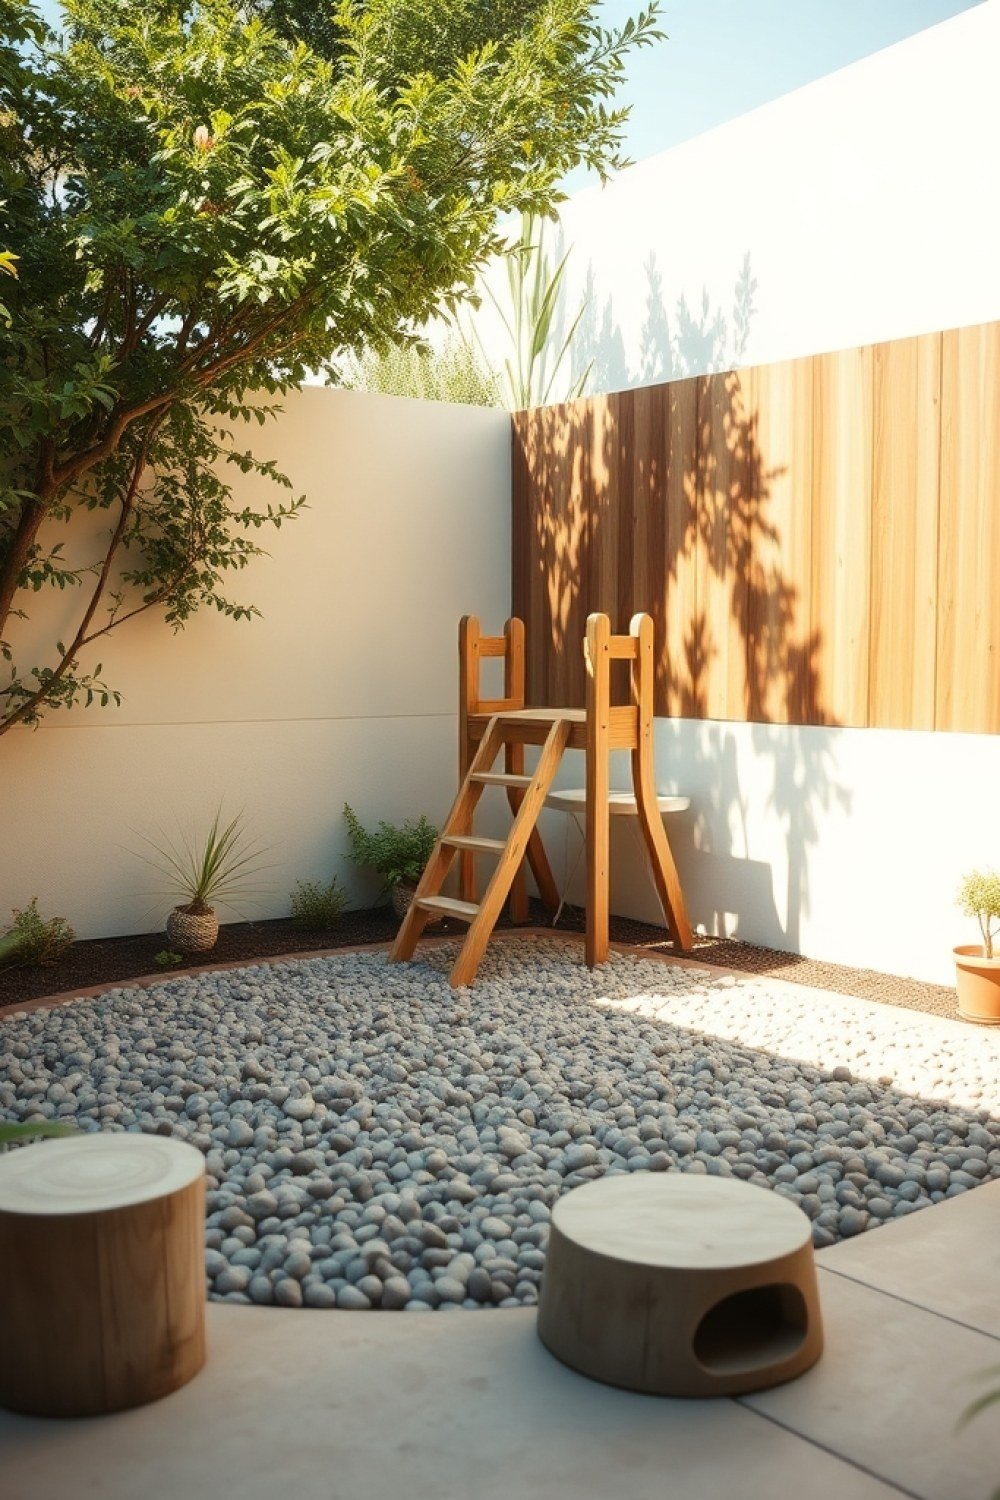
A small playhouse becomes the focal point of the whole yard. Look for rounded edges and non-toxic, water-based paint — especially if your toddler is still in the put-everything-in-mouth phase.
Surround it with a tiny garden of safe plants like marigolds or mint for sensory play.
How to Set It Up
- Level the ground with paver sand or a flat patio slab before assembly.
- Place a rubber mat or interlocking foam tiles inside the floor.
- Plant marigolds, mint, or lavender around the base in raised beds.
- Add a small shelf and a chair sized for toddlers — nothing taller than they are.
12. Obstacle Course
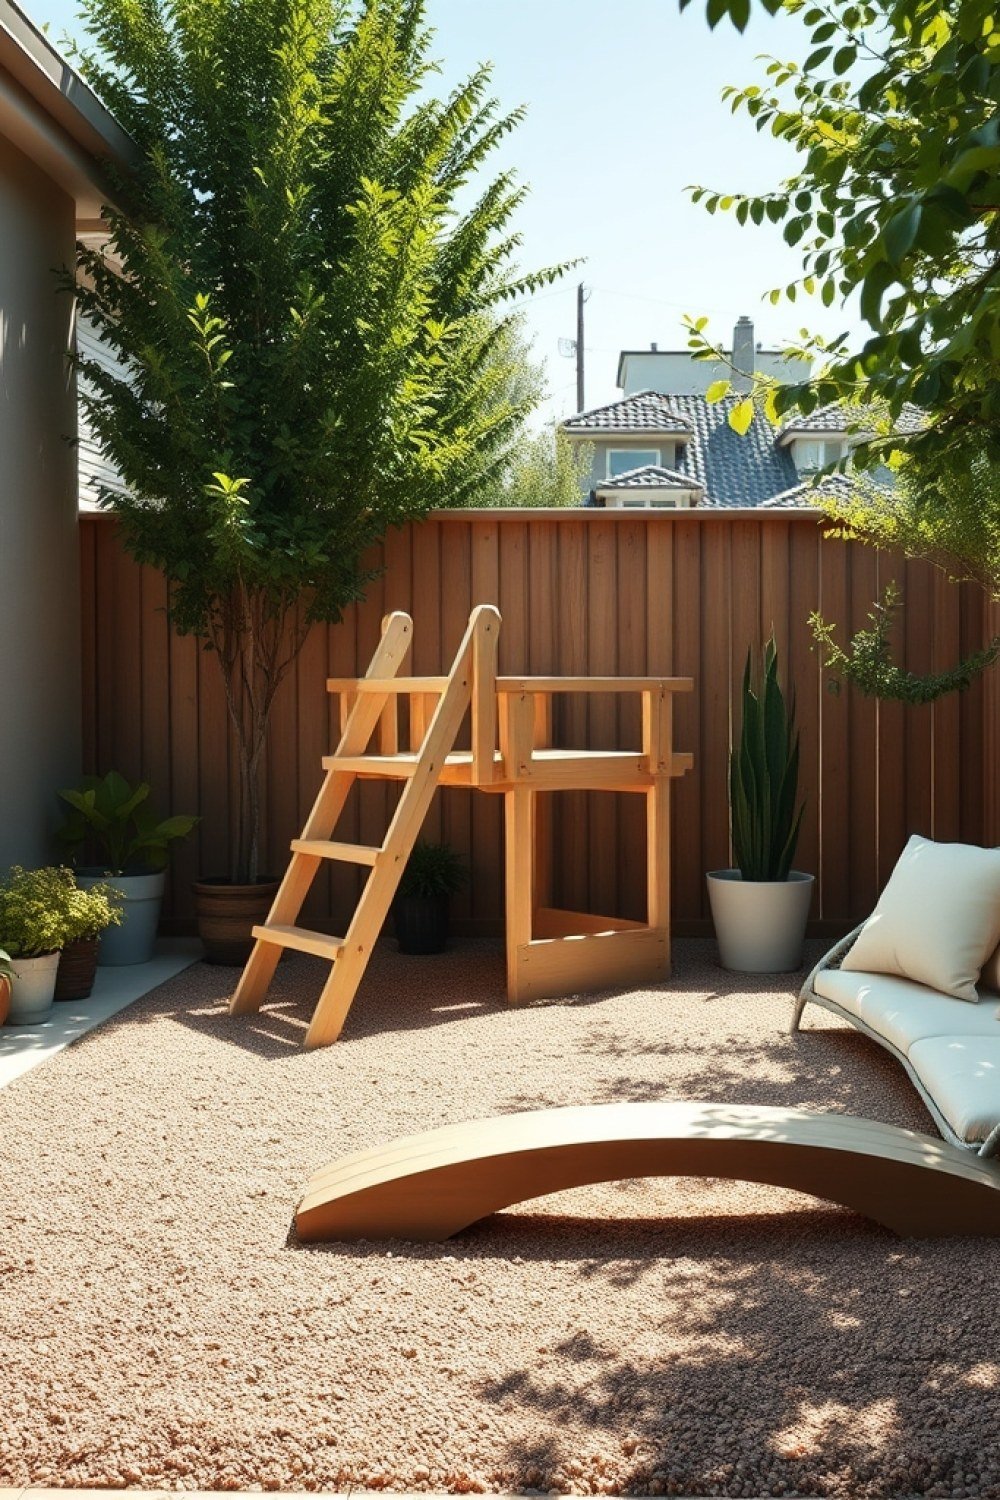
Pool noodles, hula hoops, and cones make a simple course toddlers can conquer again and again. Keep everything soft and low to the ground — no climbing higher than knee height.
Swap the layout every week or two to keep little ones engaged and challenged.
How to Build It
- Lay hula hoops flat in a row for hopping or stepping through.
- Cut pool noodles in half and lay them as balance beams on the grass.
- Set cones in a zigzag for weaving, spaced about 3 feet apart.
- Store everything in a labeled bin so setup takes two minutes.
Quick Questions
What is the safest ground surface for a toddler play area?
Rubber play mats, artificial turf over a padding layer, or poured rubber give the best cushioning for falls. Skip concrete, brick, and hard-packed dirt — a toddler’s head hits those with no give. If you’re adding a sandbox, use fine play sand (not construction sand, which is dusty and can contain silica) and cover it when not in use to keep out cats and rain.
How can I make a stylish play area that doesn’t look cluttered?
Pick one palette and stick to it — warm neutrals, sage and cream, or soft pastels — then buy toys and furniture that fit it. Add a storage bench or lidded deck box so toys disappear at the end of the day, and mix in wood, wicker, or canvas instead of all-primary-color plastic. Vertical shelving and a single hanging basket do more for tidiness than any amount of rearranging.
Are there renter-friendly toddler play area ideas?
Yes — almost everything on this list can be freestanding. Portable water tables, pop-up play tents, foldable climbing frames, and lidded sandboxes all move with you. For shade, use a freestanding umbrella with a weighted base or a shade sail attached to removable posts or existing fence posts. Nothing needs to be bolted, dug, or glued into the ground.
How do I keep the play area safe from the sun?
Shade comes first: a canopy, umbrella, or shade sail over the main play zone, positioned so it blocks the strongest midday rays rather than just dappling them. Then shift your play schedule — before 10 a.m. or after 4 p.m. in summer. Finish with a broad-spectrum sunscreen (SPF 30 or higher, reapplied every two hours), a wide-brimmed hat, and lightweight long sleeves. A toddler-sized water bottle within reach helps too.
Adapting These Ideas for Small Yards and Rentals
You don’t need a big backyard to pull this off. A 6×8-foot patio corner can hold a water table, a folded climbing mat, and a lidded sandbox — then pack down to almost nothing when playtime’s over. Lean on vertical space: a wall-mounted shelf, a hanging toy hammock, or a stack of nesting bins on a rolling cart keeps the floor clear and the space looking intentional rather than overrun.
For renters, choose pieces that never touch a drill. A freestanding umbrella with a 50-pound weighted base, a shade sail strung between two removable posts, and interlocking foam tiles over the patio all come up without a mark. Prioritize soft surfaces, keep an eye on your toddler at all times, and let the setup grow as they do — the sandbox becomes a digging station, the climbing frame becomes a fort. Start with two or three pieces that fit your space, and build from there.