
15 Mother’s Day Art Keepsakes She Will Cherish for Years
Mother’s Day gifts tend to fall into two camps: flowers that wilt within the week or store-bought items that get polite smiles and quietly disappear into a drawer. Art keepsakes sit in a third category entirely — they’re the things that end up on mantels, in offices, and on bedside tables for years. The handprint ornament from preschool still hangs on the tree. The watercolor portrait of “Mom as a unicorn” is still framed in the hallway. These gifts stick around because they hold something no purchased item can: a specific moment in time, made by specific small hands that won’t stay small for long.
The good news is you don’t need to be crafty, spend much, or own a glue gun to pull this off. Most of the 15 ideas on this list use supplies you probably already have — washable paint, cardstock, flour, salt, old crayons — and many can be made in a single afternoon with kids as young as two or three. A few are better suited to older kids or to you making something solo, and we’ve flagged which is which so you can pick based on who’s doing the making. If you’re working with a set budget or a short window before the big day, the intro to each project will tell you roughly how long it takes and what you’ll need.
What follows are 15 Mother’s Day art keepsakes we’ve chosen because they actually last — meaning the materials hold up, the colors don’t fade, and the finished piece looks like something she’d want to display rather than something she has to. You’ll find classics like salt dough handprints and pressed flower frames, plus a few you may not have tried, like silhouette portraits cut from black cardstock and a recipe for homemade paint that sets permanently on canvas. Each entry includes the supplies, the steps, and a tip for making it look polished rather than like a school project you’re trying to pass off.
Whether you’re a parent helping a toddler make something for grandma, a partner looking for a gift the kids can actually help with, or an adult child wanting to make something meaningful on your own, there’s a project here that fits. Pick one, set aside an hour, and you’ll have something she’ll keep far longer than any bouquet.
1. Handprint Heart Canvas
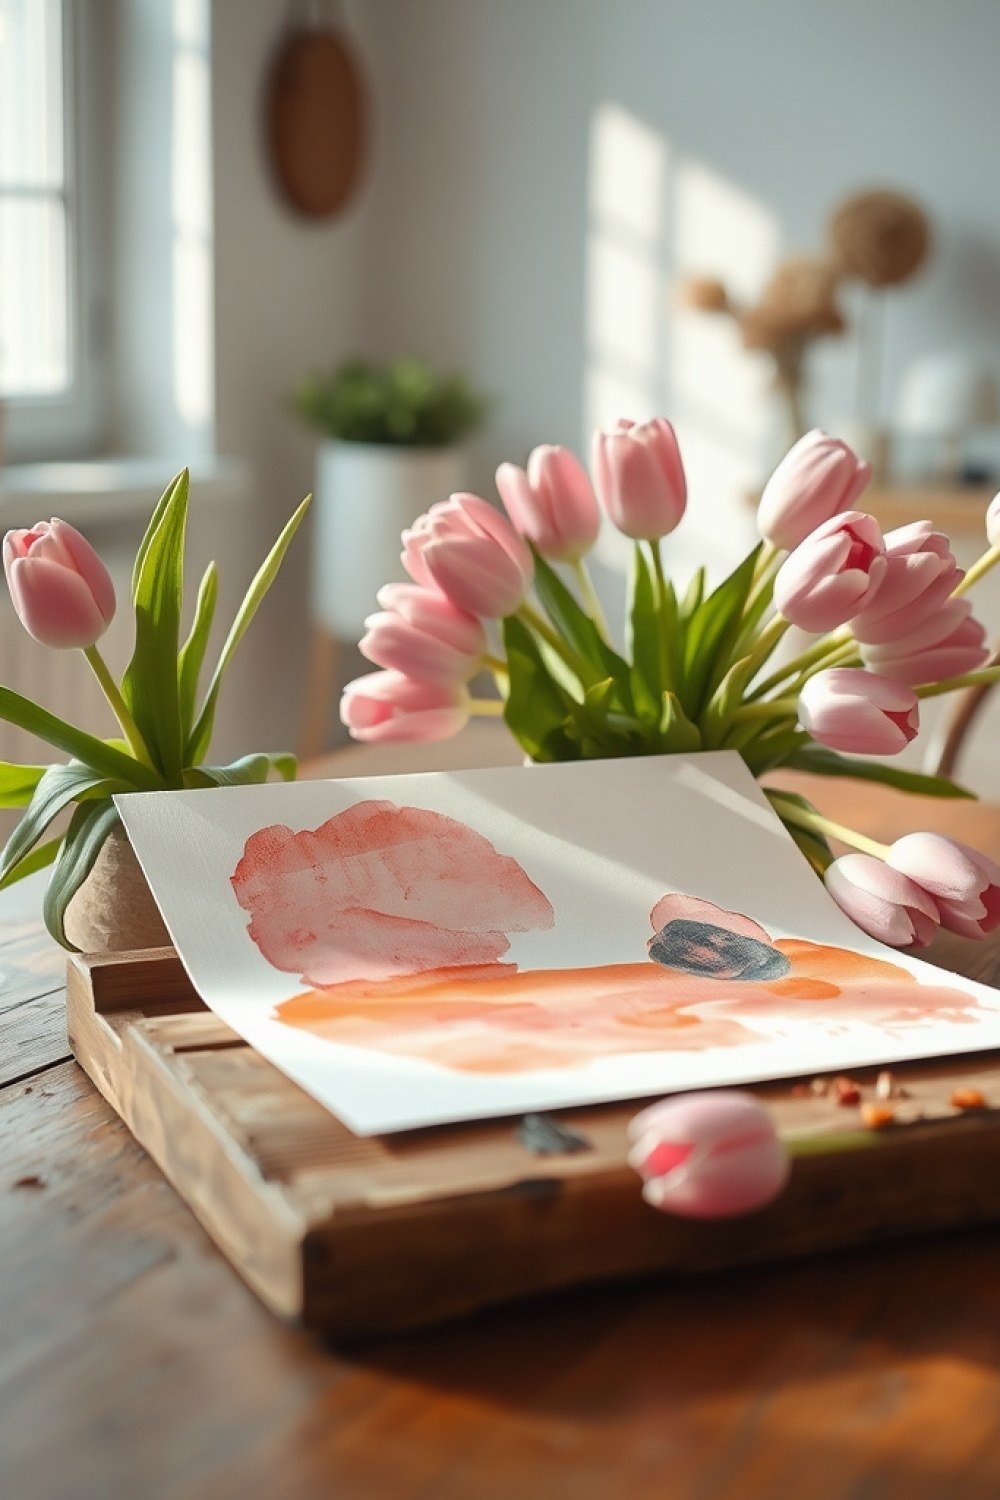
Best for: kids of any age, and a finished piece that looks intentional on a wall rather than tucked in a drawer.
You need a stretched canvas (8×10 or 11×14 is the sweet spot — big enough for two hands, small enough to finish in one sitting), acrylic paint in her favorite color, a foam brush, and a fine-tip permanent marker. Paint your child’s palm and fingers evenly, then press in the center of a lightly penciled heart. Press firmly, hold for three seconds, and lift straight up. One handprint inside a heart works for babies; two overlapping prints suit older kids.
Let it dry completely — a few hours — then write the date and name along the bottom edge. Acrylic paints dry permanent but can scuff, so finish with two light coats of clear acrylic spray in a well-ventilated area.
Try this: Do one handprint per year on the same canvas to build a growth record, or use a two-tone effect by painting the palm one shade and fingertips another.
2. Thumbprint Flower Bouquet

Best for: toddlers and preschoolers, or any project that needs to be done and dried within an hour.
Watercolor paper holds up better than copy paper here because the paint sits on the surface instead of soaking through. Squeeze small puddles of acrylic or washable paint onto a paper plate — pink, yellow, coral, lavender — and have your child dip one thumb per color. Stamp three to five prints in a tight cluster for each flower, then repeat across the page for a bouquet. Leave a little space at the bottom for the stems.
Once the prints are dry, draw stems and leaves with a green marker, curving them all down to a single point like a wrapped bunch. Frame it in a simple white or natural wood frame, or scan it and print as flat notecards for her to actually use.
Try this: Add a small thumbprint ladybug on one leaf, or write each flower’s color name in tiny letters beside it if your child is learning colors.
3. Footprint Butterfly
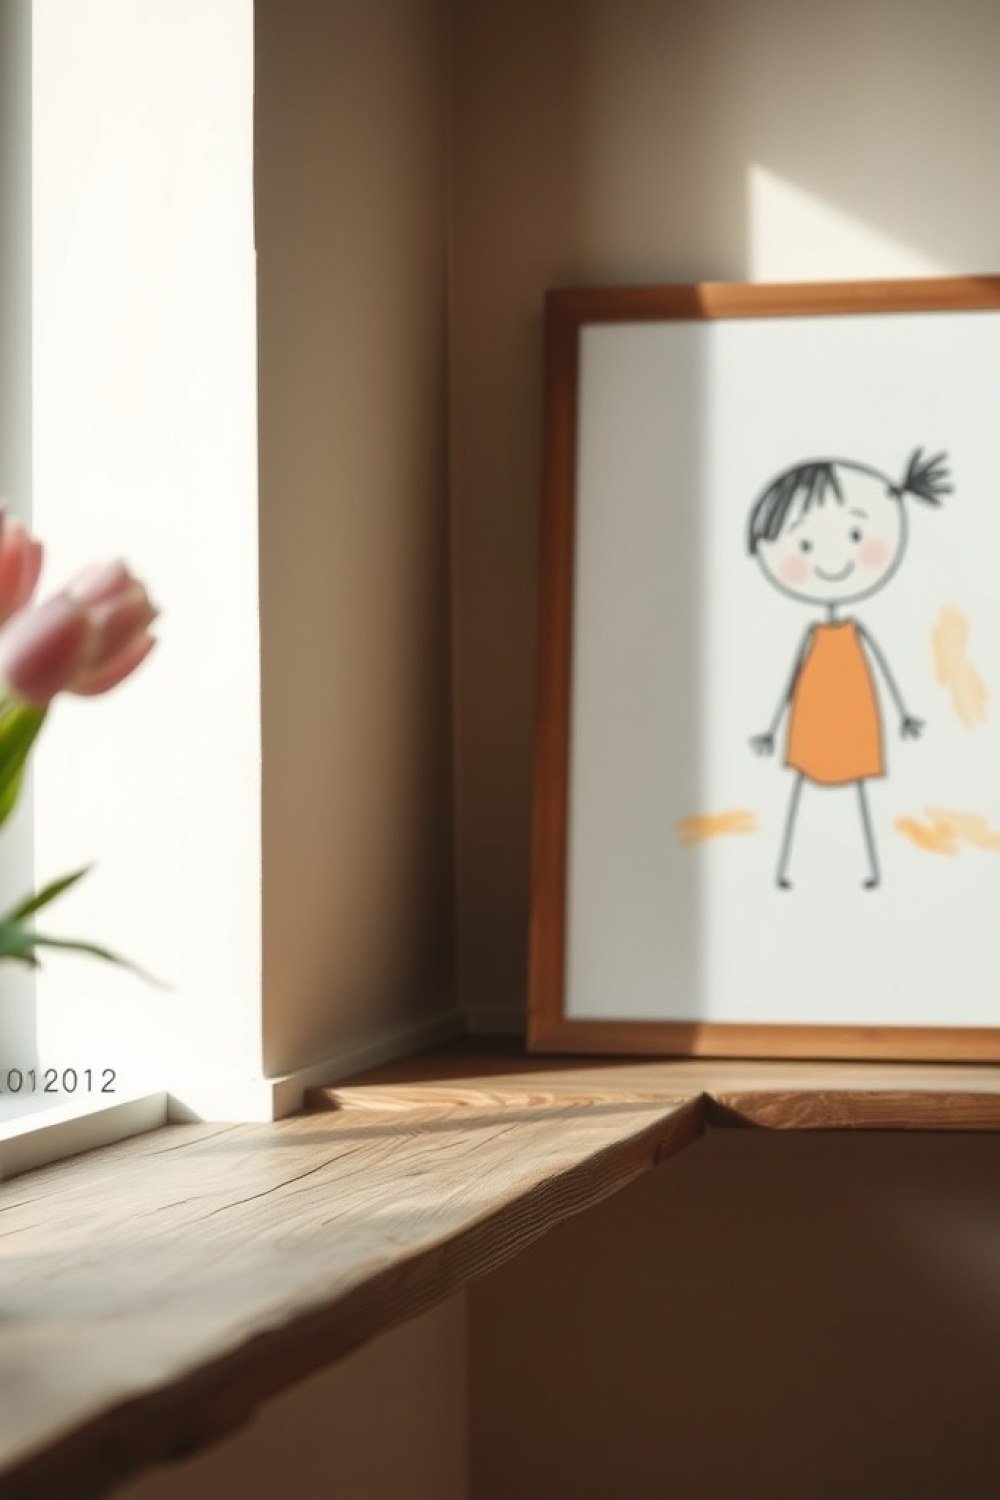
Best for: babies and young toddlers, since it works with feet you can hold steady — and it produces a keepsake that shows just how small they were.
Lay your child on their back or sit them in a highchair and paint one sole with washable tempera using a foam brush. Press the foot onto the canvas with the heel toward the center and the toes pointing outward, then repeat with the other foot so the heels meet. Those two prints become the wings. Clean the feet immediately with warm soapy water — tempera comes off skin easily, which is why it beats acrylic for this one.
After the prints dry, press a thumbprint between the heels for the body and draw two antennae with a black marker. Add the date and age along the side. Canvas gives you permanence; paper tends to wrinkle under foot pressure.
Try this: Use two colors — one per foot — for a more striking butterfly, and add small dots along the wing edges with a cotton swab.
4. Fingerprint Necklace Pendant
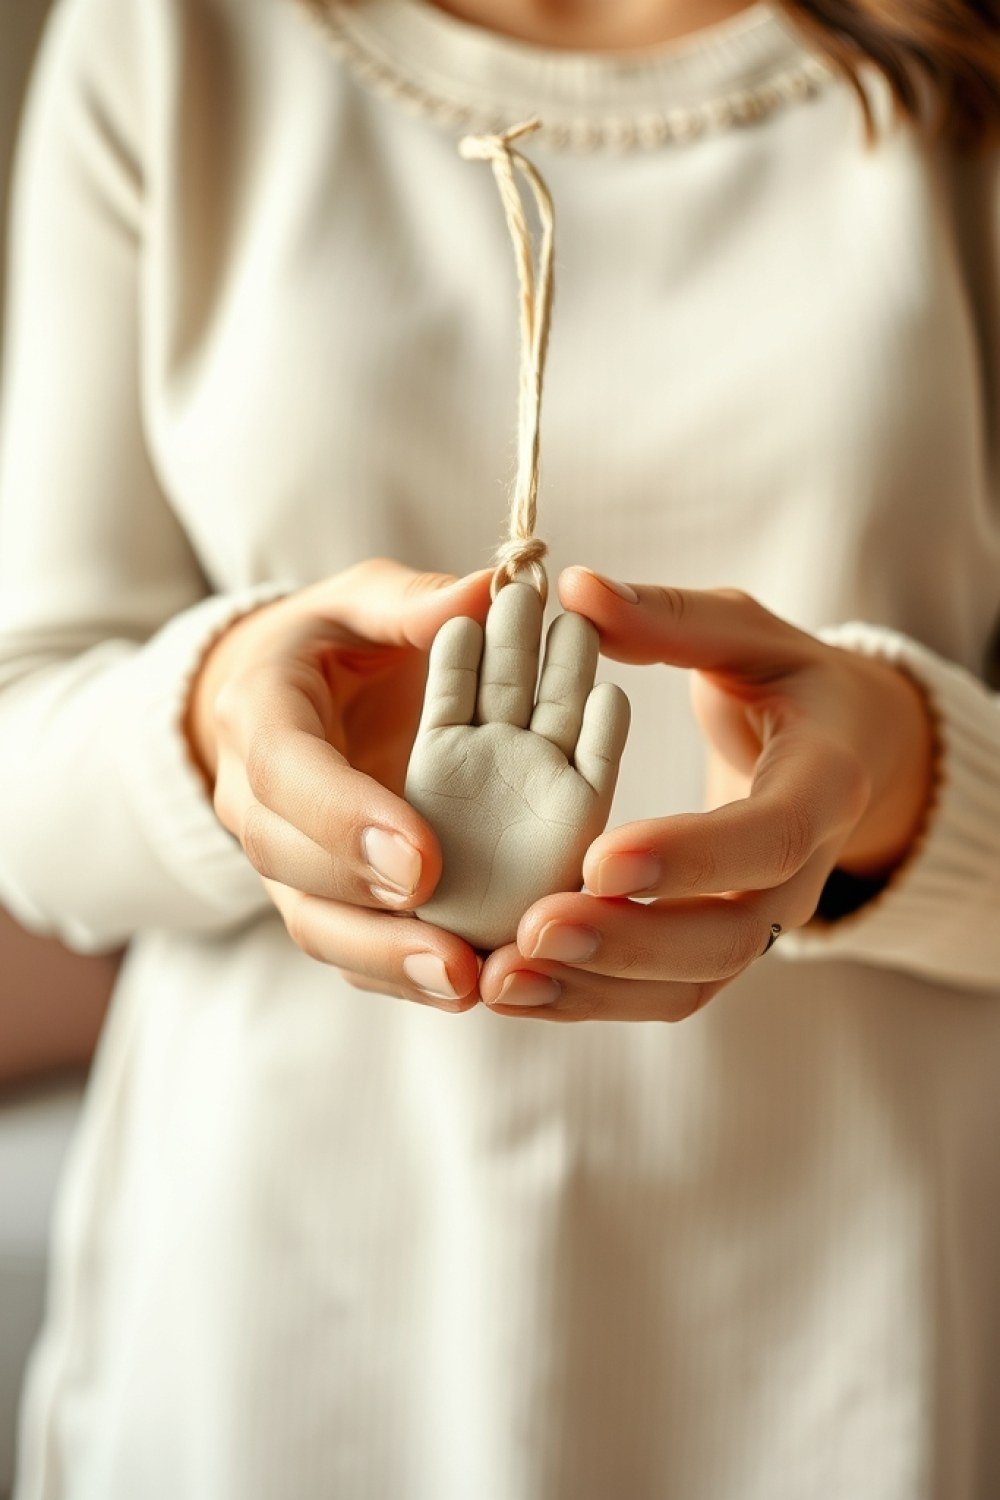
Best for: a mom who wears jewelry daily, and older kids who can press firmly and hold still.
Air-dry clay such as Crayola Model Magic or DAS is the easiest route — no oven, no fumes, dries in 24 hours. Polymer clay (Sculpey III, Fimo) gives a smoother, more durable finish but needs baking at 275°F for about 15 minutes. Roll a ball roughly the size of a marble, flatten it to a 1-inch disc about ¼ inch thick, and have your child press their thumb straight down, holding for five seconds.
Let it dry or bake, then glue a small jewelry bail to the back with E6000 or a strong two-part epoxy — this is the step that determines whether it survives daily wear. Thread onto a 18- or 20-inch chain.
Try this: Stamp the child’s initial and the year into the clay with a toothpick before it dries, and seal the finished pendant with a thin coat of matte varnish.
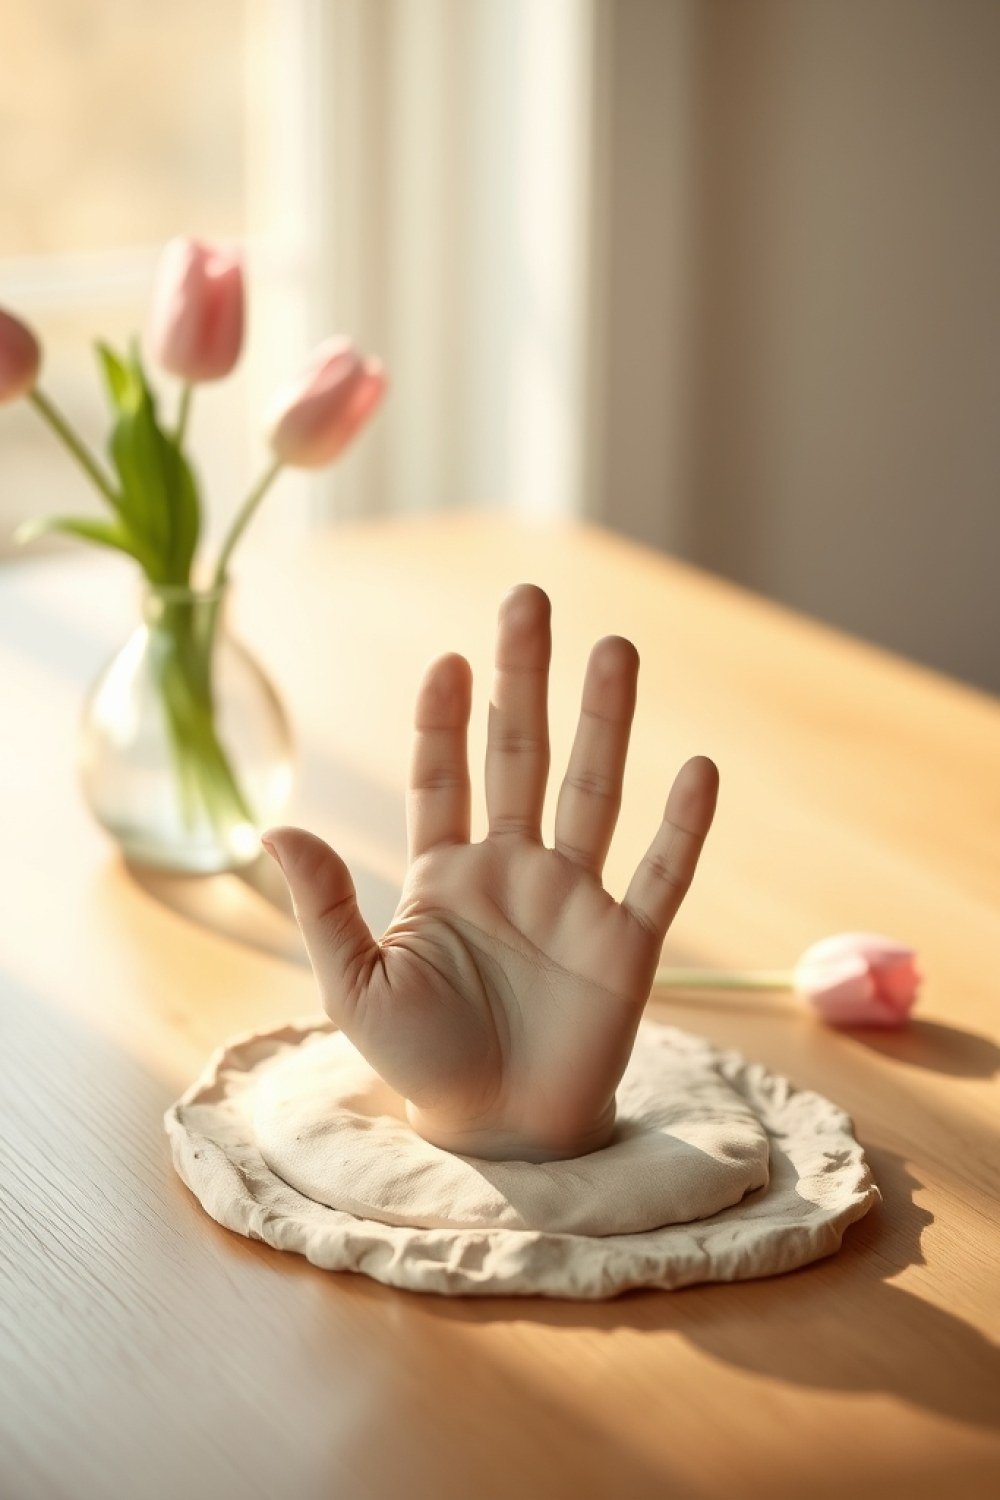
5. Plaster Hand Cast
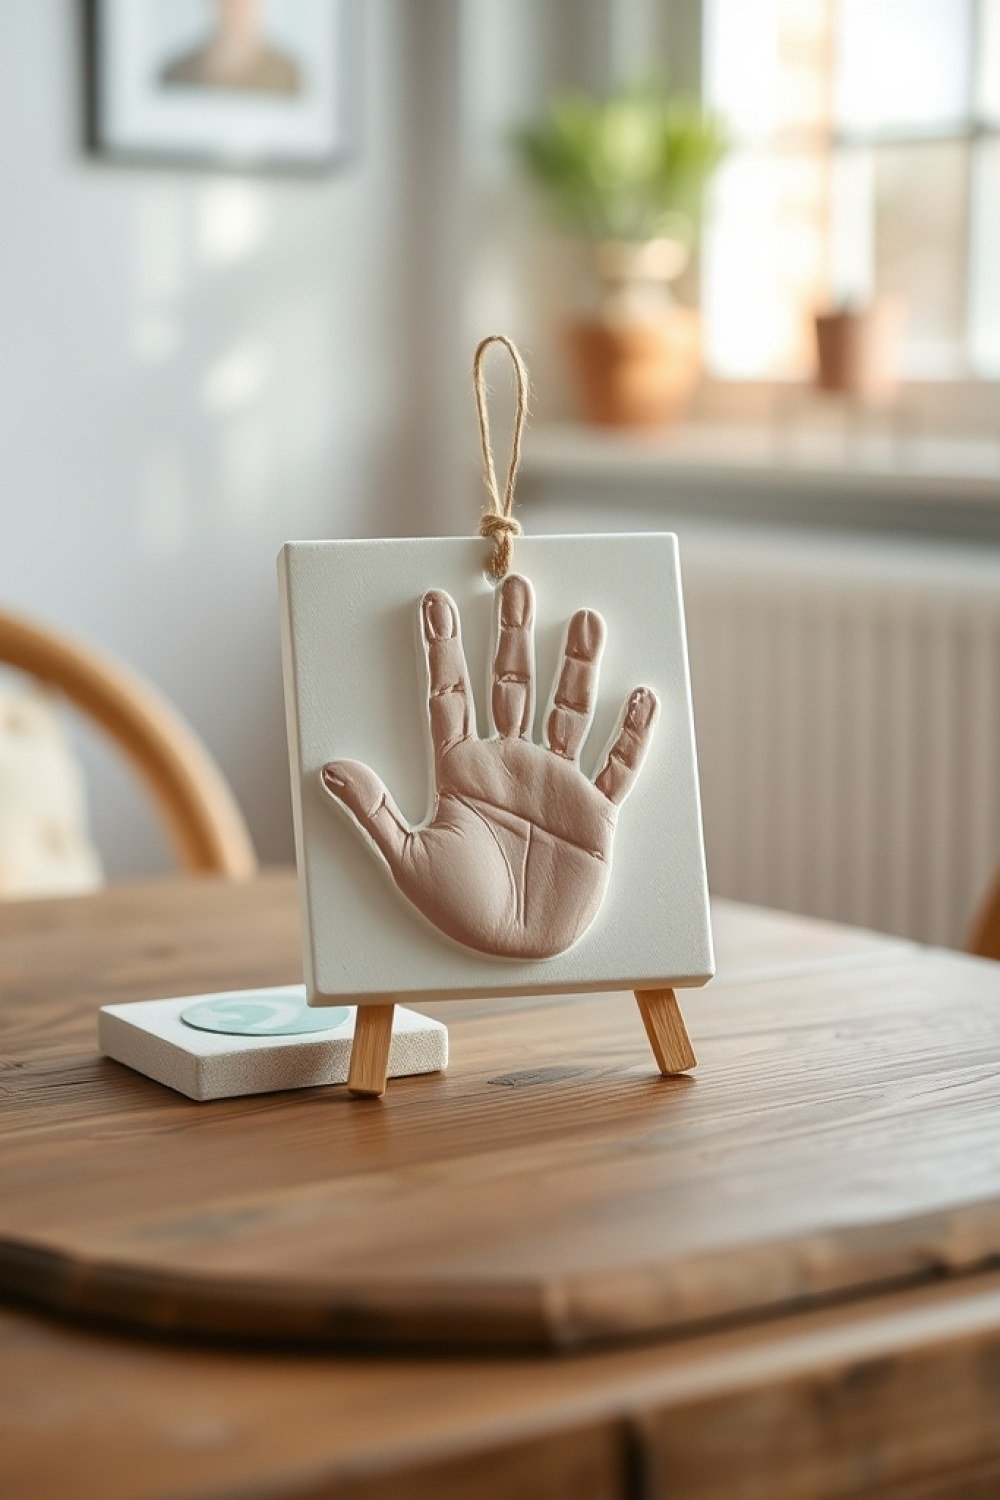
Best for: a milestone age — a first birthday, a kindergarten year — or when you want one piece that stands out from everything else on the shelf.
Buy a plaster casting kit (Luna Bean and Creative Kids both make reliable ones) rather than mixing your own alginate. You’ll mix the molding powder with water in a bucket, have your child spread their fingers and hold a small object like a heart cutout or a silk flower, then submerge the hand in the mixture for about two minutes while it sets. It feels cool and thick but not uncomfortable. Kids under three usually can’t hold still long enough for this one.
Once the mold sets, pour the plaster and let it cure overnight before demolding. Sand the edges smooth and paint in metallic gold, bronze, or a soft matte white. It photographs like a gallery piece and holds detail down to the fingernail.
Try this: Cast both hands at once if your child will tolerate it, or cast one hand each year and line them up on a shelf.
6. Photo Puzzle Piece Frame
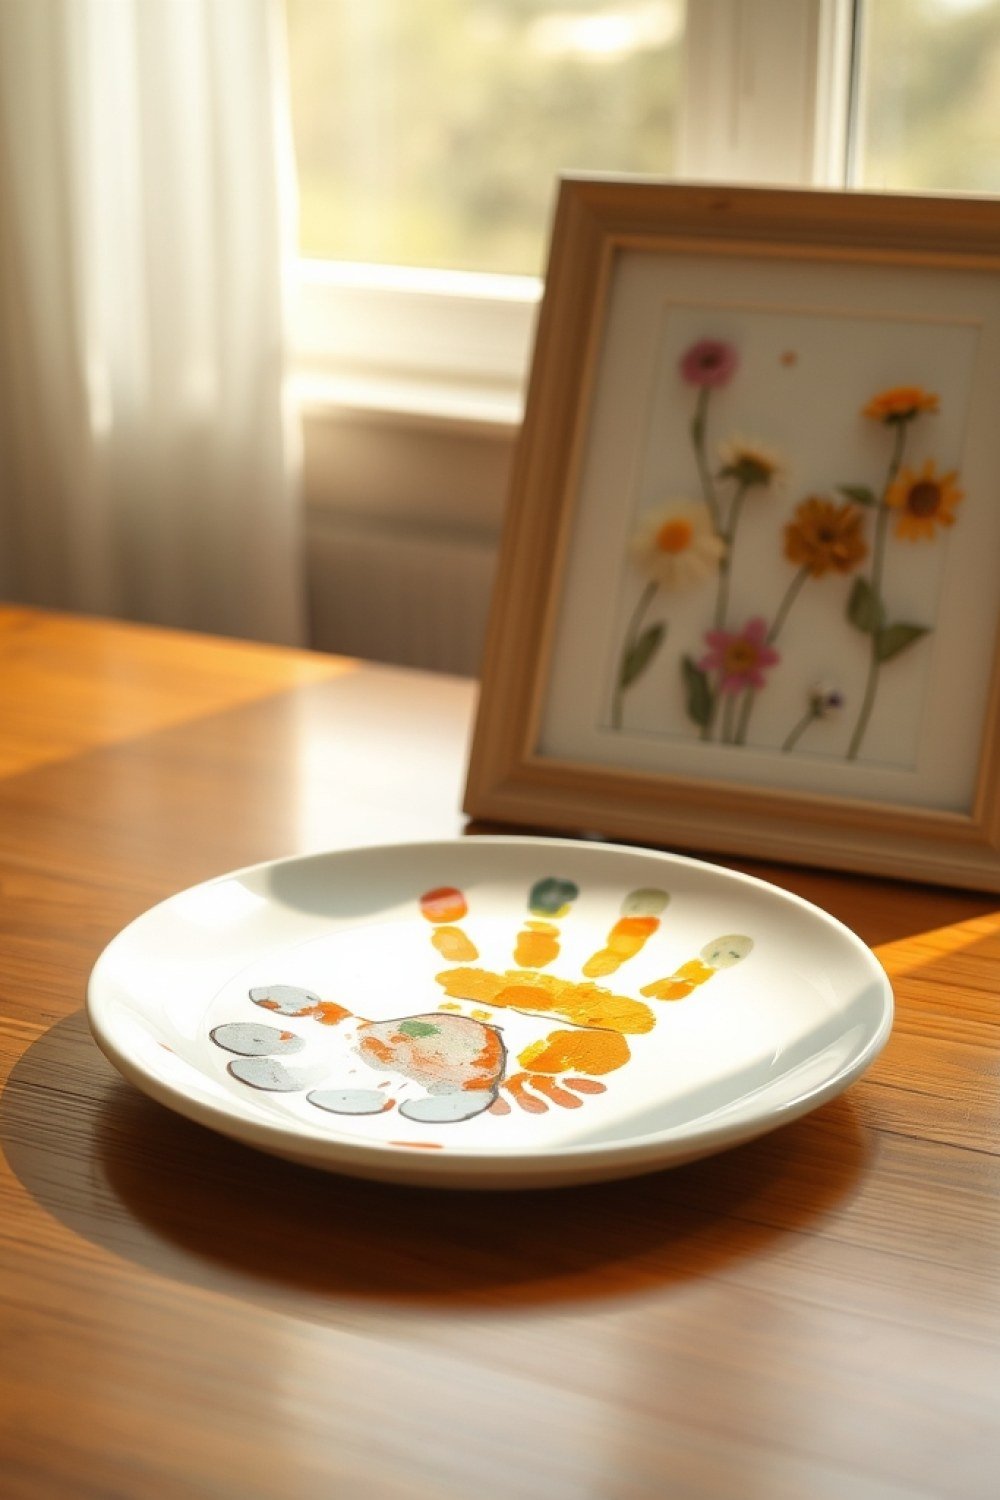
Best for: school-age kids who can handle a glue bottle, and a project that uses a puzzle missing a few pieces.
Print a 5×7 photo of the two of them and mount it on a piece of mat board or a plain wooden frame blank. Glue puzzle pieces around the border, overlapping slightly, leaving the photo itself clear. Use a paintbrush to apply white school glue thinly to each piece rather than squeezing glue directly — it dries flatter and holds better.
Let your child paint the pieces after they’re glued down, in ombre shades from dark to light moving outward, or leave them in their original bright colors. Write “You complete me” or a short message in permanent marker along the bottom edge of the frame.
Try this: Seal the finished frame with a coat of Mod Podge to lock the pieces in place, and glue a small piece on each corner of the photo itself for continuity.
7. Watercolor Resist Quote

Best for: Kids ages 3 and up who can scribble with pressure and paint loosely, plus a project that looks intentional even when the painting gets messy.
The trick is wax versus water: crayon is oil-based, so watercolor beads up and rolls off it instead of covering it. Write your quote in thick white crayon—press hard so the wax layer is solid. Choose something with weight, like “You are my sunshine” or “I loved you before I met you.” Use a fresh sheet of 140 lb cold-press watercolor paper; thin printer paper buckles and rips when wet. Once the message is written, hand over the paints and let your child go over it in bold strokes. Rinse the brush between colors to keep things from turning muddy brown.
Try this: Cut a 5×7 or 8×10 piece of paper and tape the edges down to a board so it dries flat and doesn’t curl. Let it dry fully, then frame it in a glass-front frame—skip a mat, or the crayon message gets lost. Hang it above her desk where she’ll read it every morning.
8. Clay Imprint Trinket Dish

Best for: Any age, including babies (a footprint works beautifully), and a gift that gets used daily rather than stored away.
Roll air-dry clay to about ¼ inch thick—thinner cracks when it dries, thicker takes days to cure. Press your child’s hand or foot firmly and evenly, holding for a few seconds, then lift straight up to avoid smears. You can also press a piece of lace or a doily into the surface for a textured border. Set the clay over an upside-down bowl or a small greased dish to give it a gentle curve, and let it dry 24 to 48 hours until it’s bone-dry and pale. Paint with metallic acrylics like gold or pewter—use two thin coats, not one thick one—and seal with a matte or gloss varnish so rings and keys don’t scratch it.
Try this: Make two while you’re at it: one for the kitchen counter (keys) and one for her nightstand (rings).
9. Silhouette Portrait

Best for: Older toddlers through teens, and someone who likes clean, classic decor rather than colorful kid art.
You need a true profile, not a three-quarter angle—have your child sit or stand facing sideways in front of a bright window or a plain light wall. Make sure their hair and features read clearly against the background; tuck back flyaways so the outline is clean. Photograph at eye level, print the headshot, and cut carefully around the head, neck, and shoulders. Lay the cutout on black cardstock, trace it, and cut the silhouette out. Glue it to white cardstock or watercolor paper (acid-free so it doesn’t yellow) and frame it in a plain thin black frame. It looks expensive and takes about an hour.
Try this: Make one per child and hang them as a row down a hallway.
10. Handprint Apron

Best for: Grandmothers, and moms who actually cook—this is the keepsake that earns its keep in the kitchen.
Buy a plain cotton or cotton-blend apron, prewash and dry it to shrink it first, and iron flat. Use soft fabric paint or a fabric-printing ink pad, not regular acrylics, which crack and wash out. Paint your child’s palm with a brush (more even than dipping) and press the hand down with steady pressure, fingers spread, lifting straight up. Repeat in a row along the bottom hem or clustered on the chest. Write their name and age below each print with a thin fabric marker. Let it dry 24 hours, then heat-set it: press with an iron on the reverse side for 3 to 5 minutes, or tumble dry on high. After setting, it’s machine washable—turn it inside out and wash cold.
Try this: Add a new print each year in a different color so the apron grows into a timeline.
11. Fingerprint Charm Bracelet
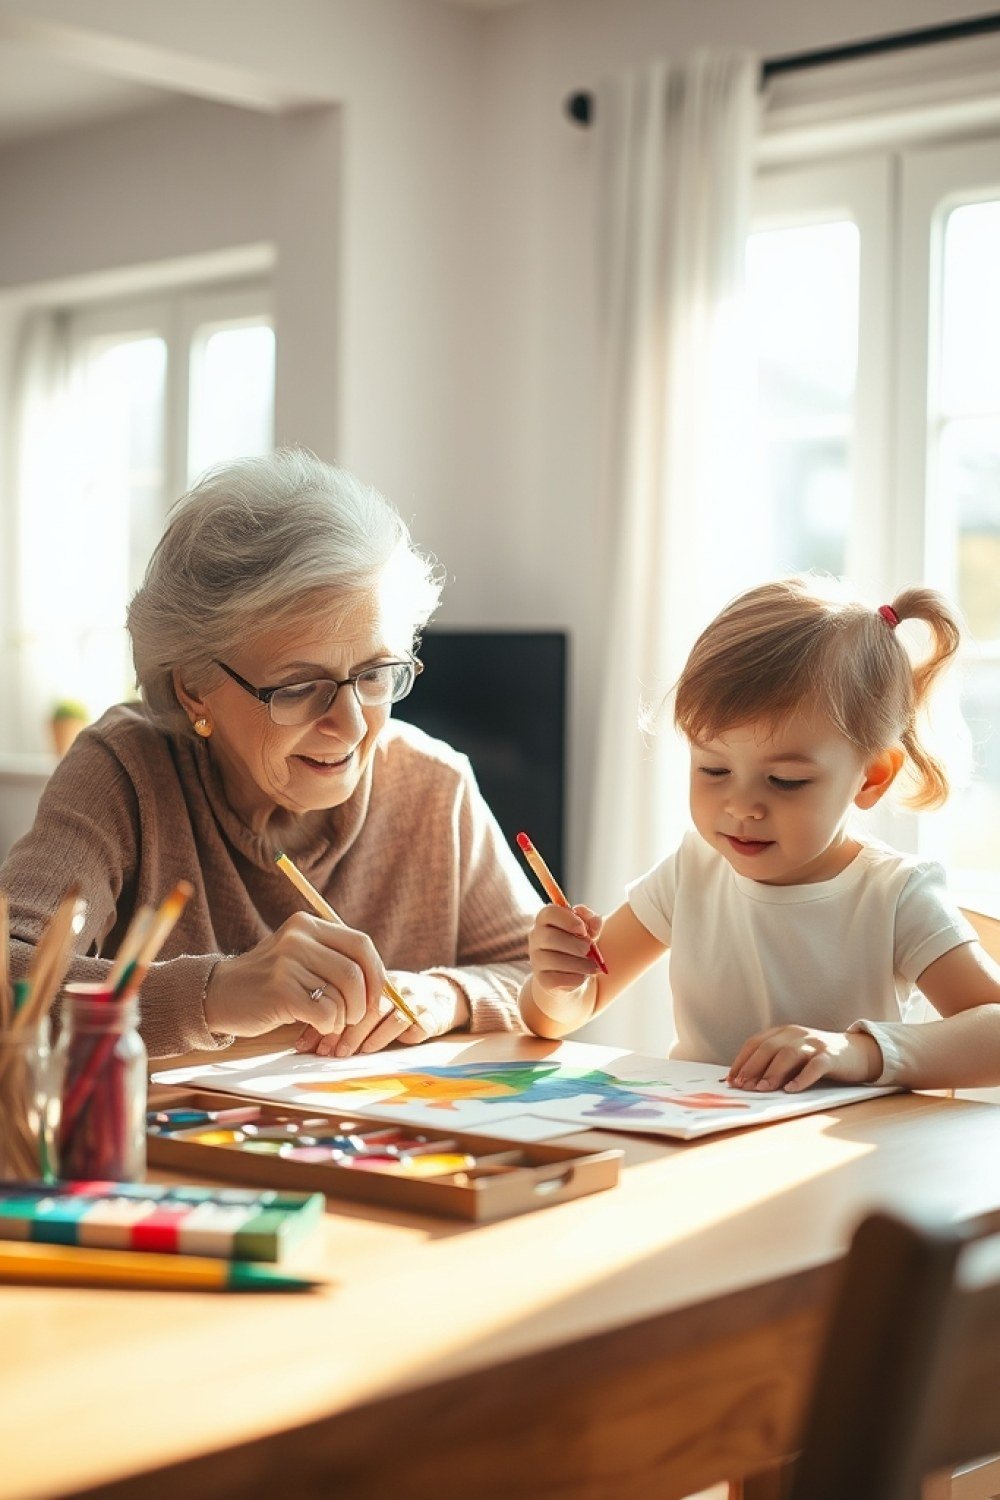
Best for: A quiet, wear-every-day gift—good for moms who don’t want a big display piece and prefer something personal she can carry anywhere.
For a keepsake that lasts decades, order a custom charm made from a real fingerprint. You take a clean inkless print (most shops send a kit), and the maker etches or casts it into sterling silver, gold-filled, or stainless steel—typically as a heart, disc, or bar shape, about ½ to ¾ inch. Add a birthstone or engraved initials on the back. Expect 2 to 4 weeks turnaround, so order early. If you want to make one yourself with kids, shrink plastic works: have them press a fingertip into an ink pad, stamp it on the plastic, punch a hole, bake it in the oven at 325°F for 1 to 3 minutes, and seal it with clear nail polish. String it on a chain with letter beads.
Try this: Combine multiple children’s prints on one necklace so she can wear them all together instead of choosing.
12. Pop-Up Memory Book

Best for: Kids ages 5 to 12 who want to write and draw, and it works as a rainy-weekend project spread across a few days.
You don’t need fancy pop-up engineering—simple folded tabs and lift-the-flaps do the job. Fold a stack of cardstock in half for the book, and use one page per memory: the day they learned to ride a bike, a favorite trip, the first day of school. On each page, your child draws the scene, and you or they add a caption in marker. For the pop-up, cut a small shape (a star, a heart, a photo of that day) and fold a 1-inch tab at the bottom, gluing the tab flat to the page so the shape stands when the book opens. Punch holes along the fold and tie it together with ribbon, or use a simple binder ring. Let your child decorate the cover with their name and the year.
Try this: Keep it going as a yearly tradition—add two or three pages every year and it becomes a running record of her whole life with them.
13. Handprint Garden Stone
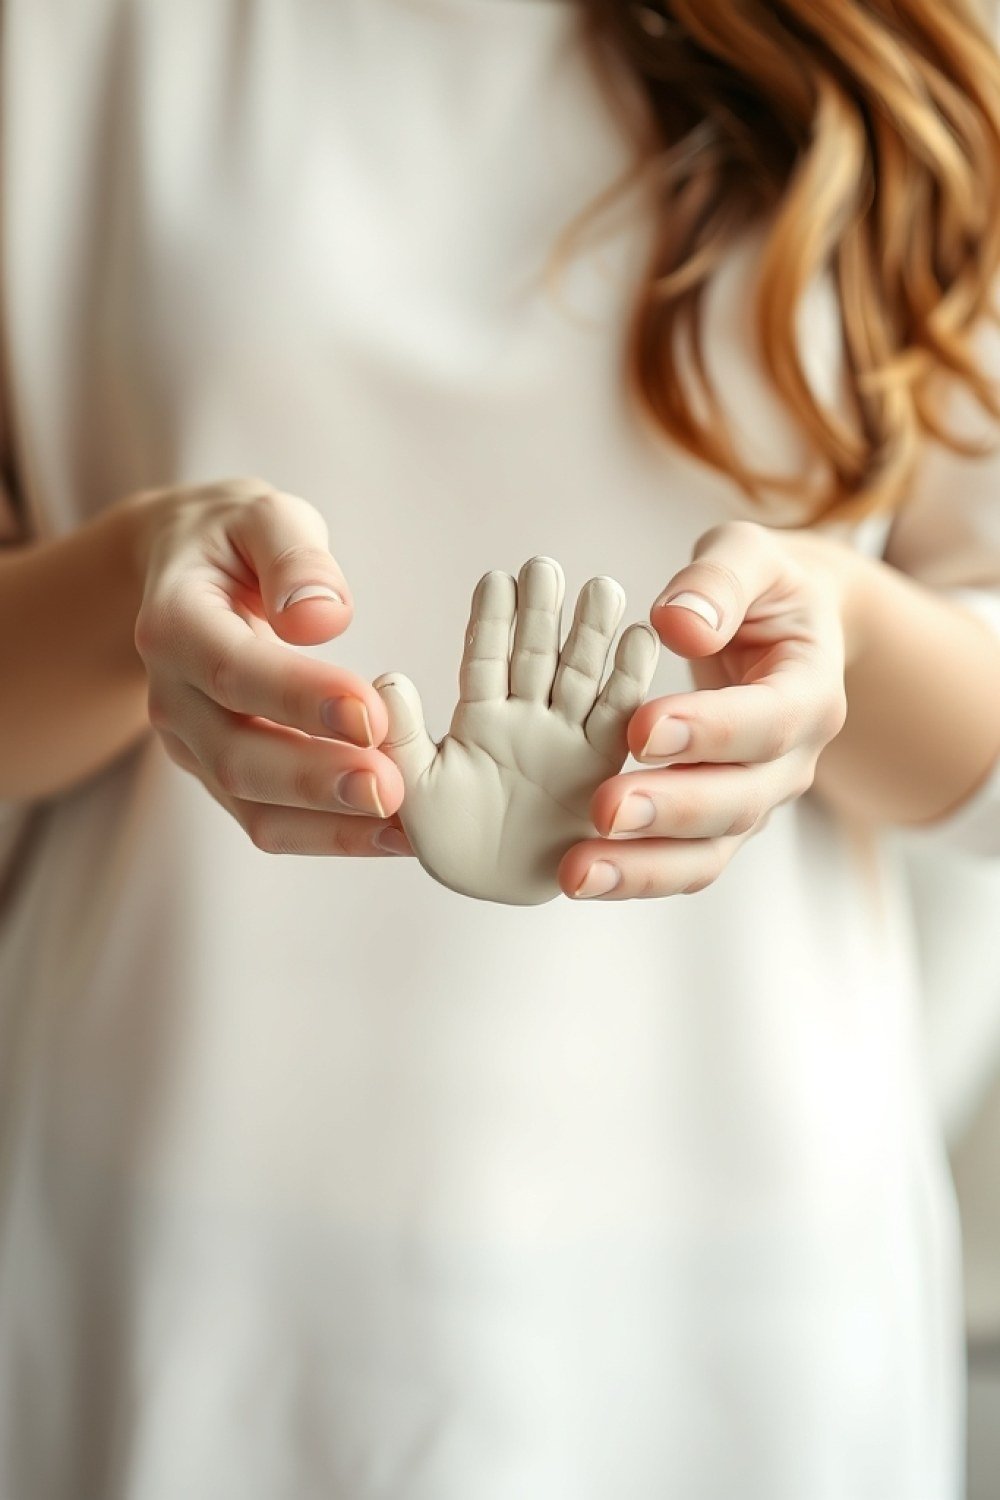
Best for: Kids of any age, and moms who spend weekends in the garden.
A stepping stone turns a fleeting handprint into something permanent. You need a bag of concrete stepping stone mix (Quikrete or similar), a mold or disposable foil pan, and a bucket for mixing. Press each child’s hand firmly into the wet mix, then push glass gems, mosaic tiles, or small shells around the prints before it sets. Write the year in the corner with a skewer. Work fast — you have about 20 to 30 minutes before the surface firms up too much to take a clean impression.
Let it cure somewhere shaded and dry for at least 48 hours before moving it, then another week before it goes outside. The stone darkens slightly with rain and moss gathers in the grooves over the years, which is exactly what makes it better with age.
Try this: Coat the mold with cooking spray first so the stone releases cleanly, and wear gloves — concrete dries out skin fast.
14. Thumbprint Family Tree
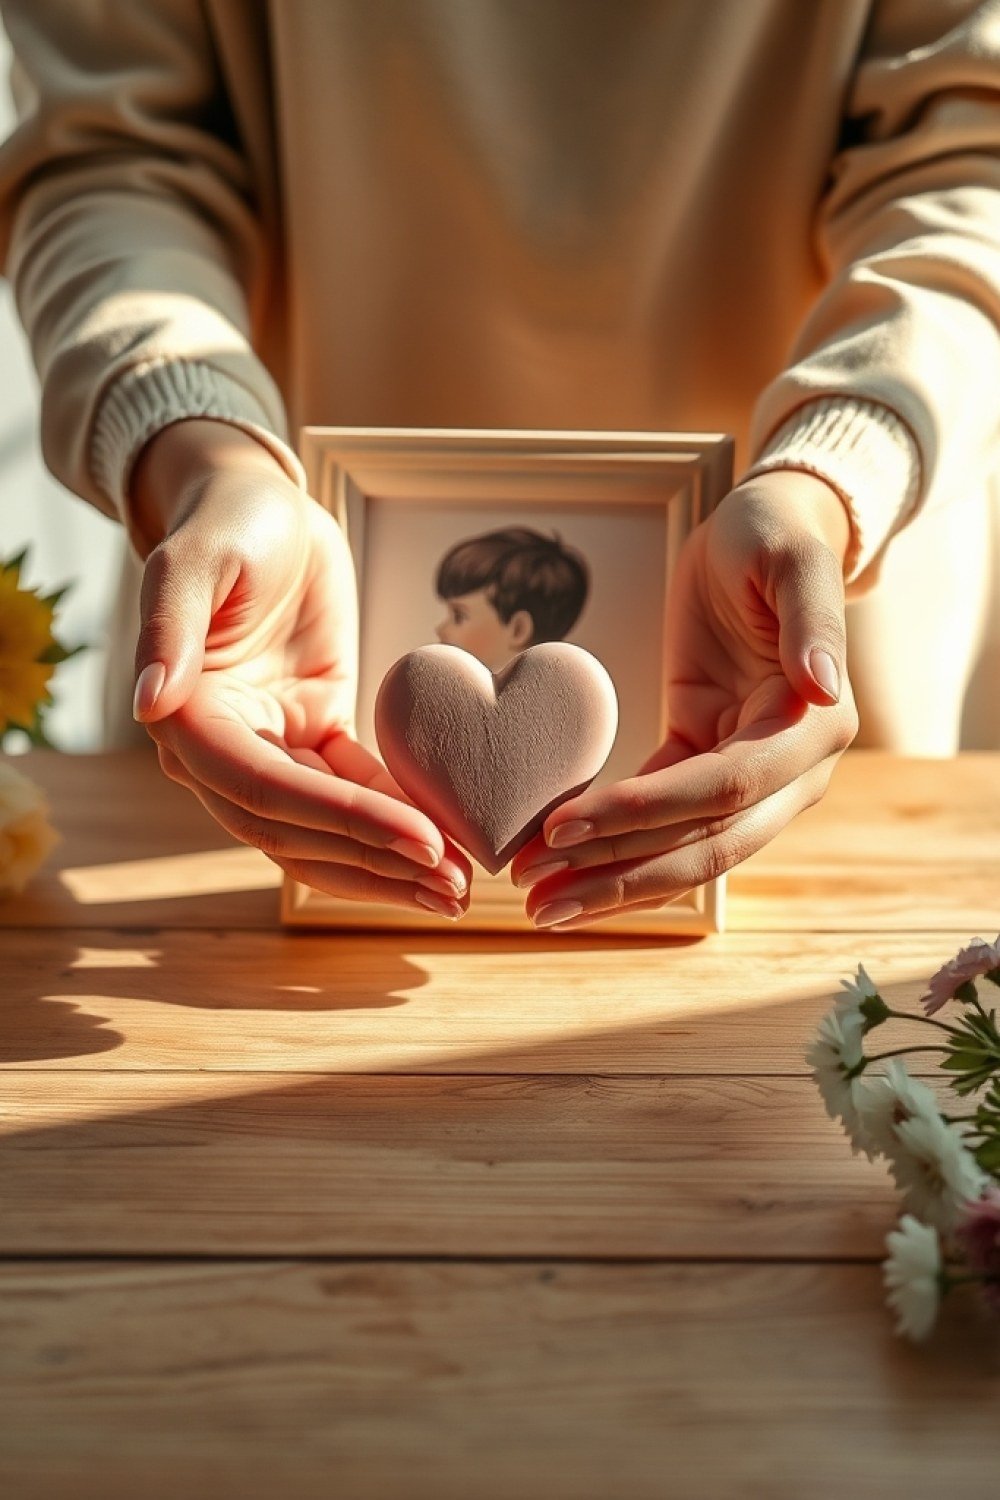
Best for: Blended families, big extended clans, or anyone who wants one piece of art everyone contributes to.
Paint a bare trunk with a few spreading branches on a stretched canvas using brown acrylic, then let it dry completely. Each family member presses a thumb into a shallow puddle of green acrylic and stamps it onto the branches as a leaf — vary the greens so it looks natural, and use lighter greens higher up. While the ink is still wet, write each person’s name in fine permanent marker beside their print. A 16×20 canvas fits roughly 25 to 30 prints comfortably, so a large family works well here.
If grandparents are far away, mail them an ink pad and a square of cardstock, then cut out their stamped thumbprints and glue them onto the canvas in their spot. The names are what turn it from a cute craft into a family record.
Try this: Practice stamping on scrap paper once or twice — thumbs hold more ink than you expect, and a light touch gives a cleaner leaf shape.
15. Photo Memory Jar
Best for: Older kids, partners, or anyone who wants to give something deeply personal on a small budget.
Start with a clean quart mason jar and decorate it with a wrapped twine band, a name label, or a coat of frosted glass paint. Inside, tuck folded slips of paper — aim for 30 to 50 — each holding one specific memory or reason: the way she sang in the car, the camping trip that went wrong, the exact dinner she makes when someone’s sick. Vague compliments fade fast; specific moments don’t. Seal the lid and glue a favorite photo on top, cut to fit the insert circle.
The jar works because she can set it on a nightstand and pull out one note on a hard day rather than reading everything at once. Include a small stack of blank slips so she can add her own.
Try this: Use two or three paper colors and fold each note into quarters so pulling one out feels like a small event — and write in pen, not pencil, so they last.
Questions About Mother’s Day Art Keepsakes
What is the best paint for handprint keepsakes that last?
For anything that will sit on a shelf or hang on a wall, acrylic paint is your best bet. It bonds well to canvas, wood, and clay, dries fast, and holds its color for decades. The trade-off is that it stains skin and doesn’t wash off easily, so it’s not ideal for a squirming toddler. For kids under five, use washable tempera or finger paint and accept that the print may be slightly fainter. With either option, finish the piece with two thin coats of clear acrylic sealant once it’s fully dry — that’s what keeps it from fading, cracking, or getting water-damaged over the years. Skip the sealant and you’ll notice yellowing within a couple of years, especially on pieces hung near a window.
How can I make a handprint keepsake without making a mess?
Prep is everything. Cover the table with a plastic tablecloth or a layer of newspaper, and keep a pack of baby wipes within arm’s reach before any paint comes out. Instead of dipping your child’s hand in a paint puddle, use a foam brush to apply a thin, even coat directly onto the palm — you get a cleaner print and far less paint on the wrist and sleeve. For babies, aim for right after a nap when they’re calm and loose; a relaxed hand presses flat, while a clenched one leaves a smudge. Have the canvas or paper already positioned and ready, press the hand down firmly for a slow count of three, then lift straight up. One clean press beats five wobbly ones.
Do these keepsakes work for older kids and adults too?
Yes, and they often turn out better. Older kids have the fine motor control to write their own messages, draw detailed illustrations, or handle more involved projects like plaster casting and resin pouring. Teens can help with the parts that require patience — mixing, layering, waiting for coats to dry. Adults can make their own art, or you can collaborate on a single piece that represents your relationship: two sets of fingerprints forming a heart, a shared canvas painted in layers, a photo collage with handwritten captions. The project just shifts from “capture the tiny hand” to “make something together,” which is a different kind of keepsake but no less meaningful.
How should I display or preserve these art keepsakes?
Flat pieces — handprint canvases, drawings, silhouettes — should be framed behind UV-protective glass and hung out of direct sunlight, which is the single biggest cause of fading. Three-dimensional pieces like clay impressions or plaster casts need dusting every few months with a soft dry brush and should stay away from bathrooms, kitchens, and windowsills where humidity swings cause cracking. If the keepsake is wearable, like a fingerprint necklace or a stamped charm, store it in a dry jewelry box between wears to prevent tarnishing. And label the back of everything with the child’s name, age, and the date — future-you will be grateful when you can’t remember which year was which.
Choosing the Right Keepsake for Her Style
Match the piece to the person, not to the trend. If she leans modern and minimal, a clean silhouette cutout or a delicate fingerprint necklace will fit her space and get worn or displayed without clashing. If she’s sentimental and traditional, a handprint canvas, a family tree with thumbprint leaves, or a framed set of first drawings will land harder than anything sleek or understated.
Whichever direction you go, bring your child into the making — the paint-smeared fingers and the wobbly signatures are half the gift. Then add a handwritten note on the back or tucked into the frame: the date, her name, and one specific line about why you made it. That small detail is what turns a nice object into something she’ll still be holding thirty years from now.