
14 Mother’s Day Gifts From Kids Worth Displaying on the Mantel
What makes a kid-made gift worth keeping on the mantel instead of tucked in a drawer? It comes down to three things: a real imprint of your child (a hand, a fingerprint, their handwriting), materials that hold up over time, and a finished look that fits your home. Every idea below hits all three.
Most of these can be made in an afternoon with craft-store supplies. Handprint Heart Canvas, Thumbprint Dandelion Art, and Photo Block Puzzle are best for toddlers and preschoolers with adult help. Pressed Flower Frame, DIY Candle with Pressed Flowers, and Memory Jar with Notes work well for school-age kids who can handle finer details.
The rest—Clay Imprint Keepsake, Fingerprint Heart Tree, Painted Rock Paperweight, and more—scale up for tweens and teens, or make sweet group projects for siblings, classrooms, and grandparents helping out. Each entry lists what you need, how long it takes, and the one step that keeps it from looking homemade in the bad way.
Quick Picks: Which Kid-Made Gift Fits Your Crew
- Handprint Heart Canvas — best for babies and toddlers; fastest sentimental win with almost no mess.
- Thumbprint Dandelion Art — best for preschoolers who love paint and can’t sit still long.
- Photo Block Puzzle — best for dads or grandparents assembling it as a surprise; works from age 4 up.
- Memory Jar with Notes — best for families with older kids or a group of siblings who each write their own notes.
1. Handprint Heart Canvas

A classic for a reason. Use acrylic paint on a small stretched canvas: paint the child’s hand and press it at an angle to form half a heart, then repeat with the other hand to complete it. Add the child’s name and year in paint pen.
Choose a canvas that matches your decor—white, cream, or metallic gold—so it blends on the mantel. Two hands at opposing angles make the heart; test on scrap paper first. Ideal for babies through age six.
Tip: Press the palm firmly and lift straight up to avoid smudging.
2. Thumbprint Dandelion Art
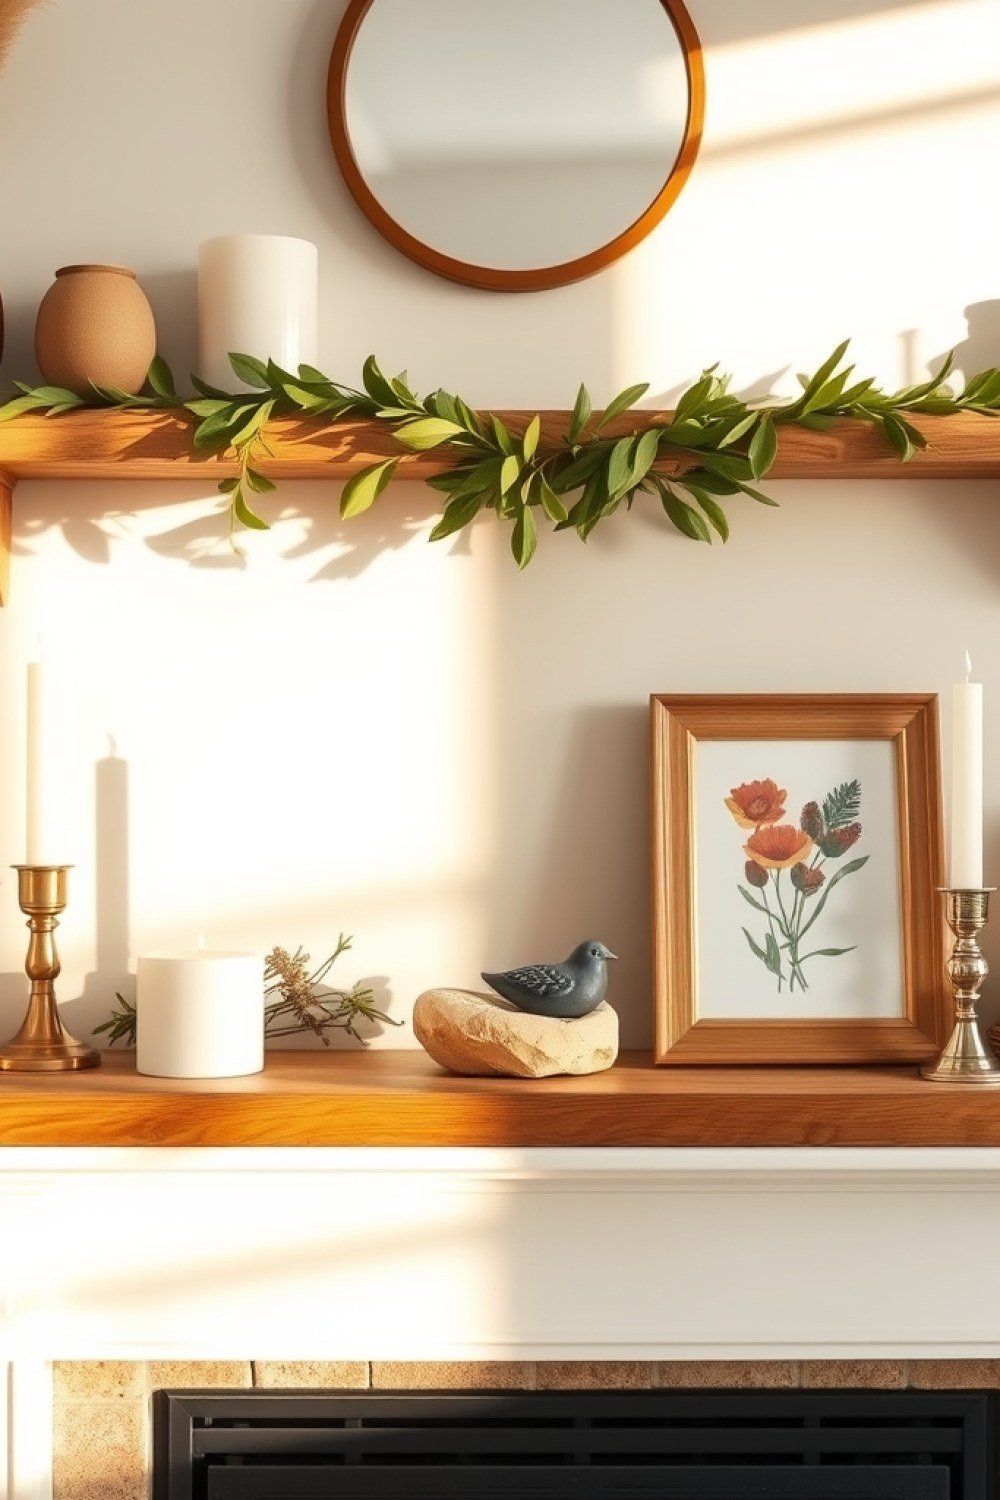
Simple and stunning. Draw thin stems with a fine-tip marker or paint, then have kids stamp their thumbs in white or yellow paint to create the dandelion fluff. Frame it in a floating frame for a modern look. Works for even toddlers with a little help.
The stamping is forgiving—uneven prints still look like seeds drifting off. Contrast matters: white paint on navy or charcoal paper reads best, or yellow on cream. Frame between glass with a small gap so prints don’t squash.
Tip: Do one dandelion per child and cluster them for a gallery wall.
3. Photo Block Puzzle
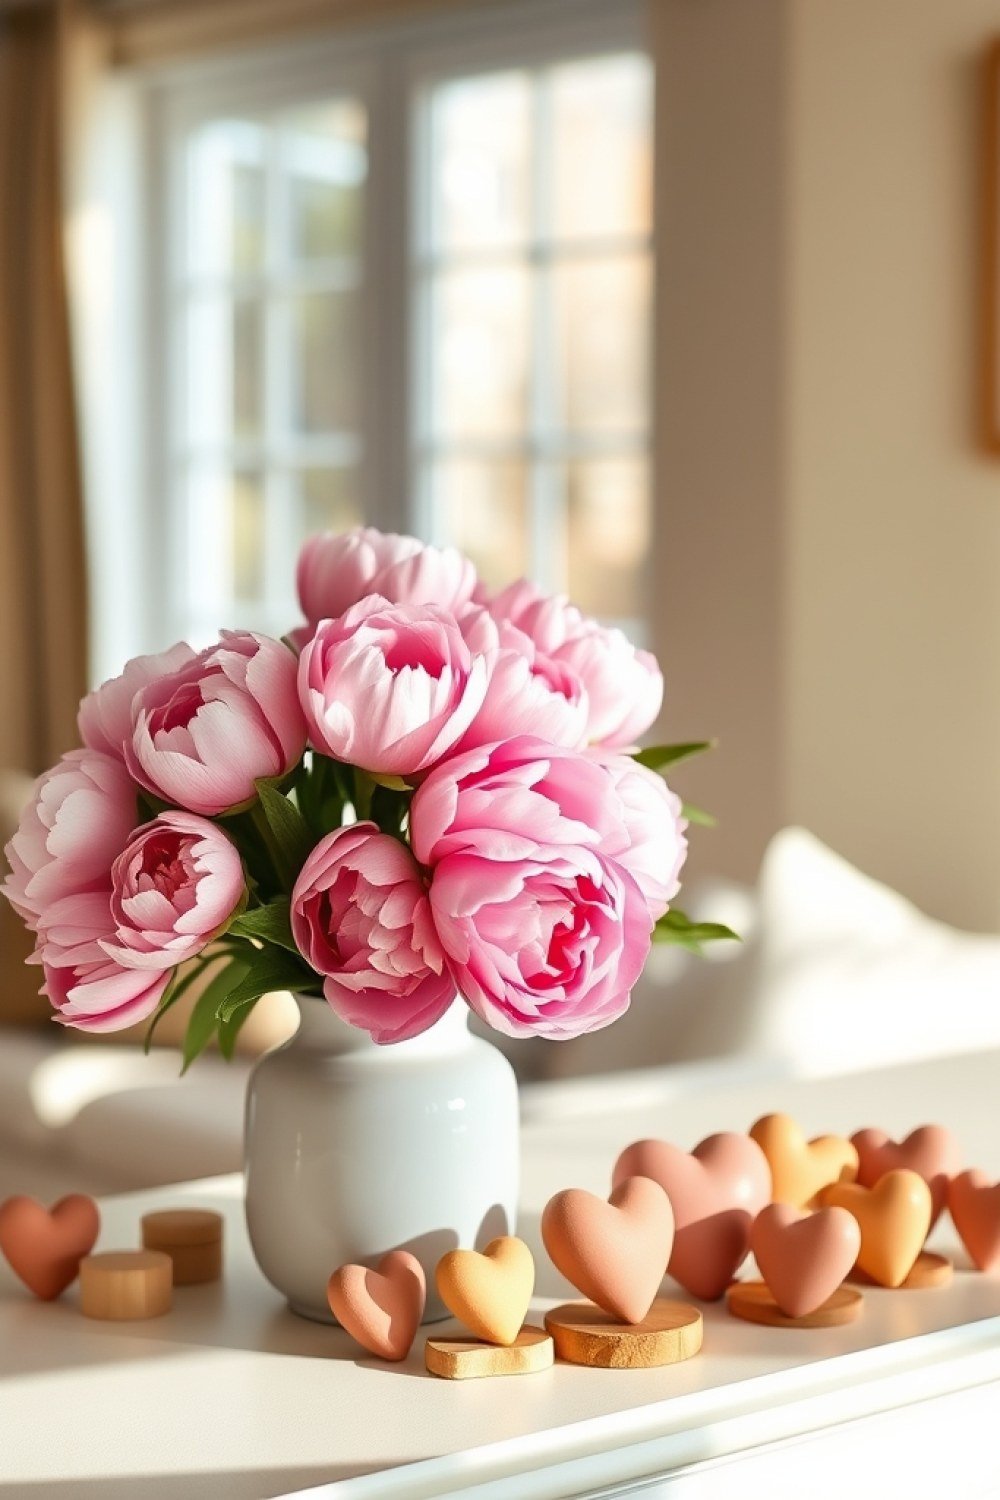
Turn a favorite family photo into a DIY puzzle using wooden blocks. Order a print the same size as the assembled blocks (nine blocks for a 3×3 grid), cut it into squares, and Mod Podge each square onto a block. Mom displays it assembled, then takes it apart for kids to play.
Use 1.5-inch or 2-inch blocks; sand edges first for a smooth finish. Choose a high-contrast photo so the image is easy to reassemble. Seal with a top coat of Mod Podge so little hands don’t peel the paper.
Tip: Number the backs 1 through 9 so kids can rebuild it without checking the front.
4. Pressed Flower Frame
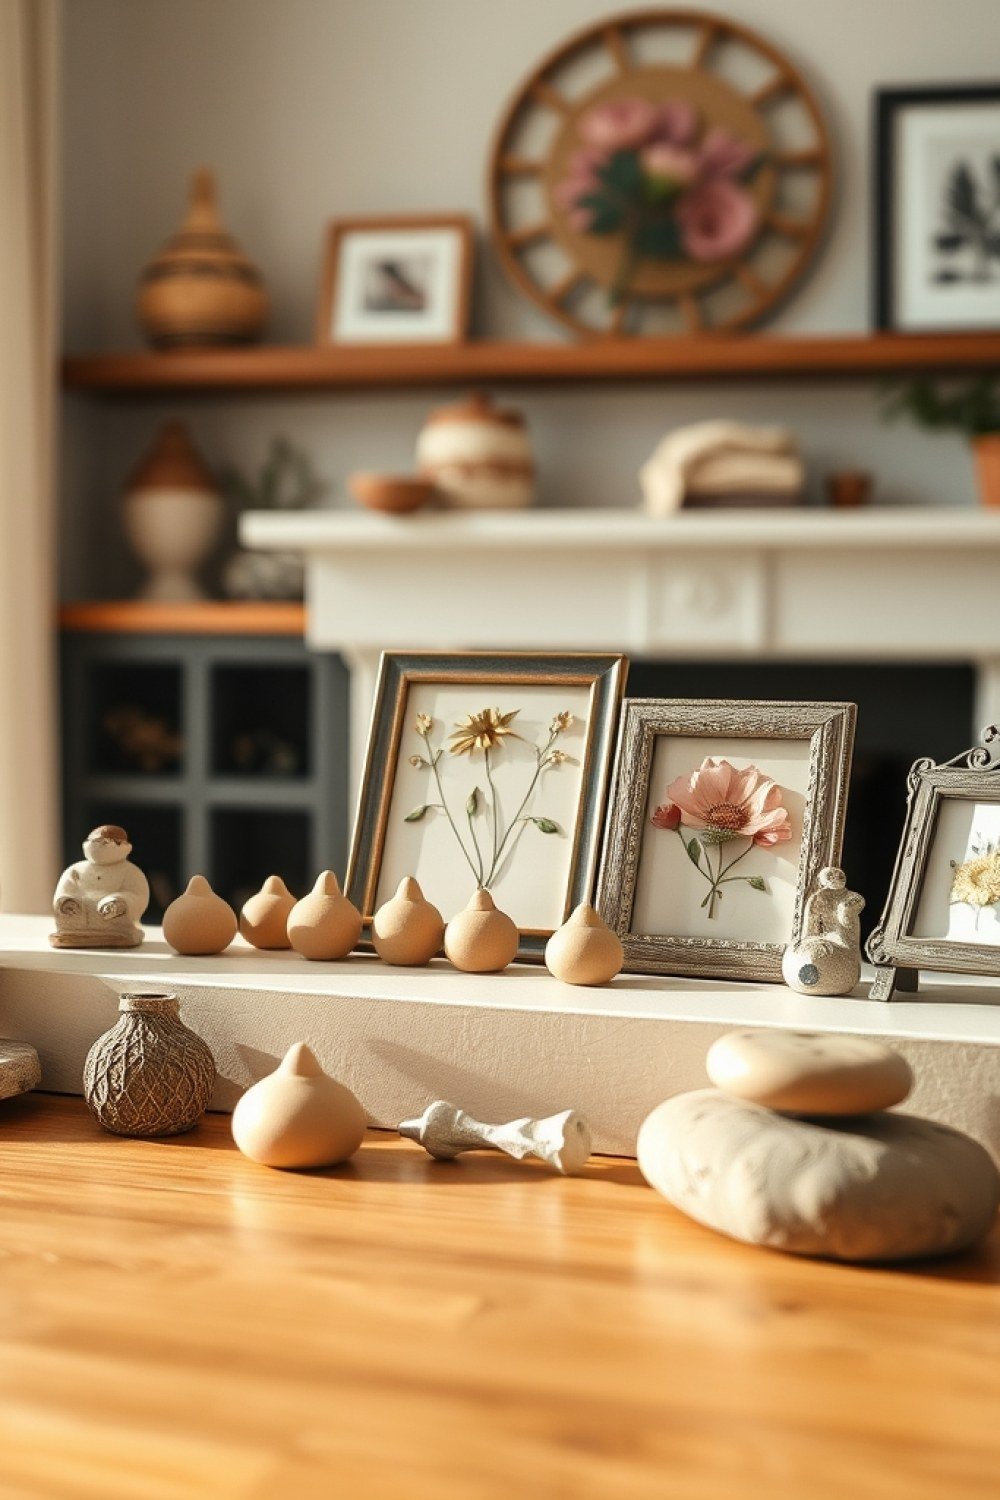
Kids pick flowers from the yard, press them between wax paper under heavy books for a week, then arrange them on acid-free paper and frame. Use a double-sided glass frame so the flowers show from both sides. A beautiful way to preserve a spring bouquet.
Choose flat blooms like pansies, violets, or daisies—thicker flowers mold. Give them a full week under weight; rushing leaves moisture that browns the petals. Acid-free paper prevents yellowing over time.
Tip: Arrange the dried flowers on the paper before gluing—you only get one placement.
5. Clay Imprint Keepsake
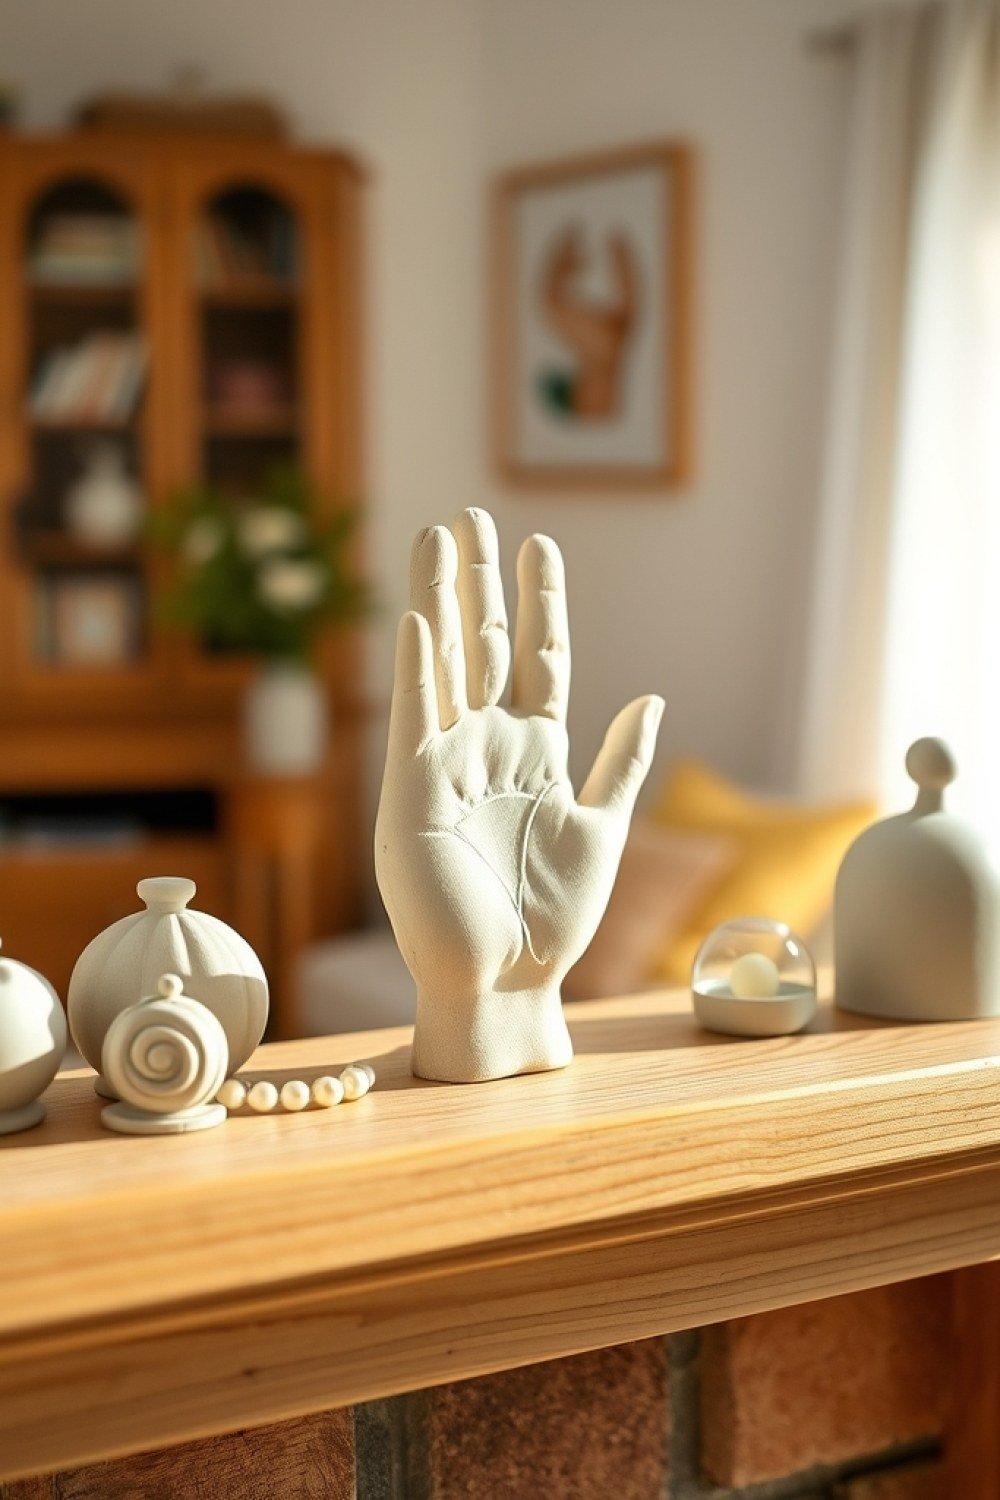
Use air-dry clay to make a round or heart-shaped ornament stamped with the child’s handprint or a short message. Let it dry, paint with acrylics, and seal with Mod Podge. Tie a ribbon for hanging, or prop it on a small easel on the mantel.
Roll the clay to about 1/4 inch thick so imprints hold without cracking—too thin and it snaps, too thick and it takes days to dry. Stamp while the clay is fresh, then let it air-dry 24 to 48 hours before painting.
Tip: Poke a hole for the ribbon before the clay dries, or the finished piece will crack.
6. Fingerprint Heart Tree

Draw a tree trunk with branches on a canvas or thick paper, then have kids add fingerprint leaves in shades of green, pink, or gold. Write “Family Tree” or each family member’s name next to a print. A lovely way to include siblings and grandparents.
Paint the trunk in brown first and let it dry, so little fingers don’t smear it. Assign each person a color, or go monochrome in one shade for a cleaner mantel look. Share the canvas across generations.
Tip: Lightly pencil each name before inking, so fingerprints and labels line up.
7. Personalized Letter Art
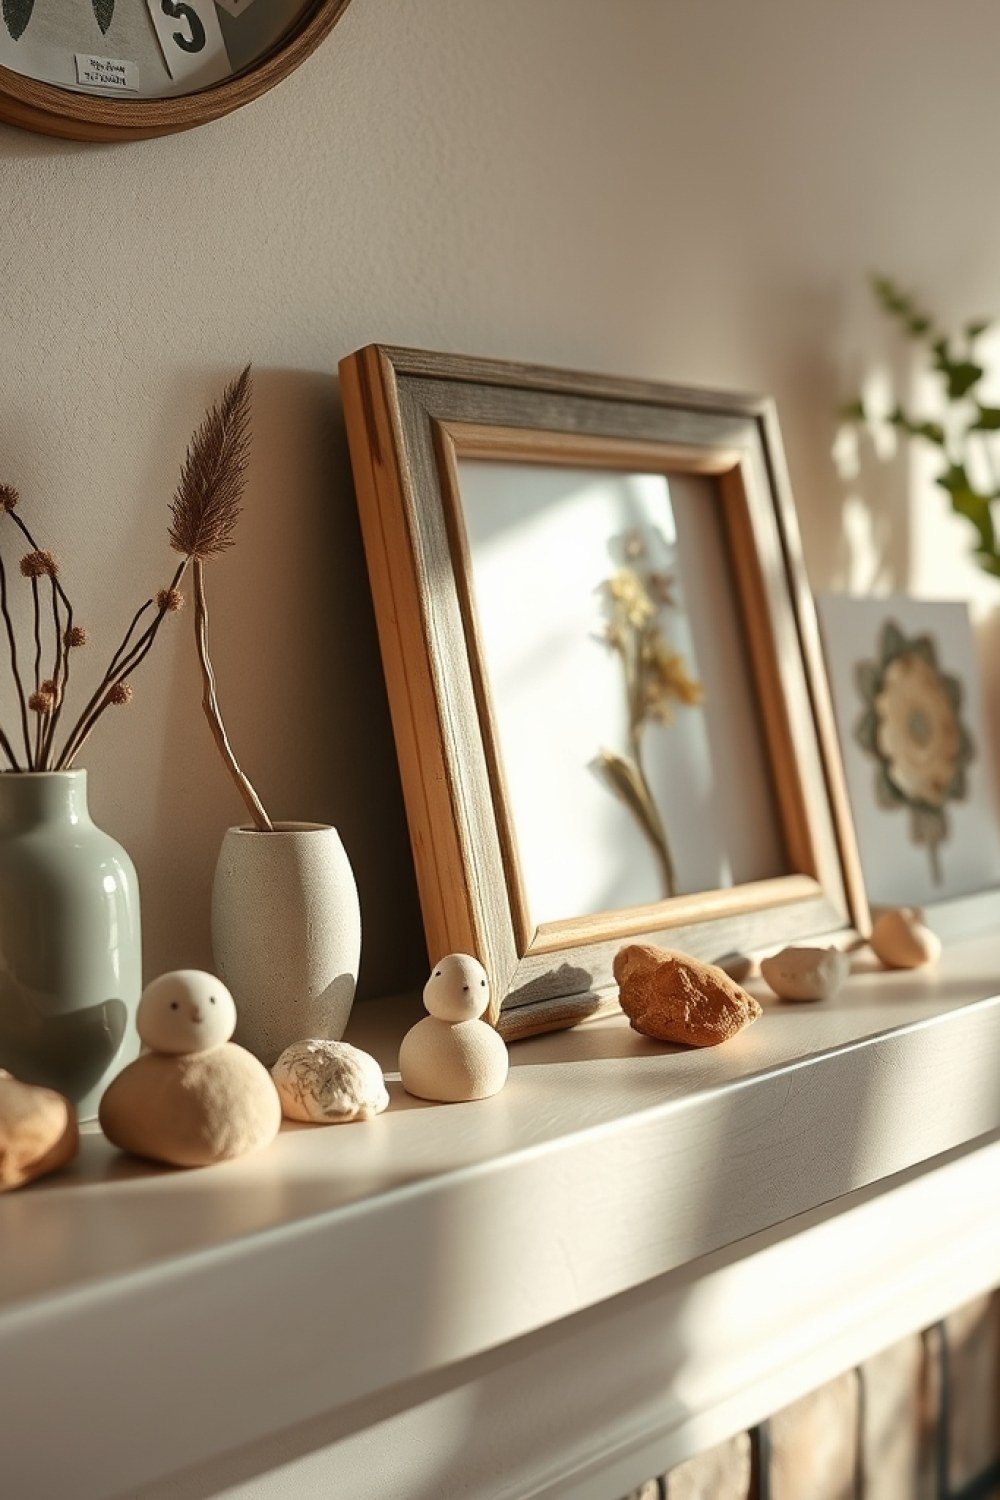
This one takes an afternoon and a phone camera. Have your child hold up one letter at a time to spell “MOM” or “LOVE,” then shoot each pose against a plain wall in good daylight. Print them black and white, 5×7 or 8×10, and frame them in a row of matching thin frames.
Black and white is what makes it work — mismatched outfits and busy backgrounds fade into the background, leaving just the letters and your child’s face. For a modern grid, give each child a single letter and arrange the frames 2×2 or 3×3. It suits any age, though kids old enough to hold a letter steady get the cleanest results.
Tip: shoot at eye level with your child, not looking down, and print on matte paper so the frames don’t glare on a sunny mantel.
8. DIY Terrarium Necklace
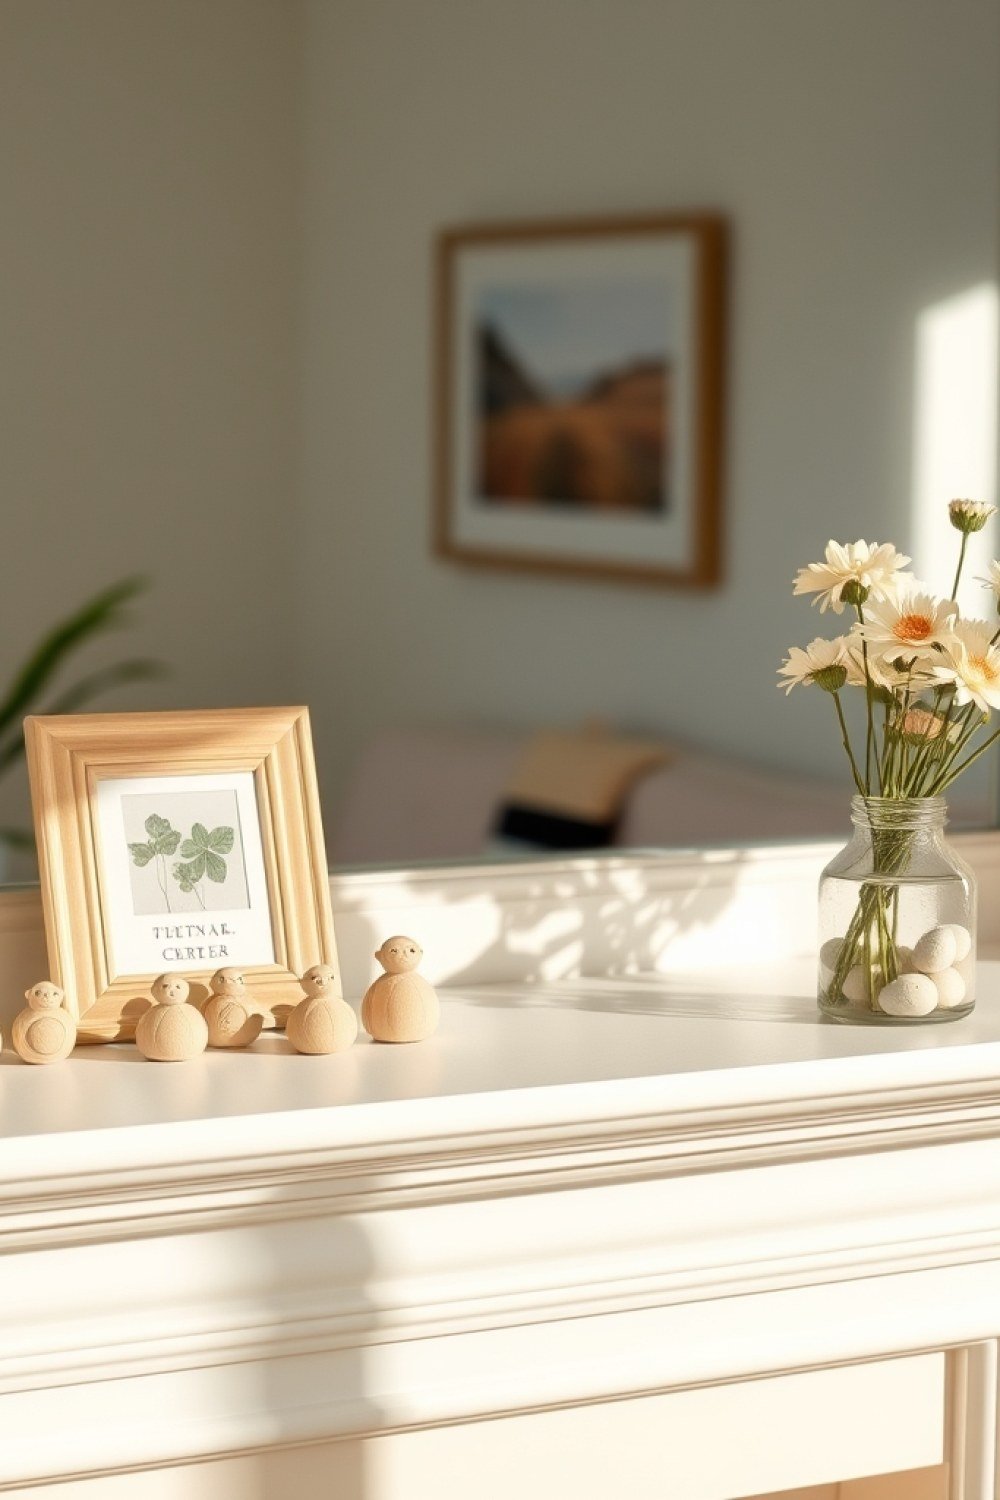
Best for kids around 8 and up who can handle tweezers. You need a small glass vial with a cork or screw cap, dried moss, one tiny stone, and a miniature figure or charm. Layer moss first, nestle the stone and figure in with tweezers, and seal the cork with a dot of glue so nothing escapes.
Thread a chain or waxed cord through the vial’s loop, or glue a bail to the cap. It’s a necklace Mom can actually wear, but the second life is on the mantel — a small wooden or acrylic stand tilts the vial so the little scene shows. That dual purpose is what keeps it off the clutter pile.
Tip: keep the vial under two inches tall. Anything bigger gets heavy on a chain and tips over on a stand.
9. Painted Rock Paperweight
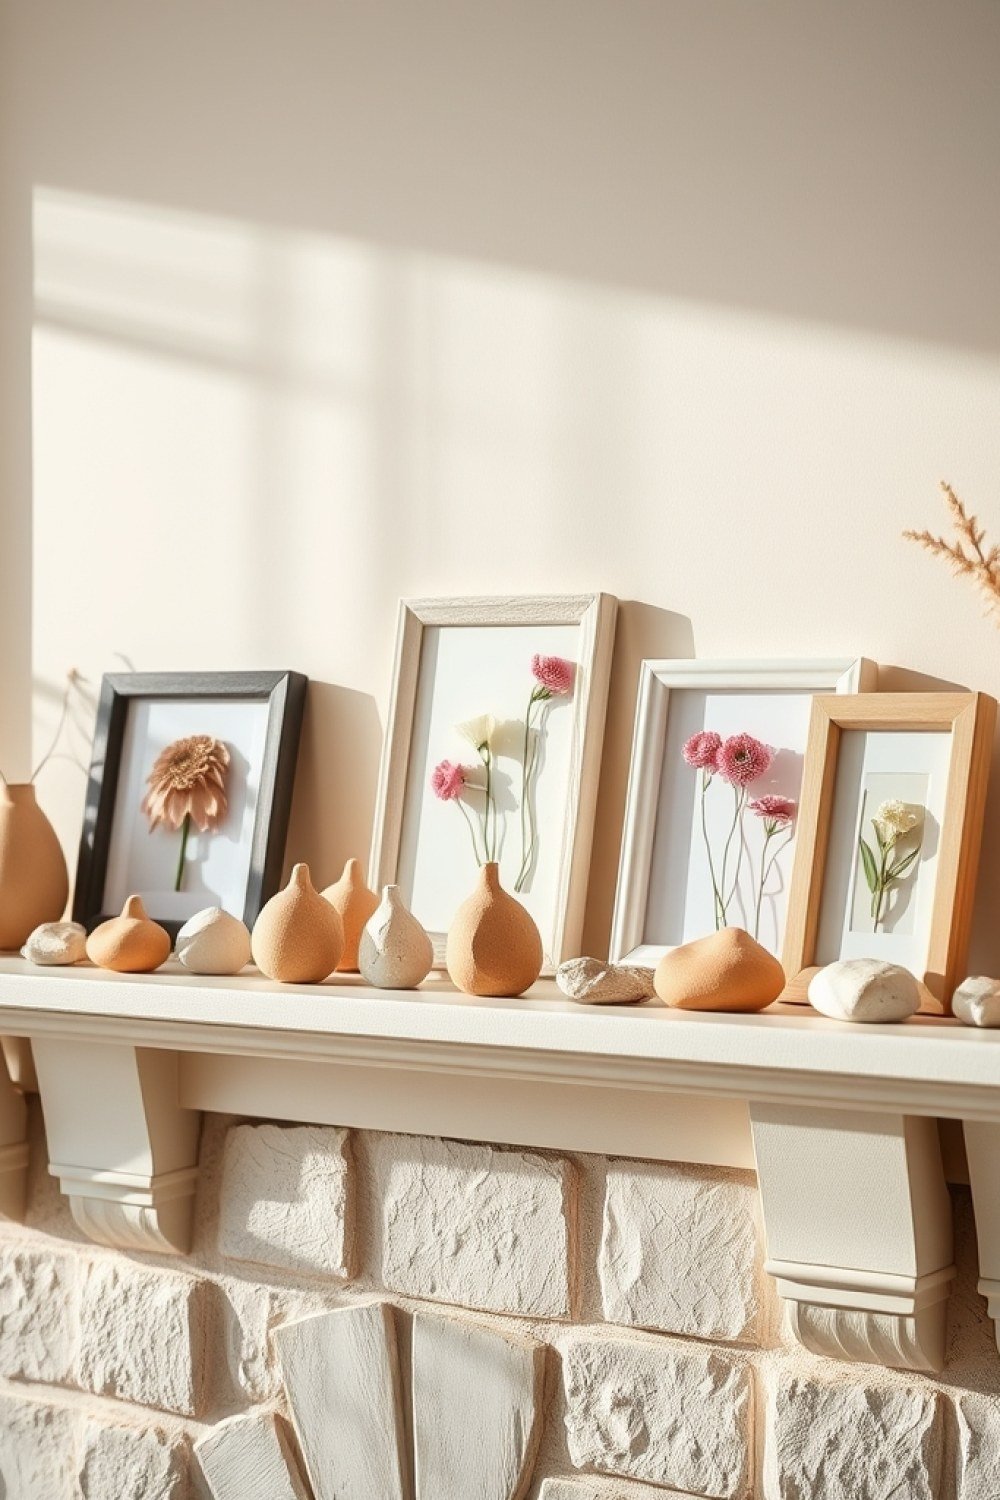
Start with a smooth river rock, ideally palm-sized and flat on one side so it sits without wobbling. Wash and dry it completely — paint won’t stick to dust. Acrylic paint or metallic paint pens both work; the pens give sharper lettering and a finish that reads more “decor” than “craft table.”
Write a short message, a date, or a simple design, let it dry fully, then seal with two thin coats of clear varnish. That seal is what stops it flaking and gives it a slight sheen that fits a shelf. It’s a paperweight, but on a stack of books or beside a candle it just looks like a nice object.
Tip: varnish outdoors or near an open window — it fumes — and let each coat dry before the next.
10. Hand-Stitched Bookmark

Cut two rectangles of felt or cotton, about 2×6 inches, and let your child stitch around the edges with a running stitch. Young ones can use a plastic needle and yarn; older kids can handle a metal needle and embroidery floss. Leave one short end open, stuff nothing inside, and stitch it closed.
Add a bead or two at the bottom and a tassel through a punched hole at the top. It’s genuinely useful — Mom will use it — but it also earns its spot: prop it on a small easel with a favorite book on the mantel, or let the tassel hang over the shelf edge.
Tip: keep the stitches big and uneven. Perfect stitching looks store-bought; wobbly stitching is the whole point.
11. Memory Jar with Notes
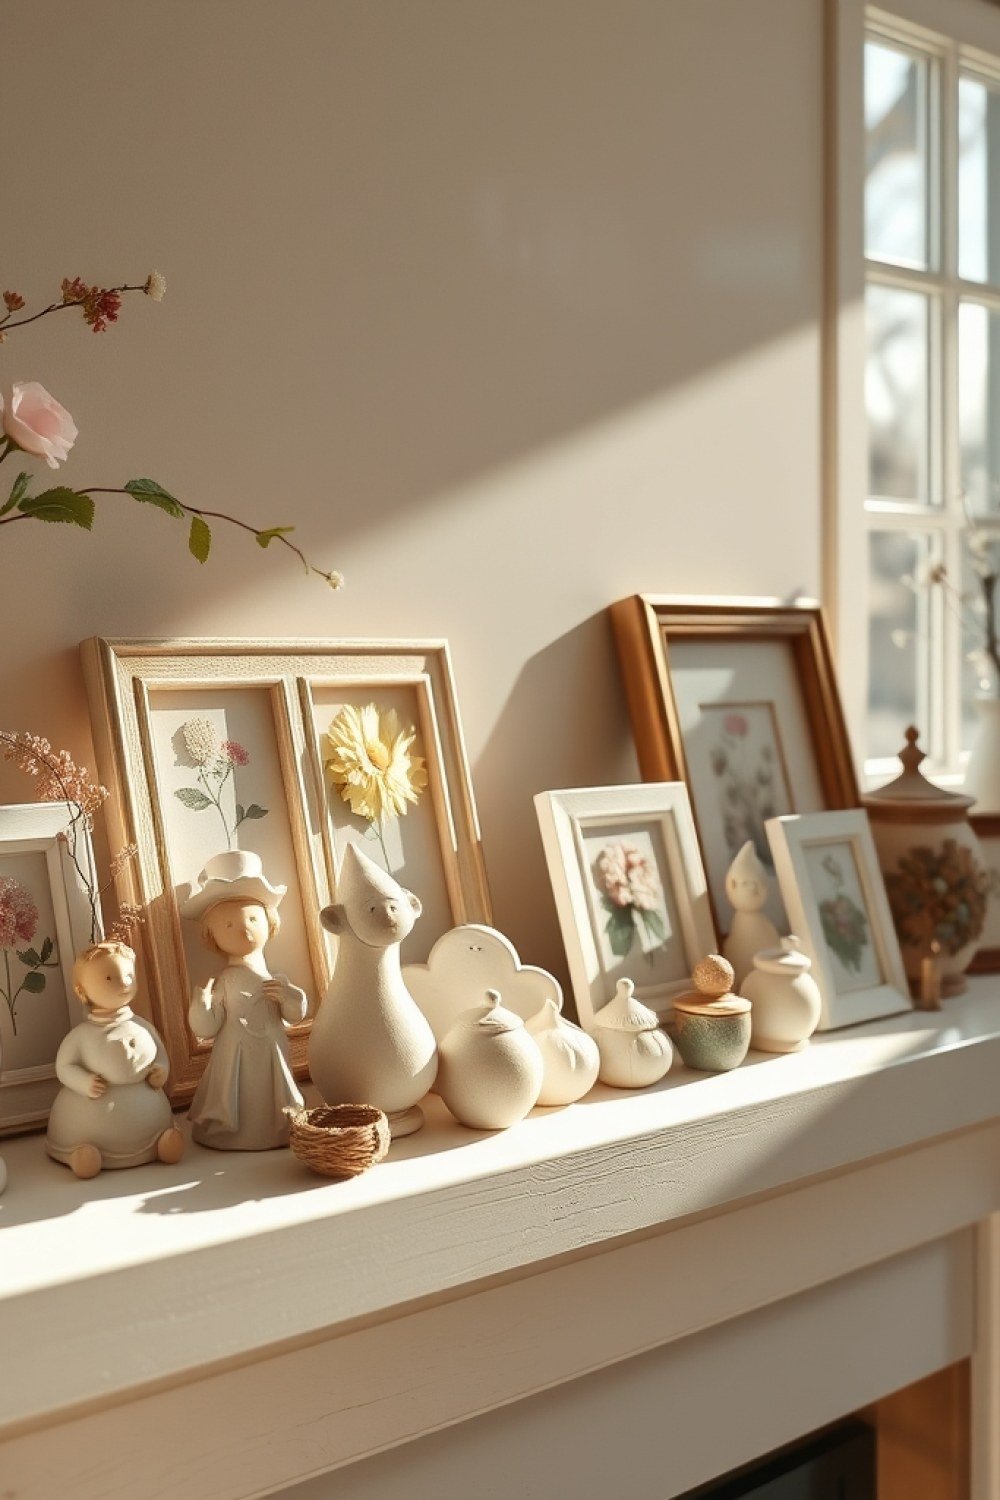
Take a clear mason jar and decorate it however suits your kid — a band of acrylic paint around the base, twine wrapped around the neck, or a few small painted hearts. The real gift is inside: handwritten notes from each child. Aim for 20 to 30 so Mom has one for weeks.
Mix it up. Some notes are memories (“the time we burned the pancakes”), some are reasons (“you give the best hugs”), some are jokes only your family gets. Fold them small so they rustle when she pulls one out. Tie a ribbon around the lid and it sits on the mantel as decor between reads.
Tip: write the child’s name and age on the back of each note. In ten years that detail is the best part.
12. Kid-Drawn Portrait on Canvas
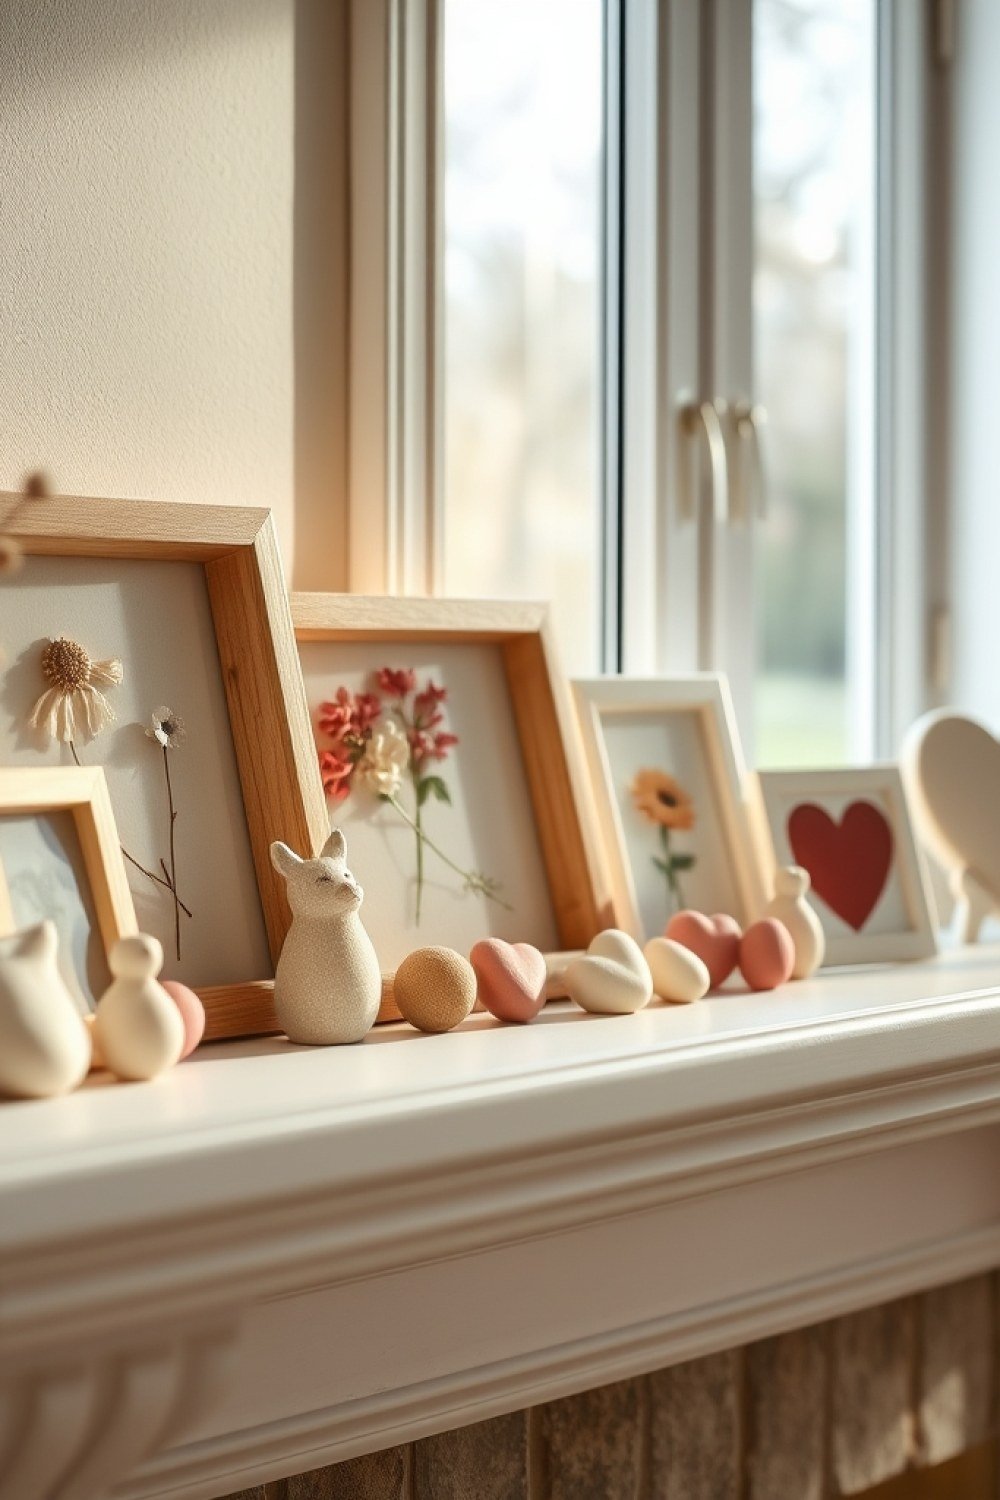
Hand your child a small canvas — 8×10 is plenty — and acrylics or markers, and ask them to draw Mom. Don’t guide the result. The wonky proportions, the giant smile, the hair that goes off the edge: that’s the value, and it only exists at this age.
Frame it in something simple, a thin black or natural wood frame with no mat, so the drawing stays the focus. It hangs or leans on the mantel like real art, which is exactly how it should read. Suits any age from about four upward; younger kids produce the boldest, funniest results.
Tip: write the child’s name and the date on the back of the canvas in pencil. You’ll be glad you did.
13. DIY Candle with Pressed Flowers
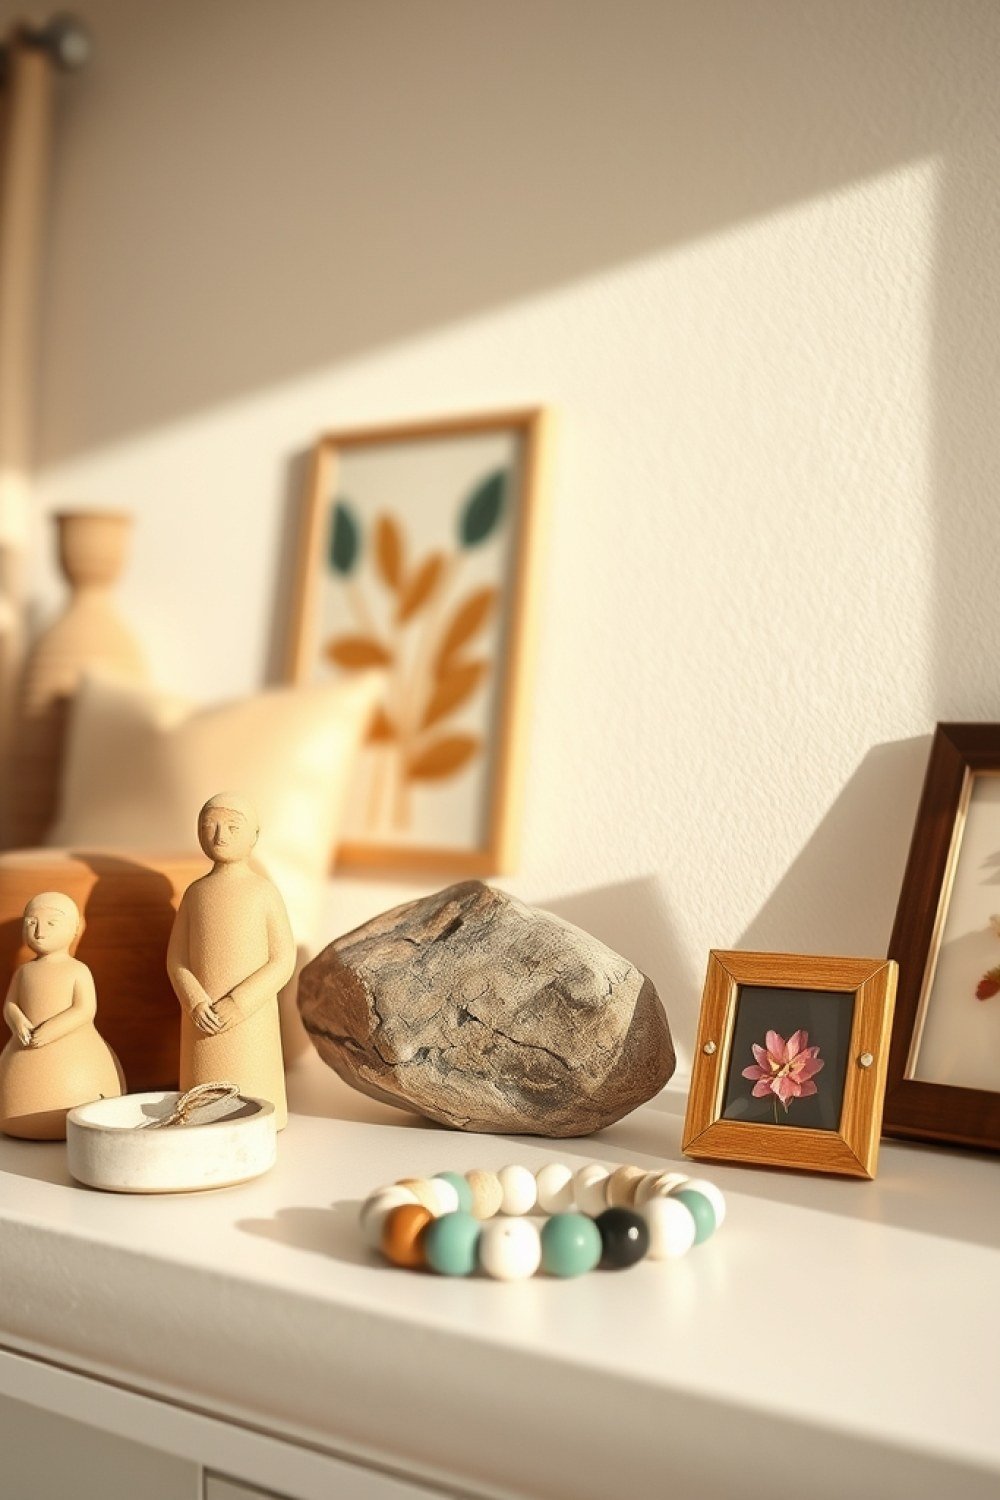
This is a clear glass jar soy candle with real pressed flowers decoupaged against the inside wall, so the blooms glow when lit and stay visible when it’s not. Use a straight-sided jar — a mason or jelly jar works — plus soy wax flakes, a wick with a metal tab, and a handful of flat-pressed flowers.
Press your flowers between book pages for 7-10 days first, or rush it with an iron on low between parchment. Glue the dried petals to the inside of the jar with a thin layer of Mod Podge, let it dry clear, then set the wick and pour wax at 130-140°F. Kids pick the flowers and stir the wax; you handle the hot pour.
It suits any age with supervision, and the finished candle earns mantel space because it looks intentional, not like a craft project. Tip: trim the wick to 1/4 inch and do a first burn of 2-3 hours so the wax pools evenly to the edge.
14. Scrapbook Page in a Frame
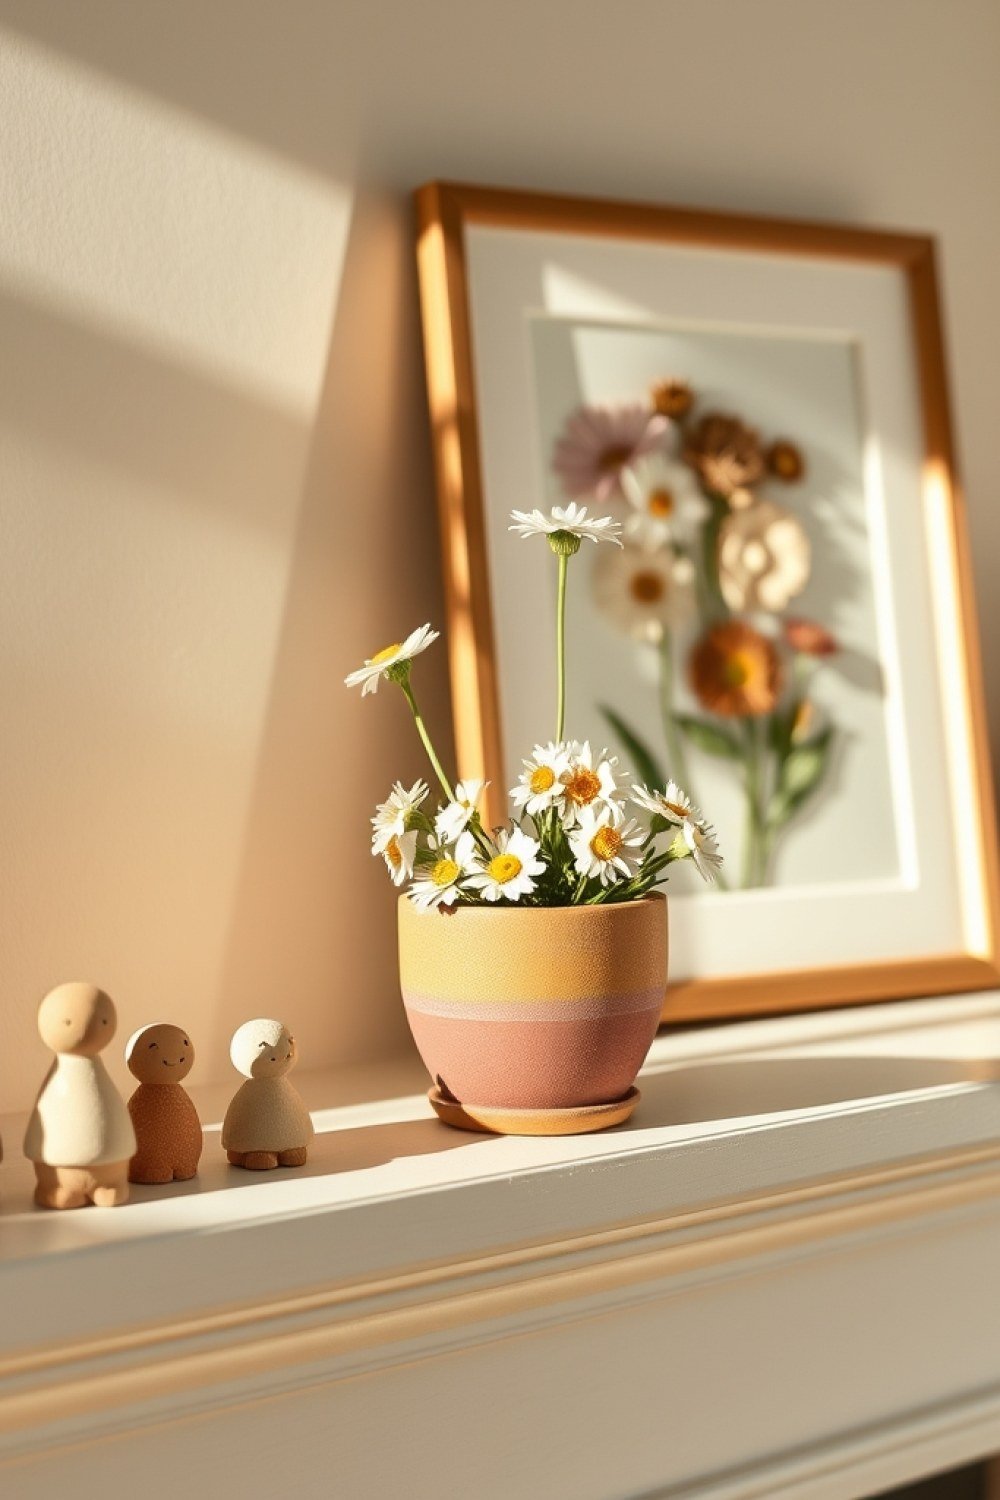
A single 12×12 scrapbook page built around one specific day — photos, ticket stubs, a pressed leaf, handwritten captions — then framed in a shadow box or a deep frame so it lives on the mantel instead of in a drawer. The “one day” rule is what makes it work: it tells a story rather than sprawling across years.
Gather 3-5 photos, one or two small objects (a movie stub, a wristband, a receipt), and let the kid write the captions in their own handwriting — messy is the point. Use acid-free adhesive dots rather than liquid glue so photos don’t warp or yellow, and leave breathing room around each element.
Best for kids around 8 and up who can journal a line or two, though younger ones can dictate and you write it. Tip: measure your frame’s inner opening before you start laying out the page, and leave a half-inch border so nothing gets cropped when it’s mounted.
Frequently Asked Questions
What if my child is too young to make these gifts?
Toddlers can handle most of these with hands-on help. For a handprint canvas, paint their palm for them and press it down yourself—they just need to not curl their fingers for three seconds. For thumbprint art, put a dot of paint on a plate and guide their thumb onto the paper. Even a few random marks from a two-year-old look intentional once framed. Skip anything with fine detail or drying time between steps if your child is under three.
How can I make sure the gift is display-worthy and not just clutter?
Pick two or three colors that match what’s already on the mantel—if Mom’s living room is warm neutrals, skip the neon paint. Frame the piece properly: a cheap frame with a white mat makes kid art look like gallery work. Size matters too. One 11×14 canvas can anchor the whole mantel, while a group of small 4×6 pieces works better clustered together. And sign and date the back so it doesn’t end up in a drawer.
Do these gifts require expensive supplies?
No. A canvas, a few tubes of acrylic paint, and a frame from the dollar store cover most of these ideas. Clay for handprint ornaments runs about $5 a block. Rocks, mason jars, and cardboard from your recycling bin work too. Total cost is usually under $15 per gift, and often less if you already have paint at home.
How to Style These Keepsakes on the Mantel
Group by height and texture rather than spreading pieces evenly across the shelf. Lean a framed canvas against the wall, then place a smaller item—a clay handprint or a painted rock—on top of a stack of two or three books to bring it up to eye level. Add a candle or a small vase of flowers at one end to break up the hard edges of the frames. Three to five pieces is the sweet spot; more than that and the mantel starts to feel cluttered instead of curated.
Rotate seasonally so the display stays fresh: bring the handprint ornaments forward in December, the flower-pressed frames in spring. Keep the most sentimental piece—the one that makes you stop every time—out year-round as the anchor. Everything else can come and go around it.